QR code scan testing is the disciplined process of verifying that a code can be detected, decoded, and acted on reliably across different phones, apps, lighting conditions, print methods, and surfaces. In practical terms, it means proving that a QR code works before it reaches packaging, signage, mailers, labels, menus, or industrial parts. Because a QR code often sits at the final step between a physical object and a digital destination, testing is not optional quality control; it is revenue protection, compliance support, and customer experience management.
When teams talk about QR code testing and quality assurance, they usually mean more than checking whether one phone can open one URL. A complete QA program evaluates symbol construction, contrast, quiet zone, print gain, material behavior, damage tolerance, placement, scan distance, device compatibility, and destination performance. The goal is repeatable readability under realistic use. I have seen beautifully designed campaigns fail because a glossy laminate created specular reflection, because the quiet zone was crowded by branding, or because a code printed too small on corrugated board lost edge definition after ink spread. In every case, the issue was preventable through structured scan testing.
For a sub-pillar within QR Code Design, Printing & Materials, this topic matters because design choices and production choices directly affect scan reliability. A code is not just a graphic. It is a machine-readable symbol governed by standards, especially ISO/IEC 18004 for QR Code symbology and commonly assessed in print workflows with verifier methodologies tied to ISO/IEC 15415. Even if your project never uses a formal verifier grade, the underlying principles still apply: maintain module clarity, preserve finder patterns, protect contrast, and validate performance on the actual substrate and in the actual environment.
Good testing also answers the questions searchers usually have: How do you test a QR code properly? What devices should you use? What causes scan failures? How do print materials change results? The short answer is that reliable QR code testing combines laboratory-style inspection with field testing. You check the file, inspect the printed result, measure critical variables, scan with multiple devices, test under different conditions, and verify the destination content. The strongest QA process starts before artwork approval and continues through production samples, preflight checks, and post-deployment audits.
What QR Code Scan Testing Actually Measures
QR code scan testing measures two things: symbol readability and user success. Symbol readability is the technical side. Can a camera identify the finder patterns, separate light and dark modules, estimate perspective, and decode the data despite noise, distortion, or damage? User success is the practical side. Can a person notice the code, frame it quickly, scan it with a common app, and reach a working landing page without friction? Both matter, because a code that decodes in controlled conditions can still fail in the real world if placement, glare, or destination design is poor.
The core variables are size, module count, error correction level, contrast ratio, quiet zone, print quality, and environmental conditions. A higher data payload creates more modules, which makes each module smaller at a fixed print size. That is why short URLs or dynamic QR codes usually perform better than long, dense static codes at small sizes. Error correction can recover damaged symbols, but it is not a license to overdesign. In practice, adding a large center logo while also reducing contrast and trimming the quiet zone creates compounded risk. Testing reveals where that risk becomes unacceptable.
A useful way to think about scan performance is signal versus interference. The intended signal is the clean geometry of the code. Interference comes from low contrast, motion blur, curved surfaces, textured stock, aggressive image compression, poor focus, and reflections. During QA, you deliberately vary these conditions to find the failure threshold. If a code scans only under ideal office lighting from one flagship phone, it is not production-ready.
Standards, Verifiers, and Device-Based Testing
There are two complementary approaches to QR code quality assurance: instrument-based verification and user-device testing. Verification uses a calibrated 2D code verifier that grades symbol attributes according to established methodologies. These systems assess factors such as symbol contrast, modulation, fixed pattern damage, grid nonuniformity, axial nonuniformity, and decode performance. In packaging and regulated manufacturing, verifier results create a defensible quality record. They are especially valuable when suppliers, converters, and brand owners need objective acceptance criteria.
Device-based testing answers a different question: will real people scan this code with common hardware and software? A verifier may give a respectable grade, yet users can still struggle if the code sits behind reflective film on a refrigerated case or if the call to action is unclear. That is why the best programs use both methods. I typically treat verifier grading as the baseline gate and field testing as the proof of usability.
Phone testing should represent realistic market share and operating conditions. At minimum, include recent iPhone and Android models, midrange devices with less capable cameras, both native camera apps and common social or payment apps where relevant, and different distances and angles. If the code appears in retail, test under store lighting. If it appears outdoors, test in direct sun and shade. If it appears on moving products, such as bottles on a conveyor or labels on parcels, test with motion and handling wear.
| Testing method | What it checks | Best use case | Main limitation |
|---|---|---|---|
| 2D verifier | Objective symbol quality metrics and grading | Prepress approval, supplier QA, regulated workflows | Does not measure full user experience |
| Multi-device phone scan test | Real-world readability and app compatibility | Packaging, posters, menus, direct mail | Results vary by test panel and environment |
| Environmental stress test | Performance under glare, abrasion, moisture, curvature, distance | Industrial labels, outdoor signage, cold-chain packaging | Can be time intensive |
| Destination QA | Landing page speed, redirects, analytics, deep links | Campaign launches and ongoing maintenance | Does not validate print symbol quality |
Pre-Print Testing: Data, Structure, and Artwork Review
The most cost-effective QR code testing happens before anything is printed. Start by validating the encoded content. Confirm the URL, UTM parameters, redirect behavior, expiration rules, and fallback paths. Dynamic QR codes are often the better choice because they allow destination updates without reprinting, reduce payload density, and support analytics. However, they also introduce platform dependency, so QA must include link management settings, SSL validity, and redirect speed. A slow redirect can make users think the code failed when the problem is actually the destination chain.
Next, review symbol structure. Keep the quiet zone at four modules minimum, and be cautious about decorative treatments that invade it. Preserve the finder patterns and alignment patterns exactly. Use dark-on-light contrast; inverted schemes can work in some contexts, but they require more testing and should not be assumed safe. Export vector artwork whenever possible. Raster images introduce anti-aliasing and resampling artifacts that soften module edges, especially when designers resize assets in layout tools.
Artwork review should also consider final size based on viewing distance and camera capability. The common rule of thumb is a scan distance ratio of roughly ten to one, meaning a 2-centimeter code is comfortable around 20 centimeters away, but this is only a starting point. Dense symbols, low light, and low-end cameras all require larger sizes. If the code will be printed on flexible film, textured paper, or uncoated corrugate, increase the size further to preserve module separation after print gain and substrate absorption.
Print and Material Variables That Cause Scan Failures
Most production scan failures come from predictable print and material issues. Low contrast is the biggest culprit. Black on white remains the safest combination because phone cameras and decoding software need clear luminance separation. Metallic inks, translucent whites, pastel backgrounds, and varnishes often reduce effective contrast even when artwork looks attractive on screen. A code printed in dark navy on matte kraft may appear readable to the eye but produce weak camera separation in store lighting.
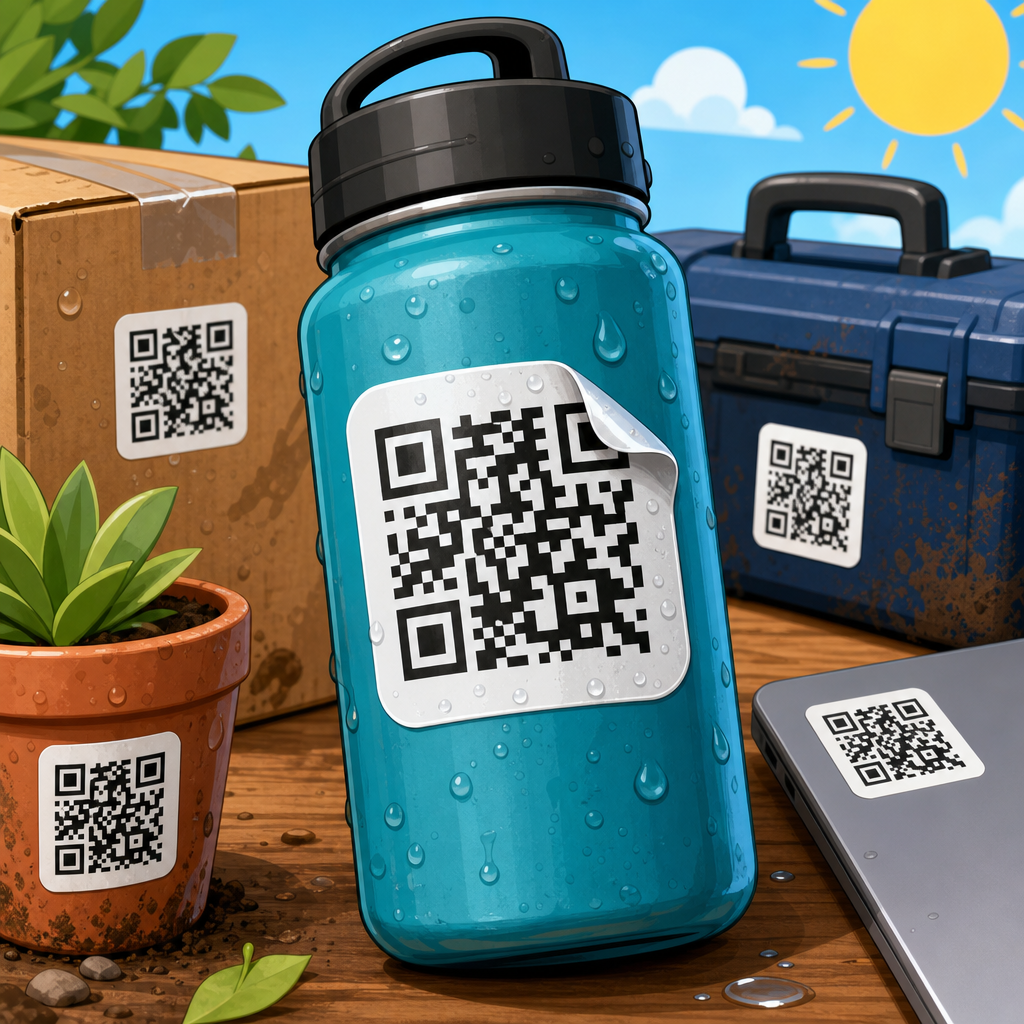
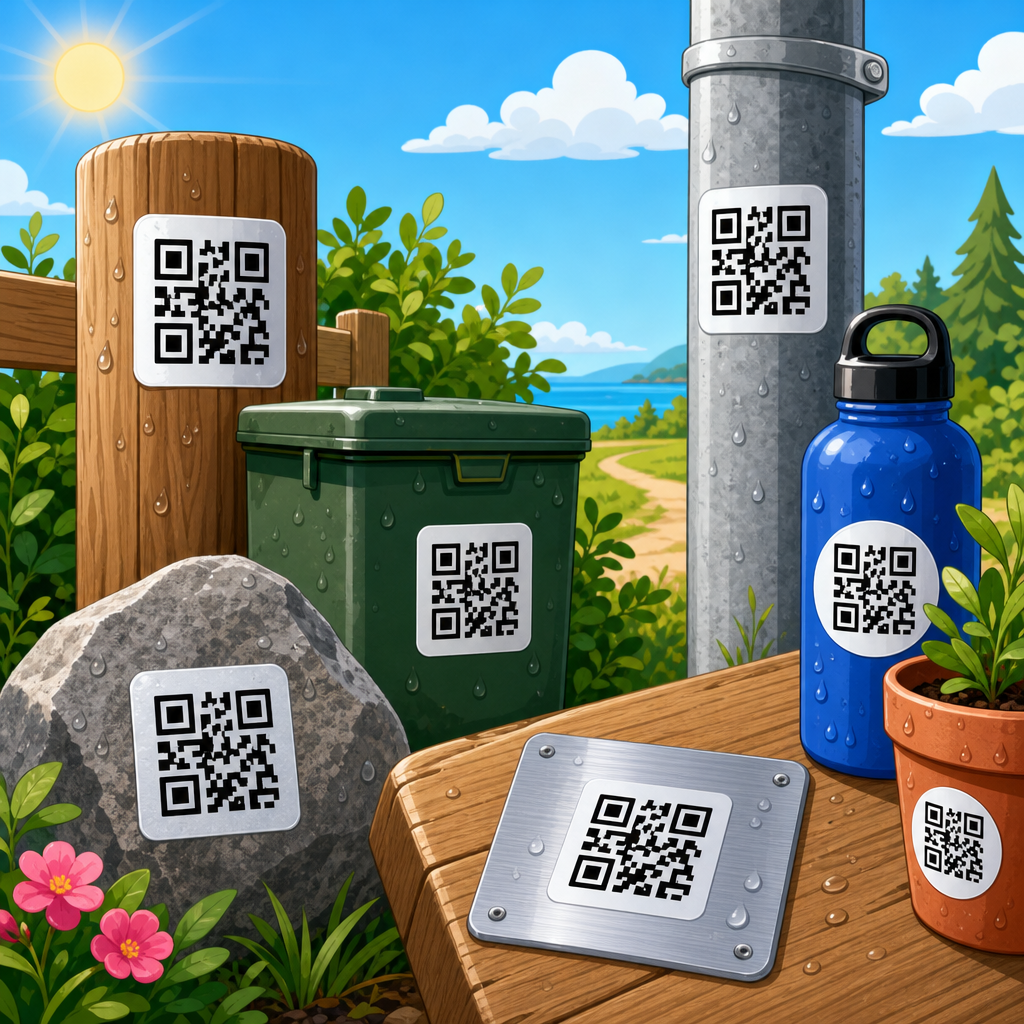
Surface behavior matters just as much as color. Gloss coatings and laminates create glare that hides modules at certain angles. Curved containers distort geometry, especially when a code wraps around a bottle shoulder or small tube. On corrugated board, flute pattern and absorbency can break edge sharpness. Thermal printing can produce voids or streaking if printheads are worn. Dot gain in flexography can close small white spaces, while low-ink transfer can fragment dark modules. Each process changes the symbol differently, which is why material-specific testing is essential.
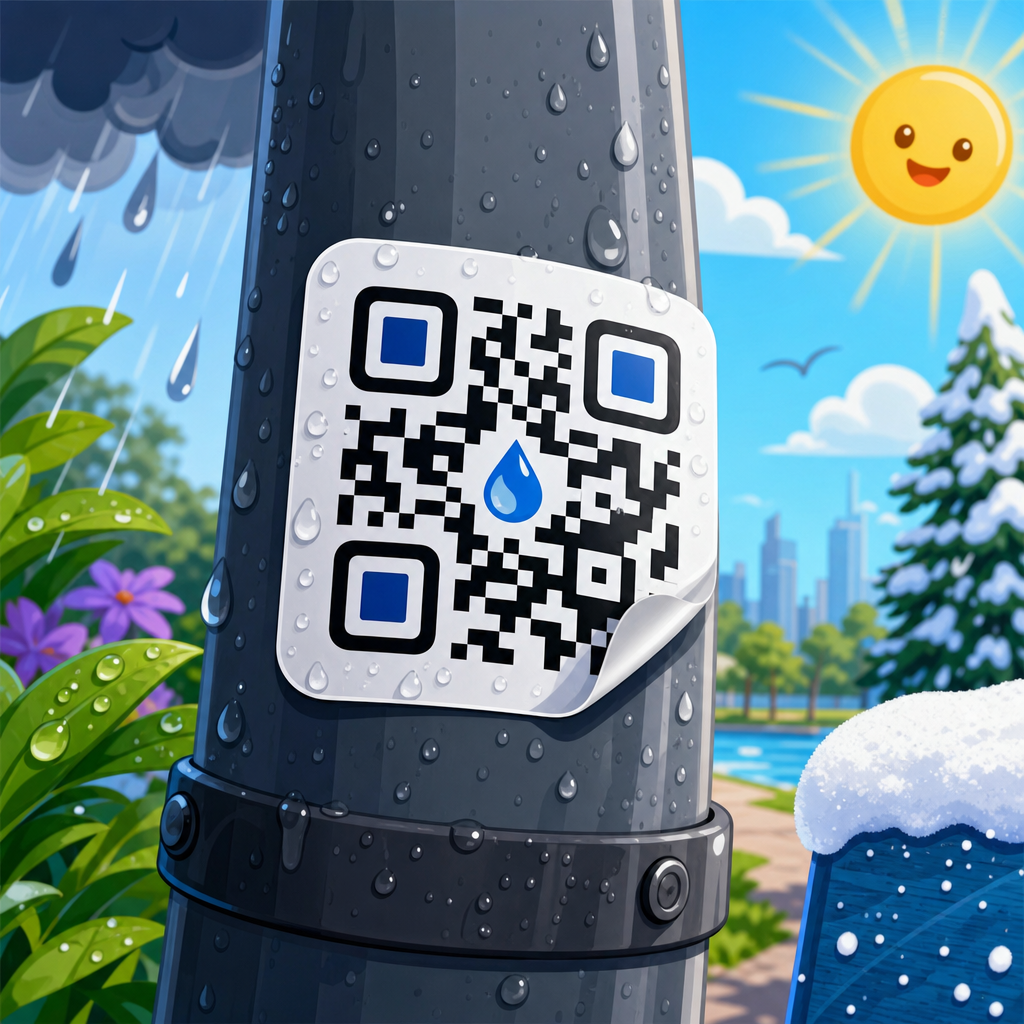
Durability must also be tested when a code lives in harsh environments. Outdoor signage faces UV exposure, rain, dust, and abrasion. Warehouse labels face scuffing and forklift contact. Healthcare and laboratory labels may encounter disinfectants and condensation. In these cases, quality assurance should include rub tests, water exposure, temperature cycling, and repeated scan attempts after wear. The question is not whether the code scans on day one; it is whether it continues to scan through the expected service life.
Field Testing Methods and Failure Analysis
Field testing should mirror actual user behavior as closely as possible. Place the QR code in its intended environment, then test discoverability, framing speed, and successful destination load. Measure how many seconds it takes first-time users to notice the code and complete the scan. Watch for awkward wrist angles, line-of-sight issues, and competing graphics. In restaurants, for example, codes under dim pendant lighting may fail not because the symbol is defective but because diners cast shadows over the menu while scanning. On storefront windows, reflections from street traffic can overwhelm the camera view.
When a code fails, diagnose systematically. First isolate whether the problem is symbol quality, device compatibility, or destination behavior. Compare the printed code with the source file. Test another phone, another app, and another angle. Check whether the issue disappears under different lighting. If all devices fail, inspect contrast, quiet zone, and print deformation. If only some devices fail, consider camera autofocus limitations or lower decoding tolerance in certain apps. If the scan succeeds but users abandon the flow, audit page speed, interstitials, consent banners, and mobile layout.
A practical failure log speeds root-cause analysis. Record substrate, print process, size, encoded content, device used, lighting condition, distance, angle, and result. Over time, patterns emerge. Teams often discover that one converter consistently produces better edge definition, or that a certain laminate reduces scan success below a threshold. That historical record turns QA from guesswork into a repeatable operating standard.
Building a QR Code Quality Assurance Workflow
An effective QR code QA workflow has checkpoints before design approval, before press, during production, and after deployment. Before design approval, confirm data strategy, size, contrast, and branding constraints. Before press, verify the final file, substrate assumptions, and proof samples. During production, inspect early pulls or first articles, then sample throughout the run for drift. After deployment, perform spot audits in market and monitor analytics for sudden drops in scan rate that may indicate damage, placement issues, or destination outages.
Ownership is important. Marketing may own the campaign, but production, packaging engineering, web operations, and analytics all affect success. The strongest teams use a documented checklist and acceptance criteria. Typical gates include minimum printed size, minimum contrast target, approved material stack, successful scans on a defined device panel, landing page load time on mobile data, and contingency plans if a redirect service fails. If you work with suppliers, require them to provide press proofs or sample labels for verification before full production.
Finally, treat QR code testing as a continuous process rather than a one-time pass or fail. Camera software changes, operating systems evolve, print vendors change consumables, and destinations get redesigned. A code that worked perfectly six months ago can degrade through a packaging revision or a web migration. The payoff for disciplined QA is simple: more successful scans, fewer customer support issues, stronger campaign attribution, and less waste from reprints or failed launches. If QR codes are part of your packaging or print program, build a formal test plan, document results, and retest whenever design, material, or destination changes.
Frequently Asked Questions
What is QR code scan testing, and why is it so important before launch?
QR code scan testing is the structured process of confirming that a QR code can be found by a camera, decoded correctly, and trigger the intended action under real-world conditions. That means more than checking whether one phone can read the code once at a desk. Proper testing evaluates whether the code performs reliably across different smartphone models, camera qualities, operating systems, scanning apps, lighting environments, viewing angles, print materials, sizes, finishes, and distances. In other words, it verifies that the code works where customers, staff, or field users will actually encounter it.
This matters because a QR code is often the final bridge between a physical item and a digital experience. If that bridge fails, the result can be lost sales, broken customer journeys, missed registrations, failed payments, support calls, and damaged trust. A code that looks fine on screen may still fail when printed too small, placed on reflective packaging, wrapped around a curved surface, or viewed in low light. Testing catches these issues before distribution, when changes are still manageable and inexpensive. Once a code is printed on packaging, labels, signs, menus, mailers, or industrial parts, correcting a problem can become costly and disruptive. That is why scan testing is not just a technical exercise; it is a quality assurance step directly tied to conversion, usability, and revenue protection.
What conditions should be included in a complete QR code scan testing process?
A complete QR code scan testing process should recreate the conditions the code will face in the real world, not just ideal lab conditions. At minimum, testing should include multiple devices, including newer and older phones, different screen sizes, varied camera performance levels, and both major mobile operating systems. It should also include different scanning methods, such as the native camera app, common QR scanner apps, in-app scanners, and any relevant enterprise or industry-specific software if the code is intended for business workflows. This helps confirm that the code is readable across the ecosystem users are likely to rely on.
Environmental testing is equally important. The code should be evaluated in bright daylight, indoor office light, dim restaurant or warehouse conditions, and where possible under glare, shadow, and uneven illumination. If the code will be scanned outdoors or on moving products, testing should account for distance, angle, and motion tolerance. Print and material variables also need attention: matte versus glossy stock, coated versus uncoated paper, plastic films, corrugated packaging, metal labels, textured surfaces, flexible materials, and curved application areas can all affect readability. The code should be tested at its intended final size, with its actual quiet zone, color treatment, branding treatment, and surrounding design elements. A thorough process also verifies the destination behavior after scanning, including URL resolution, redirects, page load speed, mobile usability, app deep linking, tracking parameters, and any fallback behavior if the destination cannot load. Scan success is only part of the job; the full user action must work reliably too.
What are the most common reasons a QR code passes a basic check but fails in the field?
The most common reason is that the initial check was too narrow. Many teams confirm that a code scans once from a desktop printout or a digital proof and assume that means it is production-ready. In reality, field failures usually come from a combination of size, contrast, placement, material, and environmental factors. A code may be technically valid but still too small for the expected scanning distance. It may have enough contrast on screen but not enough after printing on colored packaging. It may be readable on flat paper but not once applied to a curved bottle, reflective pouch, shrink sleeve, or embossed label. Even minor reductions to the quiet zone, or decorative design elements placed too close to the code, can interfere with detection.
Another frequent cause is over-customization. Branded QR codes can work well, but aggressive logo placement, stylized modules, low-contrast color choices, heavy gradients, or altered corner markers can reduce robustness. Print quality issues are also common, including ink spread, low-resolution output, misregistration, compression artifacts, and substrate distortion. In digital contexts, problems can appear when the code is displayed too small on a screen, shown with motion blur, or embedded in cluttered layouts. Beyond the symbol itself, destination failures are often mistaken for scan failures. The code may decode properly, but the landing page may be slow, broken, blocked by redirects, or poorly optimized for mobile devices. Effective testing separates symbol readability from post-scan performance so teams know exactly where failure occurs and how to fix it.
How do you measure QR code scan performance in a practical, repeatable way?
Practical QR code scan testing relies on consistent criteria and repeatable test scenarios. Start by defining what success means. For most use cases, success should include fast detection, correct decoding, and completion of the intended action on the destination. Teams often measure scan latency, first-attempt success rate, repeat scan consistency, distance tolerance, angle tolerance, and cross-device readability. If the code is tied to a marketing, commerce, or operational workflow, downstream metrics also matter, such as redirect accuracy, page load time, completion rate, and error frequency after scan. These measurements help turn subjective impressions like “it seems to work” into objective performance evidence.
To make testing repeatable, create a test matrix. List device types, operating systems, scanning apps, lighting conditions, materials, print methods, code sizes, and placement scenarios. Then run the same code through each condition in a controlled way, recording outcomes and failure patterns. It is also useful to test multiple production samples rather than a single ideal print, because manufacturing variability can affect results. In professional environments, teams may assign pass/fail thresholds, such as a minimum first-scan success rate or a maximum acceptable detection time. Documentation is critical: record the QR code version, error correction level, color scheme, physical dimensions, print vendor, substrate, placement, and destination settings. That level of detail allows teams to trace problems, compare iterations, and build an internal standard for future campaigns or product lines. Good QR testing is disciplined because repeatability is what makes the results actionable.
What are the best practices for improving QR code reliability after testing identifies a problem?
The best approach is to correct the simplest, highest-impact factors first. In many cases, increasing the physical size of the QR code, improving contrast, restoring a proper quiet zone, and reducing visual clutter around the symbol will solve scan issues immediately. If the code is printed on a challenging surface, such as glossy, metallic, transparent, curved, or textured material, consider changing placement, switching to a matte label area, adding a solid background, or adjusting the substrate and print method. If the code is heavily branded, simplify the design while preserving the core finder patterns and module clarity. A QR code should support brand presentation, not sacrifice usability for aesthetics.
It is also important to review technical settings. Rebuild the code from a clean source, confirm the encoded destination is correct, and use an appropriate error correction level for the application. Avoid unnecessary complexity in the data payload when a short, clean URL or managed redirect will do. If the destination is the issue, optimize the landing page for mobile speed, reduce redirects, verify analytics parameters, and ensure the post-scan experience works smoothly without forcing users through confusing steps. After every adjustment, retest under the same conditions that exposed the original problem. This retesting step is essential because it confirms whether the fix improved robustness or only changed behavior in one narrow scenario. The strongest best practice is to treat QR reliability as an end-to-end system: symbol design, print production, placement, scanning environment, and digital destination all need to work together for the code to perform consistently in the field.