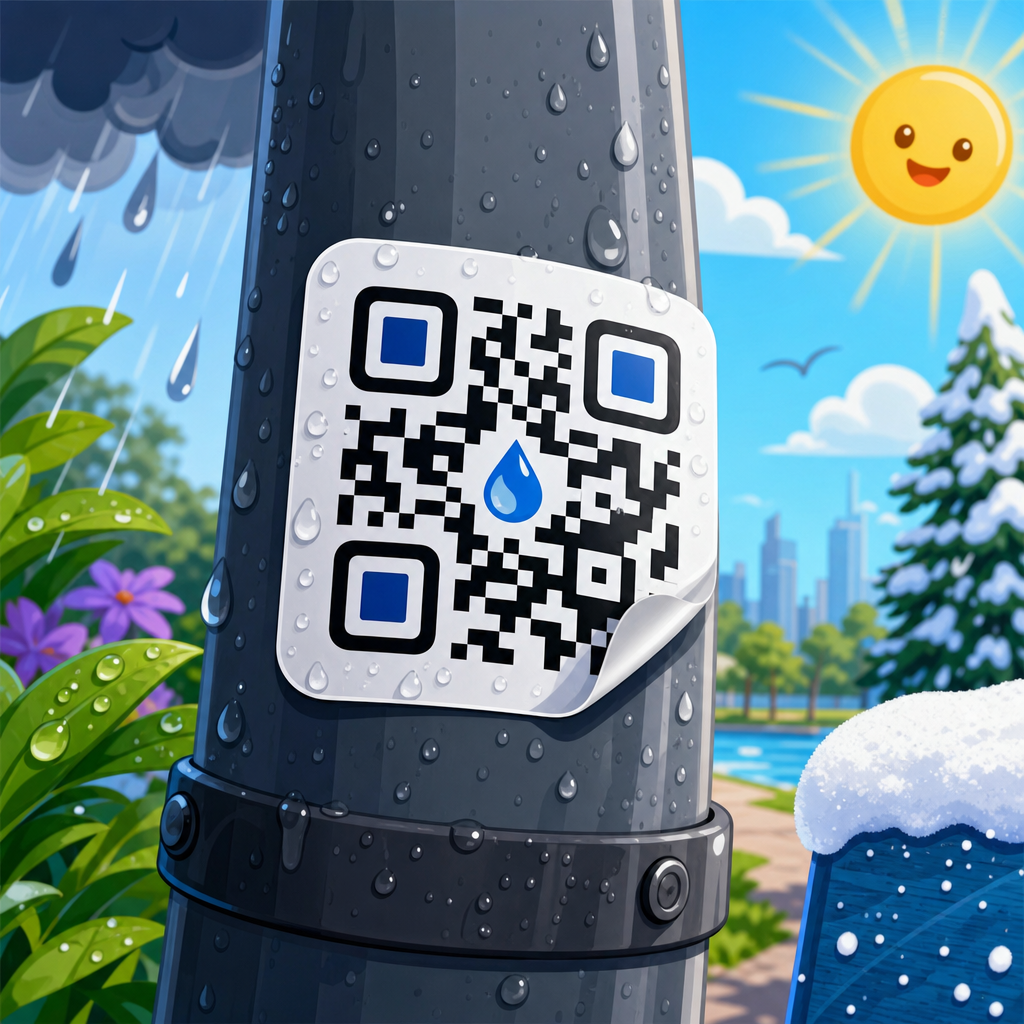
QR code sticker design succeeds or fails on one deceptively simple factor: contrast. If a phone camera cannot clearly separate dark modules from the light background, even a beautifully branded sticker becomes unreadable. In practice, contrast means the luminance difference between the code pattern and the surface behind it, not just whether the colors look different to the human eye. For stickers, that distinction matters because gloss, lamination, curved placement, outdoor fading, and low-cost printing all reduce scan reliability long before a designer notices a problem.
I have tested sticker QR codes on packaging, storefront windows, warehouse bins, event badges, and delivery labels, and the same pattern appears every time: most scanning issues come from material and print decisions, not from the QR generator itself. Teams often focus on logo size, shape styling, and campaign tracking, then discover in production that the sticker stock is too reflective, the background color is too dark, or the ink spread closes small modules. Good contrast guidelines prevent those failures early, lower reprint costs, and preserve campaign performance after stickers are exposed to wear, weather, and different phone cameras.
As a hub topic within QR Code Design, Printing & Materials, QR code sticker design brings together color choice, print method, substrate, adhesive use case, durability, size, quiet zone, and placement. The central rule is straightforward: make the foreground substantially darker than the background, preserve a clean light quiet zone around the symbol, and verify scan performance on the actual sticker material under real lighting. Everything else builds on that foundation. When contrast is handled correctly, stickers scan faster, work from more angles, and remain functional after handling, sunlight, scratches, and routine contamination.
This article explains the practical contrast standards for QR code stickers, how different materials affect readability, which color combinations are safest, when design customization becomes risky, and how to test stickers before rollout. It also connects the broader parts of QR code sticker design so this page can serve as the starting point for every related implementation decision.
What contrast means in QR code sticker design
In QR code sticker design, contrast is the measurable difference between the dark data modules and the lighter background. Camera-based scanners do not interpret design intent; they detect patterns, edges, and luminance separation. A code can use two different colors and still fail if both colors sit too close in brightness. For example, dark blue on black often looks stylish in a mockup but scans poorly because the camera sees weak separation, especially in dim conditions or on lower-end phones.
The safest standard is still a near-black code on a white or very light matte background. This combination gives the strongest luminance contrast, minimizes ambiguity for autofocus and exposure, and provides the broadest device compatibility. ISO/IEC 18004, the core QR Code specification, does not force one exact color pair, but in production work the practical benchmark is simple: darker foreground, lighter background, no inversion, and no patterned interference. Once stickers move into real environments, conservative contrast beats visually clever treatments.
Contrast also includes the quiet zone, the empty margin around the code. If a sticker prints a dark border, busy illustration, or cut line too close to the symbol, scanners can misread the edge. I usually recommend a quiet zone of at least four modules, and on small stickers or difficult surfaces I give it more. A properly contrasted code with a compromised quiet zone still behaves like a poor design.
Best color combinations and risky choices
If the goal is maximum scan reliability, choose black, very dark charcoal, or deep navy modules on white, cream, or pale pastel backgrounds. Dark green on light beige can work. Dark maroon on pale pink can work. What matters is luminance difference, not brand symbolism. Pastel backgrounds are often safer than saturated backgrounds because they preserve brightness. Matte finishes are usually better than gloss because they reduce specular reflection that can wash out module edges.
Designers often ask whether branded colors are acceptable. The answer is yes, but only after verifying contrast on the final sticker stock. A retail brand may prefer forest green modules on kraft paper, yet kraft paper varies widely by supplier and tends to darken under warm store lighting. Metallic silver backgrounds are especially risky because reflections shift brightness across the symbol. Transparent stickers placed on colored surfaces are riskier still, because the effective background changes at every installation site.
The combinations most likely to fail are light-on-dark inversions, mid-tone on mid-tone pairings, fluorescent inks, metallic inks behind data modules, and gradients passing through the code area. Red-on-black is notorious. Yellow-on-white is worse. Glossy dark stickers with white codes may scan on a flagship phone in daylight and fail on older devices indoors. For campaigns at scale, avoid betting on best-case conditions.
| Sticker design choice | Scan reliability | Why it performs that way |
|---|---|---|
| Black code on white matte sticker | Excellent | Maximum luminance contrast with minimal glare |
| Dark navy code on pale pastel sticker | Good | Strong brightness separation if print density stays consistent |
| Dark green code on kraft paper | Moderate | Natural stock reduces contrast and varies by supplier |
| White code on black glossy sticker | Low | Inversion and reflections reduce edge detection |
| Code over metallic or transparent background | Unreliable | Background changes with light and placement surface |
How sticker materials change QR code readability
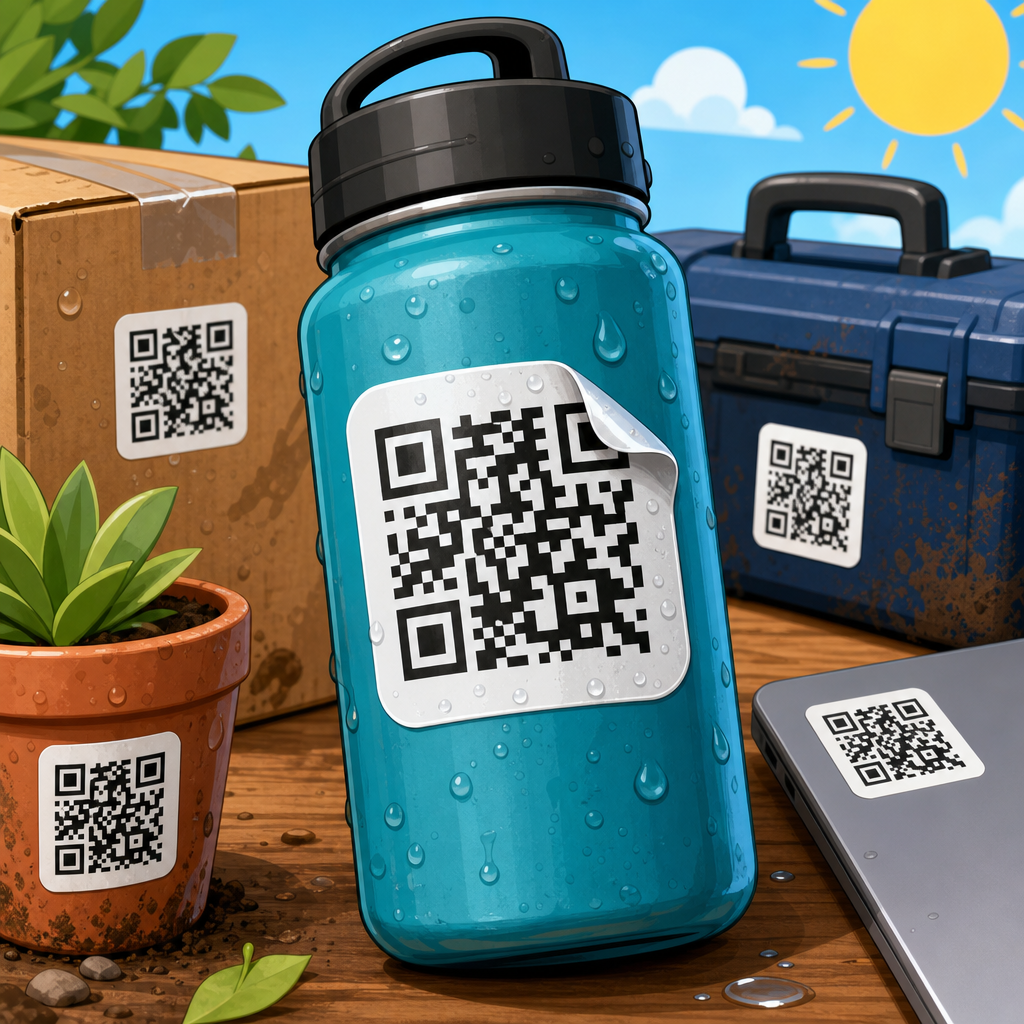
Sticker material has a larger effect on QR performance than many teams expect. Paper stocks absorb ink differently than vinyl, and coated synthetics can increase glare. On thermal transfer labels, resin and wax ribbons affect edge sharpness. On laminated promotional stickers, the lamination can either protect the print or create reflections that make scanning inconsistent under overhead lights. The same digital artwork can perform very differently when moved from a matte paper proof to a gloss polypropylene production run.
Vinyl is common for durable QR code stickers because it resists moisture and tearing, but not all vinyl finishes are equally scan-friendly. Matte white vinyl is usually the easiest option. Clear vinyl should be treated cautiously unless you print an opaque white underbase beneath the code and quiet zone. Without that underbase, the surface color behind the sticker becomes part of the design, which means your contrast can disappear on tinted glass, painted metal, cardboard, or vehicle panels.
Textured stocks create another problem: they interrupt clean module edges. Linen, embossed, recycled, and heavily fibrous papers may look premium but can break up small squares when the code is printed at reduced sizes. If branding requires texture, increase the physical size of the QR code, simplify customization, and test with multiple devices. For industrial stickers, I favor smooth coated materials with controlled print gain because predictable edges matter more than tactile appeal.
Print quality, size, and error correction
Strong contrast cannot rescue poor print quality. If modules bleed together, the finder patterns distort, or the code is printed too small for the intended scan distance, users will still struggle. For stickers, size should be set by use case. A handout or product label scanned from 8 to 16 inches can often work at around 0.8 to 1 inch square when printing is sharp. A window sticker viewed from farther away may need 1.5 to 3 inches or more. As a practical rule, larger is safer when material or lighting is uncertain.
Error correction helps but should not be treated as a license for weak contrast. QR codes support four standard levels: L, M, Q, and H. Higher levels allow more damage or obstruction to be recovered, which is useful when adding a small logo or expecting wear. However, increased error correction also adds complexity to the symbol. On a very small sticker, that can create tiny modules that become harder to print cleanly. In many sticker projects, medium or quartile error correction is the best balance.
Printing method matters just as much. Offset, flexographic, digital toner, inkjet, thermal transfer, and screen printing all reproduce edges differently. Cheap desktop printers often introduce banding or insufficient black density. I always check the printed sticker with a loupe when the code is small. Crisp corners, solid fill, and an undisturbed quiet zone are the details that predict successful scans in the field.
Branding, logos, and design customization without breaking contrast
Custom QR codes can strengthen recognition, but every styling change reduces safety margin. Rounded modules, softened finder patterns, embedded logos, and nonstandard color palettes all work only when the underlying contrast remains high and the structure is preserved. The priority order should be fixed: first readability, then brand fit. If a sticker exists to drive traffic, unlock support content, or verify authenticity, scan performance is the brand experience.
When adding a logo to a sticker QR code, keep the logo small, maintain generous white space around it, and raise error correction only as much as needed. I have seen restaurant table stickers fail because the center logo was large, the dark modules were replaced with thin outlines, and the laminate added glare. On screen, the code looked refined. On tables under warm spotlights, it became unreliable. The practical fix was simple: darker fills, smaller logo, matte laminate, and slightly larger size.
Shaped die-cut stickers can also create visual problems if the code sits too close to the edge or follows a decorative contour. Leave room around the QR symbol even when the outer sticker shape is custom. If you want strong visual identity, place brand elements outside the quiet zone rather than inside the code area. This preserves contrast and gives production more tolerance.
Placement, lighting, and real-world scanning conditions
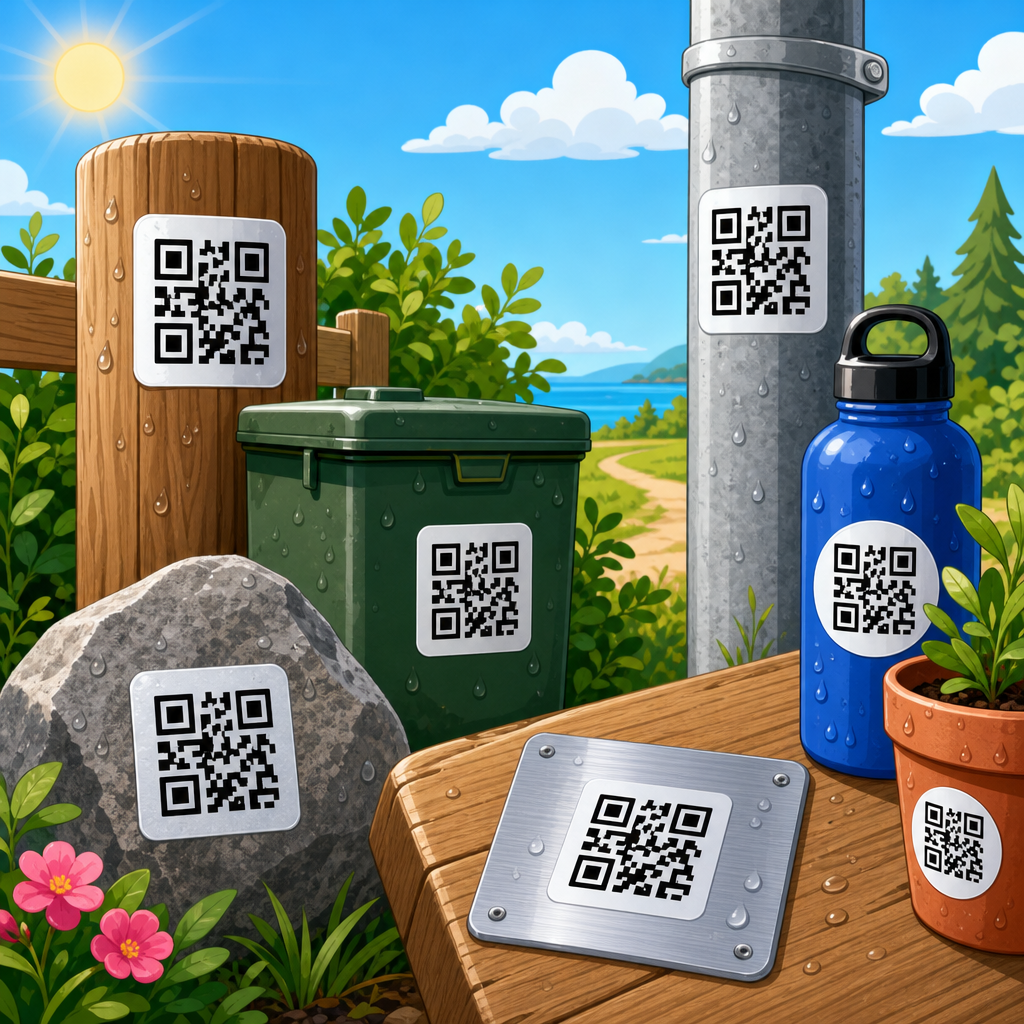
A perfectly printed sticker can still underperform if placed badly. Curved bottles, ribbed containers, tinted windows, and brushed metal all interfere with how the camera sees the code. Place stickers on the flattest, least reflective area available. Avoid seams, corners, and squeezable zones. If the sticker will be viewed while people are moving, such as on transit posters or event entry lines, increase size and contrast beyond the minimum.
Lighting deserves more attention than most teams give it. Indoor retail spots often mix daylight, warm accent lighting, and reflections from fixtures. Warehouses may have uneven overhead lighting. Outdoor stickers face glare, shadow, dirt, and UV fading. I test stickers in bright light, low light, and angled light because scan failures often appear only at the extremes. A code that works at the designer’s desk may fail on a refrigerated case door due to condensation and reflections.
Phone camera variation also matters. New flagship devices process low-contrast images better than older budget phones, but public-facing stickers must work for both. Test with iPhone and Android devices across several generations, using the native camera app and at least one common third-party scanner. If users need to hunt for the right angle, the contrast or placement is not strong enough.
Testing and maintenance for long-term sticker performance
The best way to validate QR code sticker design is to test the final printed sticker in the exact environment where it will live. Prepress proofs are useful, but they do not reveal installation surface color, glare, weathering, abrasion, or cleaning chemicals. Build a simple acceptance checklist: verify size, measure quiet zone, confirm dark-on-light contrast, inspect edge sharpness, scan from expected distance, and repeat tests under multiple lighting conditions. This routine prevents costly deployment mistakes.
For ongoing programs, use dynamic QR codes so the printed sticker can stay in place even if the destination changes. Then monitor scan analytics by location and date. If one batch or venue underperforms, inspect the physical stickers before assuming the campaign message is weak. In field audits, I have traced poor performance to fading inks, scratched laminate, dirty surfaces, and installers placing clear stickers on dark substrates. Data is useful, but physical inspection usually reveals the cause faster.
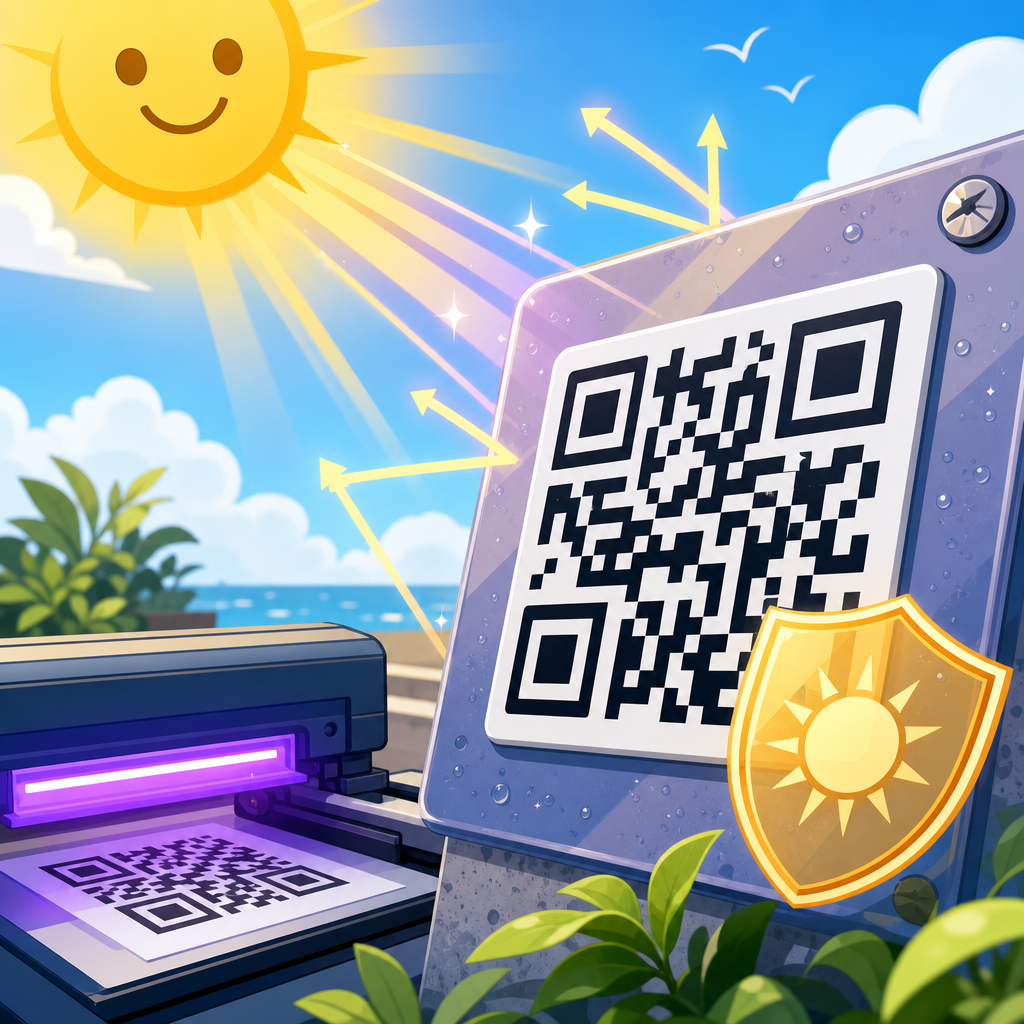
Maintenance matters for long-life stickers on equipment, doors, and outdoor assets. Choose UV-resistant inks when sun exposure is likely, and replace stickers that show yellowing, abrasion, or edge lifting. A QR code sticker is a functional interface, not just a print element. Treating contrast as an operational standard keeps that interface usable over time.
QR code contrast guidelines for stickers come down to disciplined execution. Use a dark code on a light background, preserve a generous quiet zone, prefer matte materials, avoid reflective and transparent pitfalls, print with crisp edges, and size the code for real scan distance rather than ideal lab conditions. Those choices deliver faster scans, fewer user drop-offs, and better durability across packaging, retail, logistics, events, and asset labeling.
As the hub for QR code sticker design, this topic connects directly to material selection, printing methods, lamination, adhesive use cases, sizing, placement, customization, and testing. Contrast is the foundation that supports all of them. If the contrast is weak, no amount of branding or campaign strategy will recover the lost usability. If the contrast is strong, the rest of the design has room to work.
Start every sticker project by approving contrast on the actual production material, not on a screen proof. Then test with several phones in the real environment before rollout. That simple process will prevent most QR sticker failures and make every related design decision easier.
Frequently Asked Questions
Why is contrast so important for QR code stickers?
Contrast is the single most important factor in whether a QR code sticker scans reliably. A phone camera does not interpret a QR code the way a person does. It is not judging whether the design looks attractive or whether two colors feel distinct from a branding standpoint. It is trying to detect a clear luminance difference between the dark modules and the lighter background. If that separation is weak, the camera may struggle to identify the grid structure, alignment patterns, and encoded data, especially in real-world conditions.
That issue becomes even more critical with stickers because stickers are exposed to variables that reduce readable contrast over time. Gloss finishes can introduce reflections that wash out dark areas. Lamination can create glare under indoor lighting or direct sun. Curved placement on bottles, helmets, jars, or equipment can distort how the camera sees module edges. Outdoor use can fade inks, and lower-cost printing methods may not reproduce deep darks or clean light areas consistently. A QR code that looks acceptable on a designer’s screen can become difficult to scan once it is printed, applied, and photographed from different angles.
In practical terms, strong contrast gives the scanner margin for error. It helps the code remain readable in dim light, bright light, partial wear, and less-than-ideal camera focus. If you want a QR code sticker to perform well on packaging, promotional items, product labels, windows, or equipment, prioritizing contrast is not optional. It is the foundation that makes every other design choice possible.
What color combinations work best for QR code sticker readability?
The most reliable approach is still a dark foreground on a light background. Black on white delivers the strongest and most predictable scanning performance, which is why it remains the benchmark. Dark navy on white, dark green on cream, or charcoal on pale matte surfaces can also work well, provided the luminance difference remains high. The key is not simply choosing different colors, but ensuring the QR code modules are substantially darker than the background when seen by a camera sensor.
Some combinations that appear stylish to the eye can fail in use. For example, metallic inks, light pastels, mid-tone pairings, and neon-on-neon designs often lack enough luminance separation. Red can be particularly tricky because some cameras and image-processing systems do not capture it with as much clarity as darker neutral tones. Gold on white, silver on clear, light gray on beige, or glossy dark blue on glossy black may look premium, but they often scan poorly, especially under mixed lighting.
If branding requires custom colors, test them in printed form rather than relying on digital mockups. The safest rule is simple: use the darkest brand-approved color for the code itself and the lightest possible background behind it. Avoid reverse designs unless thoroughly tested, and be cautious with transparent stickers because the final background may change depending on where the sticker is applied. A QR code must be designed for the actual scanning environment, not just the intended aesthetic.
How do gloss, lamination, and sticker material affect QR code contrast?
Surface finish can significantly reduce effective contrast, even when the printed colors are technically correct. Gloss coatings and laminates reflect surrounding light, which can create bright hotspots across portions of the QR code. When that happens, the scanner may no longer see a clean distinction between dark modules and the light background. Instead, it sees glare, washed-out shapes, or inconsistent edges. This is one of the most common reasons a QR code sticker performs worse in the field than it did in a controlled print proof.
Material choice also matters because different sticker stocks hold ink differently. Some low-cost materials allow slight ink spread, softening the sharp square edges the code relies on. Others may dull dark inks or alter the brightness of the background. Transparent and frosted materials introduce another layer of risk because the surface behind the sticker becomes part of the visual equation. A transparent QR code sticker on a dark bottle, tinted window, or textured wall may lose the light background it needs to remain readable.
For best results, matte or low-glare finishes are usually more dependable than high-gloss options. If lamination is necessary for durability, choose a finish that minimizes reflections and test it under real lighting conditions, including sunlight and overhead retail lighting. Also verify performance after the sticker is applied, not just before. A QR code that scans perfectly on a flat sample sheet may behave differently once placed on a curved, reflective, or uneven surface.
Can branded or decorative QR code stickers still meet contrast guidelines?
Yes, but only if branding is treated as secondary to scan performance. You can customize a QR code sticker with brand colors, logos, frames, and supporting design elements, but the code itself must retain clear luminance contrast, crisp module definition, and adequate quiet zone spacing. The biggest mistake brands make is pushing customization too far and weakening the scanner’s ability to separate the code from the background. If the design choice reduces readability, it is undermining the purpose of the sticker.
A practical strategy is to keep the QR code area simple and high-contrast while applying branding around it. For example, use a branded border, call-to-action, or logo placement outside the code rather than altering the module colors aggressively. If a logo is placed in the center, make sure the QR code has sufficient error correction and that the logo does not disrupt critical patterns. Decorative backgrounds, gradients, shadows, and texture overlays should be avoided within the code area because they can create false edges or reduce luminance clarity.
When brands want a more premium look, the right solution is controlled customization, not reduced contrast. A dark branded color on a clean light background often preserves both identity and functionality. The most successful branded QR code stickers look intentional and polished while still scanning instantly. That balance is what matters. A beautifully styled code that fails under normal use is not a successful brand asset.
How should I test QR code sticker contrast before printing at scale?
Testing should always happen with physical samples, because contrast problems often appear only after printing, finishing, and application. Start by producing small test runs on the exact sticker material, ink process, and finish you plan to use. Then evaluate the code under realistic conditions: indoor lighting, daylight, angled light, and, if relevant, outdoor sun. Scan from different distances and with multiple phone models, because camera quality and image processing vary across devices.
It is also important to test the sticker on the actual surface where it will be used. A QR code on a flat paper sheet may scan perfectly, but the same code on a curved bottle, glossy package, vehicle window, or plastic case may become harder to read. Pay attention to how reflections, surface texture, and background color affect the code after application. If the sticker is transparent or partially transparent, test it on every likely substrate color, not just the ideal one.
Finally, test for durability over time. Exposure to sunlight, abrasion, moisture, and cleaning can reduce contrast as dark areas fade and light areas discolor. A code that scans on day one should still scan after weeks or months in its intended environment. If performance is inconsistent, increase the contrast, simplify the design, reduce reflective finishes, or enlarge the code size. The goal is not merely to confirm that the QR code can scan once, but to ensure that it scans quickly and reliably in normal, imperfect, everyday use.