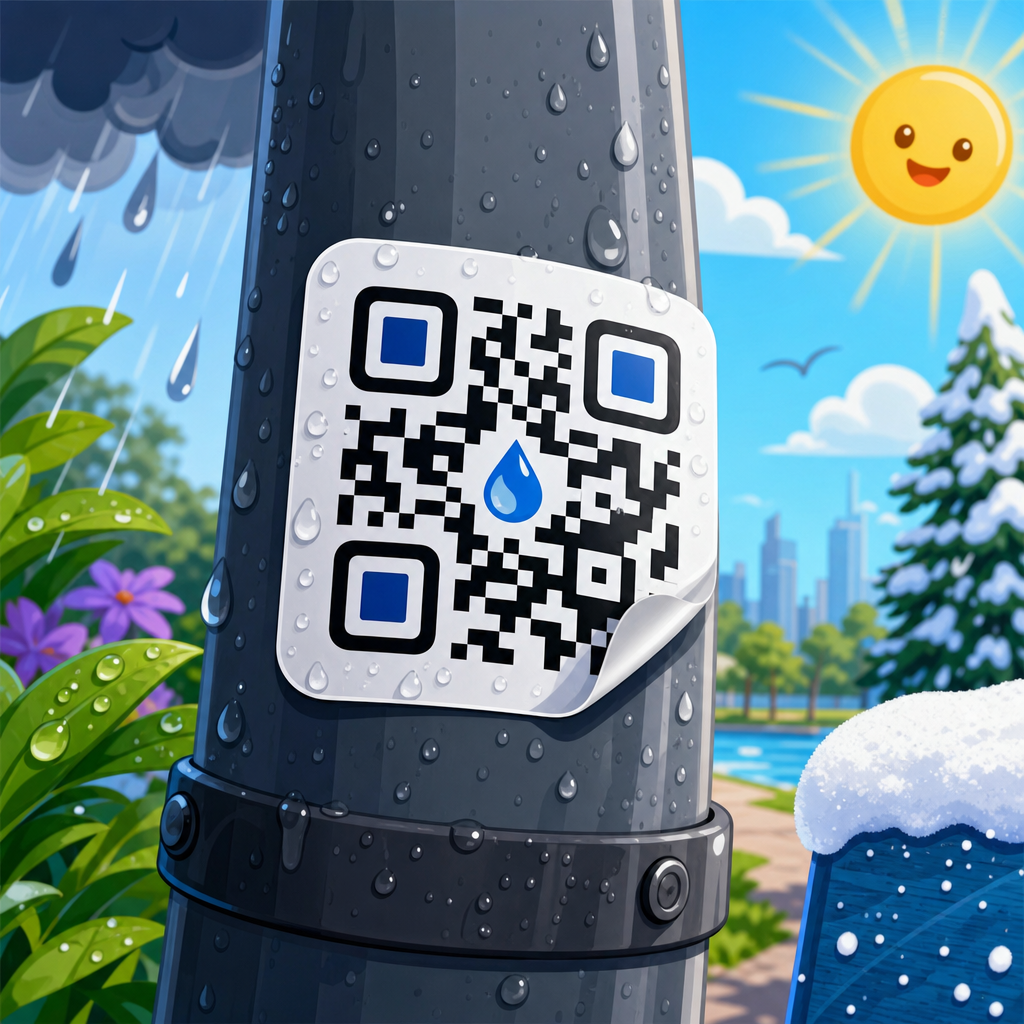
Testing QR codes at different distances is the fastest way to find out whether a design will work in the real world, because scan performance depends on far more than the code image on your screen. Distance testing means verifying that a QR code remains readable from the intended scanning range after choices about size, print method, material, contrast, lighting, placement, and error correction have all been finalized. In practical terms, a code printed for a restaurant table tent may need to scan comfortably from 12 to 24 inches, while a code on a warehouse banner may need to scan from 10 to 30 feet. If you do not test for distance, you are guessing.
I have seen excellent-looking QR codes fail once they were mounted behind reflective acrylic, reduced on textured labels, or placed too high on a sign for an average phone camera to focus quickly. That is why QR code testing and quality assurance should be treated as a structured process, not a last-minute scan with one device. This hub article explains how to test QR codes at different distances, what variables matter most, and how to build a repeatable QA workflow that supports every related task in QR code design, printing, and material selection.
A few definitions help. Scan distance is the range from camera lens to printed or displayed code at which decoding succeeds reliably. Minimum readable size is the smallest printed code that still scans under expected conditions. Quiet zone is the blank margin around the code; without it, many scanners struggle even when the modules are sharp. Module size is the dimension of the smallest black or dark square in the pattern, and it strongly affects how far away a camera can resolve the symbol. Error correction is the built-in redundancy that lets a QR code survive dirt, damage, or partial obstruction, commonly set to L, M, Q, or H. These terms matter because every distance test is really a test of optical resolution, environmental interference, and decoder tolerance working together.
Why does this matter commercially? Because failed scans hurt conversion, operations, and trust. A promotional poster that does not scan from normal standing distance loses response. A product label that only scans under perfect light slows fulfillment. A safety sign that requires a worker to step too close defeats the purpose of fast access to instructions. Good QA prevents these failures before print runs, installations, and shipments lock in the mistake.
What determines QR code scan distance
The most important rule is simple: scan distance is primarily controlled by module size, not just overall artwork size. If a QR code holds a short URL and low data density, each module can be larger, and the code can be scanned farther away. If the code stores too much data, the grid becomes denser, modules shrink, and usable distance drops. This is why using a short redirect URL is usually better than encoding long strings directly.
Phone camera quality also matters, but not in the vague sense of “newer is better.” Autofocus speed, low-light performance, lens sharpness, digital stabilization, and the scanner app’s decoder quality all affect distance. In testing, I regularly compare at least one recent iPhone, one current midrange Android device, and one older Android phone, because older devices expose weak designs quickly. If the code only scans on flagship hardware, the design is not robust enough for public-facing use.
Print production variables change distance performance more than many teams expect. Dot gain on porous paper can close gaps between modules. Thermal printers can soften edges at small sizes. UV-cured inks on corrugated boards may look crisp up close but produce glare at angle. Laminates, varnishes, brushed metal, curved bottles, window decals, and fabric banners all create unique failure modes. A QR code that works as a PNG on a monitor may fail once a substrate introduces reflection, distortion, or reduced contrast.
Environment completes the picture. Distance scanning in bright daylight behaves differently than scanning under warm interior bulbs or in warehouse aisles with mixed lighting. Placement height, viewing angle, motion, and line of travel matter too. A code on a transit shelter must scan while a person is standing and moving; a code on equipment may be read from off-axis positions with one hand occupied.
How to estimate the right QR code size for intended distance
A practical starting point is the common field rule that minimum QR code size should be roughly one-tenth of the intended scan distance, though this is only a baseline and not a guarantee. If users will scan from 20 inches, begin around 2 inches square. If they will scan from 10 feet, begin around 12 inches square. Then validate through real-world testing, because data density, lighting, and materials can shift the safe size upward.
For production planning, I work backward from the user scenario. Ask: Where is the person standing? Are they moving or stationary? Do they have time to frame the shot? Is the code likely to be scanned by consumers, technicians, drivers, or warehouse staff? What device mix should be assumed? A museum label can tolerate a deliberate close scan. A retail window sign must scan quickly from sidewalk distance. A pallet label may need to scan from a forklift approach path. Each scenario sets a realistic distance range, not a single point.
| Use case | Typical scan distance | Recommended starting size | Key QA concern |
|---|---|---|---|
| Product packaging | 6–18 inches | 0.8–1.5 inches | Curved surfaces and small quiet zones |
| Table tent or brochure | 12–24 inches | 1.25–2 inches | Gloss glare under indoor lighting |
| Poster or window sign | 2–6 feet | 3–7 inches | Reflections and oblique viewing angles |
| Wayfinding or event signage | 6–15 feet | 8–18 inches | Height placement and motion blur |
| Warehouse banner | 10–30 feet | 12–36 inches | Mixed lighting and lower-end device cameras |
These ranges are conservative starting points, not hard standards. The correct size always depends on symbol complexity and viewing conditions. When in doubt, simplify the encoded data, enlarge the code, preserve the quiet zone, and test on the actual material before approving production.
A repeatable QA workflow for distance testing
The best QR code testing and quality assurance process follows a sequence. First, validate the source asset. Use vector output such as SVG, EPS, or PDF where possible, and confirm the quiet zone is intact after layout. Second, verify the destination URL, redirect behavior, analytics tags, and mobile landing experience. A code that scans perfectly but lands on a broken page has still failed QA.
Third, test digitally before printing, but do not stop there. Screen testing can catch obvious problems like low contrast, inverted colors, or oversized logos. Fourth, produce physical proofs on the exact printer, stock, finish, and scale planned for final use. If the final piece will be laminated, contour-cut, mounted on metal, or applied to glass, the proof should replicate those conditions.
Fifth, run structured scan tests at multiple distances. I use at least three zones: closer than expected, expected range, and farther than expected. For each zone, test front-on and off-axis angles, bright and dim light, and multiple devices. Record first-scan success, time to scan, and whether the camera hesitates or hunts for focus. Sixth, inspect durability if the piece will live outdoors or in heavy handling environments. Smudging, abrasion, UV fade, condensation, and scratches all reduce distance performance over time.
Finally, document pass or fail criteria. A practical threshold for public-facing uses is consistent first or second attempt scans across the expected range on several devices. If users need to reposition repeatedly, step closer than normal, or shield glare with their hand, the code needs revision.
How to test QR codes on different materials, finishes, and placements
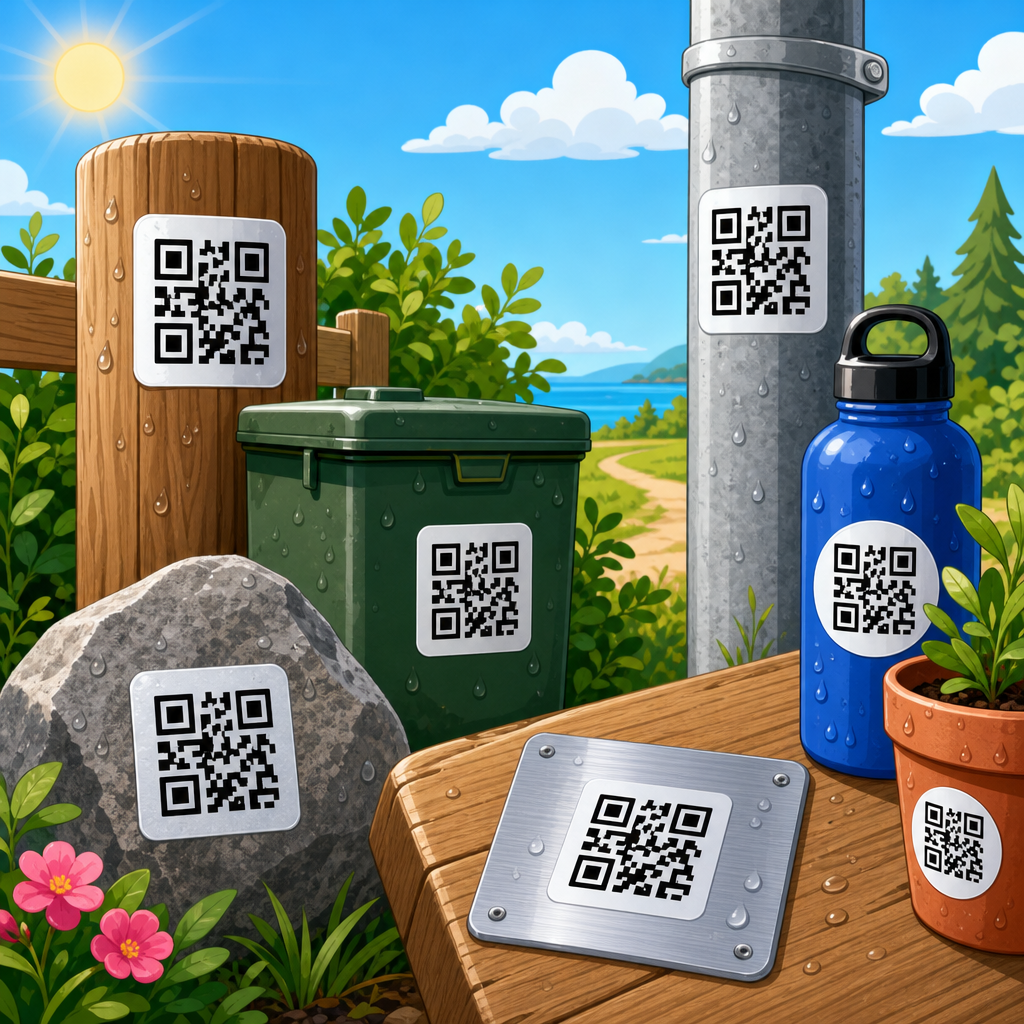
Materials change scanner behavior because cameras do not read design intent; they read reflected light and edge contrast. Matte paper is generally forgiving. Gloss paper often produces hotspots that obscure modules. Clear labels on dark packaging can reduce contrast below safe levels. Brushed aluminum and holographic films create directional reflections that make a code appear to break apart. Fabric banners can ripple, distorting the grid at distance.
Placement can be equally important. Codes mounted too high force steep camera angles, shrinking apparent module size. Codes placed on curved bottles or narrow tubes deform the square geometry. Vehicle graphics introduce both curvature and motion. Window graphics may be backlit from one side and reflective from the other. In each case, the QA question is not “Does it scan?” but “Does it scan easily at the intended distance, angle, and speed of use?”
For packaging, I recommend testing a wrapped sample, not a flat proof. For signage, test after installation height is mocked up. For floor graphics, check scan performance under overhead lighting and foot traffic scuffs. For industrial labels, test after exposure to expected cleaning chemicals or abrasion. ISO/IEC 18004 defines the QR Code symbology itself, while print quality verification methods such as ISO/IEC 15415 and ISO/IEC TR 29158 are often used in broader 2D code quality programs; even when you are not running full verifier grading, those standards are useful because they focus attention on reflectance, axial nonuniformity, modulation, and decode margin.
Common failure patterns and how to fix them
The most common failure is simply making the code too small for the required distance. The fix is to enlarge the symbol or reduce data density with a short URL. The second common failure is inadequate quiet zone, often caused by placing text, borders, or background graphics too close. Restore a clear margin of at least four modules on all sides.
Another frequent problem is poor contrast. Dark code on light background remains the safest choice. Brand colors can work, but low-luminance contrast usually weakens distance performance. Inverted light-on-dark codes are less reliable across devices, especially older phones and low light. Decorative logos in the center can be acceptable only if error correction is chosen carefully and the overlay does not consume too much functional area.
Resolution and export mistakes also cause hidden defects. Raster images scaled up in layout software can blur module edges. Compression artifacts from messaging apps or office tools can introduce fuzziness. Always inspect final output at production size. If printing through third parties, request a hard proof or a calibrated press check for critical campaigns.
Finally, avoid assuming that one successful scan equals approval. Random success is not reliability. Good QA means repeatable success by different users, on different phones, from the target distance, in the real environment.
Building this hub into a complete QR code testing program
This article serves as the hub for QR Code Testing & Quality Assurance within QR Code Design, Printing & Materials. From here, teams should build supporting guidance around minimum size by use case, quiet zone troubleshooting, contrast and color testing, print resolution requirements, material-specific scan issues, outdoor durability checks, redirect and landing-page validation, multi-device test matrices, and post-installation audits. Those topics belong in a connected workflow because a scanning problem is rarely caused by one variable alone.
In practice, the strongest programs use checklists, test logs, version control, and proof archives. They know which generator created the code, which URL redirect was active at approval, which printer and substrate were used, and which devices passed testing. That documentation reduces repeat mistakes and speeds up future jobs. It also creates a clear handoff between designers, marketers, print vendors, installers, and operations teams.
Testing QR codes at different distances is ultimately about designing for the user’s real scanning moment. Start with the expected range, size the code conservatively, protect quiet zones, choose materials carefully, and test physical proofs under actual conditions. When scan distance is validated instead of assumed, QR codes become dependable tools rather than fragile graphics. Use this hub as the foundation for your QA process, then build out your internal standards and linked procedures so every code you print is easy to scan the first time.
Frequently Asked Questions
Why is testing QR codes at different distances so important?
Testing at different distances is one of the most reliable ways to confirm whether a QR code will actually work in the environment where people are expected to scan it. A QR code may look perfectly sharp on a computer screen or in a design proof, yet still fail in real use because scanning performance depends on a combination of factors: the physical size of the code, printing quality, the surface it is applied to, color contrast, glare, lighting conditions, camera quality, and how steadily a person can hold their phone from the expected range. Distance testing brings all of those variables together in a realistic way.
It also helps match the code to its intended use case. A QR code on a restaurant table tent is scanned from a short range, while a code on a poster, storefront window, trade show banner, or wall sign may need to work from several feet away. If you do not test from the actual scanning distance, you risk choosing a code size or print setup that performs well only under ideal conditions. In practice, that can lead to missed scans, frustrated users, and lower engagement. Distance testing is therefore not just a technical step; it is a usability check that validates the full design in real-world conditions.
What factors most affect whether a QR code can be scanned from near or far away?
The most important factor is physical size. As scanning distance increases, the QR code generally needs to be larger so the phone camera can clearly distinguish its modules, or square data cells. A code that scans instantly at arm’s length may become unreliable from a few feet away simply because the camera can no longer resolve enough detail. This becomes even more important when the QR code contains more data, because more data usually creates a denser pattern with smaller individual modules.
Beyond size, print quality has a major effect. Blurry edges, ink spread, low-resolution printing, textured materials, curved surfaces, or poor lamination can all reduce readability. Contrast matters as well: a dark code on a light background is still the safest standard, while decorative colors, gradients, or inverted designs may reduce scan reliability. Lighting is another common issue. Glare on glossy paper, dim indoor conditions, direct sunlight, shadows, or backlit placement can all interfere with scanning at different distances.
Placement also matters more than many people expect. If a code is mounted too high, too low, behind glass, on a moving object, or in a cramped location where users cannot comfortably stop and aim their phones, the practical scanning distance changes. Error correction level can help a QR code tolerate some damage or obstruction, but it is not a substitute for good sizing and clear reproduction. The best-performing QR codes are usually the simplest ones: appropriate size, clean edges, strong contrast, enough quiet zone around the code, and placement that supports comfortable scanning from the intended range.
How do I properly test a QR code at different distances before printing or publishing it?
Start by identifying the real scanning range for the specific use case. Ask where the code will be seen, how close users can physically get to it, whether they will be standing still or moving, and what type of lighting is likely. Then produce a realistic sample at final size. If the code will be printed, test a printed version on the actual material whenever possible, because on-screen testing alone does not reveal issues like glare, texture, print softness, or color shifts.
Next, scan the code from multiple distances, not just the one you expect users to use. Test at close range, expected range, and slightly beyond expected range to create a safety margin. Use different smartphones if possible, including older devices and both major mobile platforms, because camera performance and scanning software vary. Pay attention to how quickly the code is recognized, how precisely the phone must be aligned, and whether repeated scans are consistently successful. A QR code that scans only when the user stands at the perfect angle is not truly robust.
It is also smart to test under several lighting conditions. Try bright daylight, normal indoor lighting, and any likely low-light environment. If the code will be mounted behind glass or on a glossy surface, test with reflections present. If the design includes branding or customization, verify that the quiet zone remains clear and that logo placement has not made the pattern too dense or visually confusing. Finally, test the destination itself. The scan experience includes not only whether the code is readable, but also whether the landing page loads quickly, displays well on mobile devices, and matches user expectations after the scan.
How can I tell if my QR code is too small for the intended scanning distance?
The clearest sign is inconsistent scan performance. If some users can scan only by stepping closer than intended, zooming with their feet, carefully adjusting angle, or trying multiple times, the code is probably undersized for the use case. Another warning sign is when newer phones scan easily but older or lower-end devices struggle. That often means the code is operating too close to the edge of acceptable readability, which is risky in public-facing situations.
You can also judge size by practical testing behavior. A well-sized QR code should scan quickly from the expected distance without forcing users to search for a “sweet spot.” If the phone camera frequently hunts for focus, if recognition takes more than a second or two under normal conditions, or if the code works only in perfect lighting, increasing the size is often the simplest and most effective fix. This is especially true for codes with long URLs or embedded tracking parameters that create a denser matrix.
When in doubt, increase the code size rather than relying on error correction or design styling to compensate. Larger codes are usually more forgiving across different devices, viewing angles, and environmental conditions. It is also wise to preserve adequate white space around the code, because a technically large code can still scan poorly if the quiet zone is cramped by surrounding text, borders, images, or background graphics. In most cases, if scanning distance is important, generous sizing beats minimal sizing.
What are the best practices for improving QR code scan reliability across different distances?
Use a clear, high-contrast design first. A dark code on a light, matte background remains the most dependable option across short and long scanning distances. Keep the quiet zone intact, avoid overly decorative customizations, and make sure the code is exported or printed at high quality with crisp module edges. If you are using a dynamic QR code platform, keep the visible code pattern as simple as possible by avoiding unnecessary data density whenever practical.
Choose the code size based on how far away people will scan, not based only on how much space is available in the layout. If the QR code is meant to be scanned from several feet away, scale it for that distance from the start. Test on the final substrate and in the final placement whenever possible. Materials like glossy paper, acrylic, metal, fabric, corrugated cardboard, and window glass can all behave differently and change how readable the code is in real conditions.
Finally, think beyond the code itself. Good placement, comfortable user approach, proper lighting, and a mobile-friendly destination all contribute to successful scanning. Include a short call to action so users know what they will get when they scan. If the code will be used in a high-traffic or public setting, test with multiple devices and multiple people, not just your own phone. The strongest QR code deployment is one that scans fast, works consistently from the intended range, and continues performing well outside ideal lab conditions.