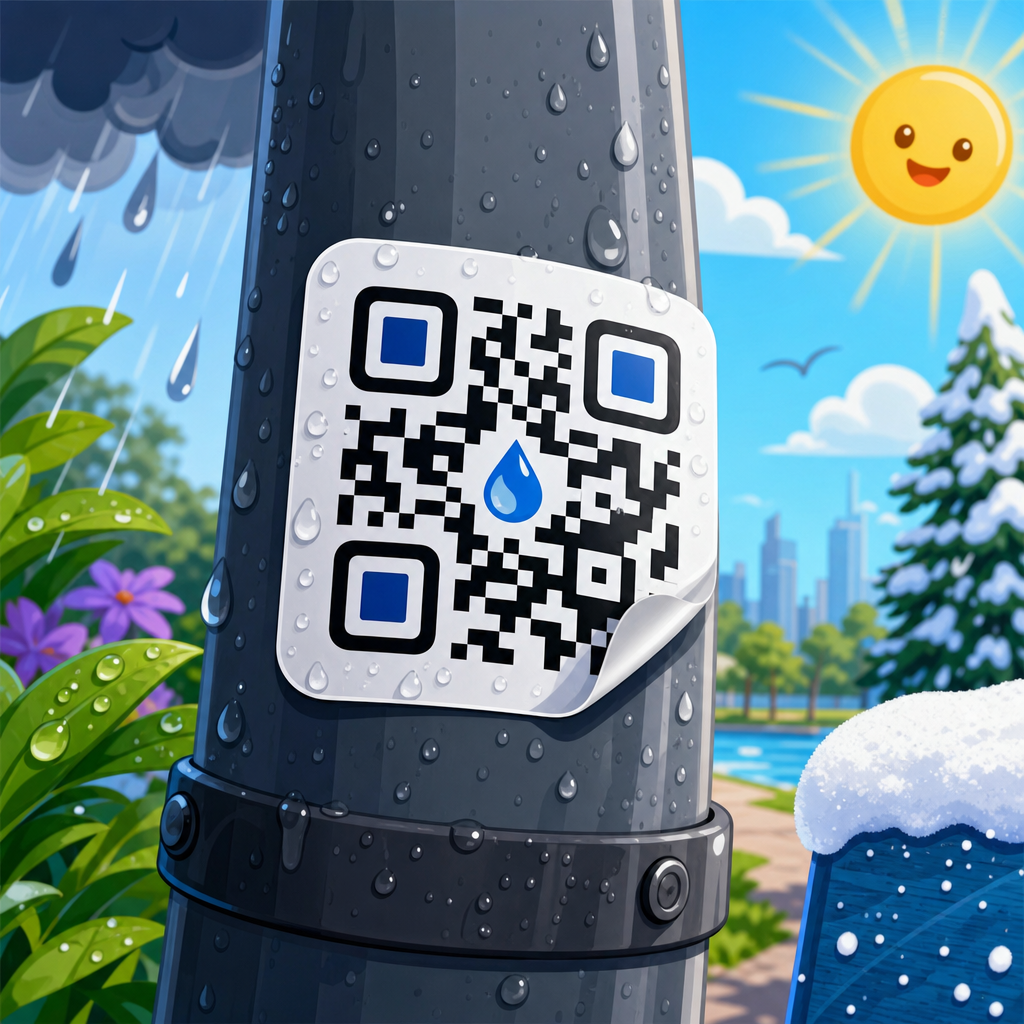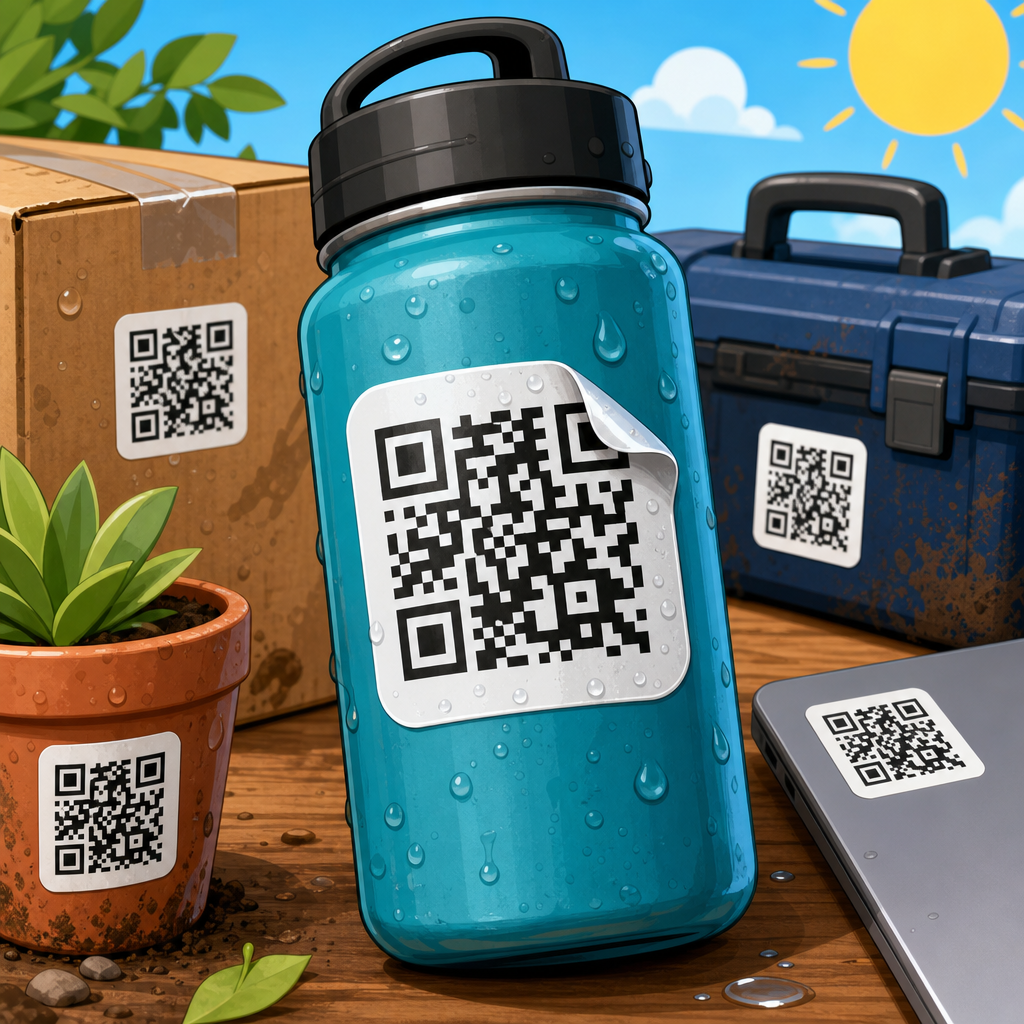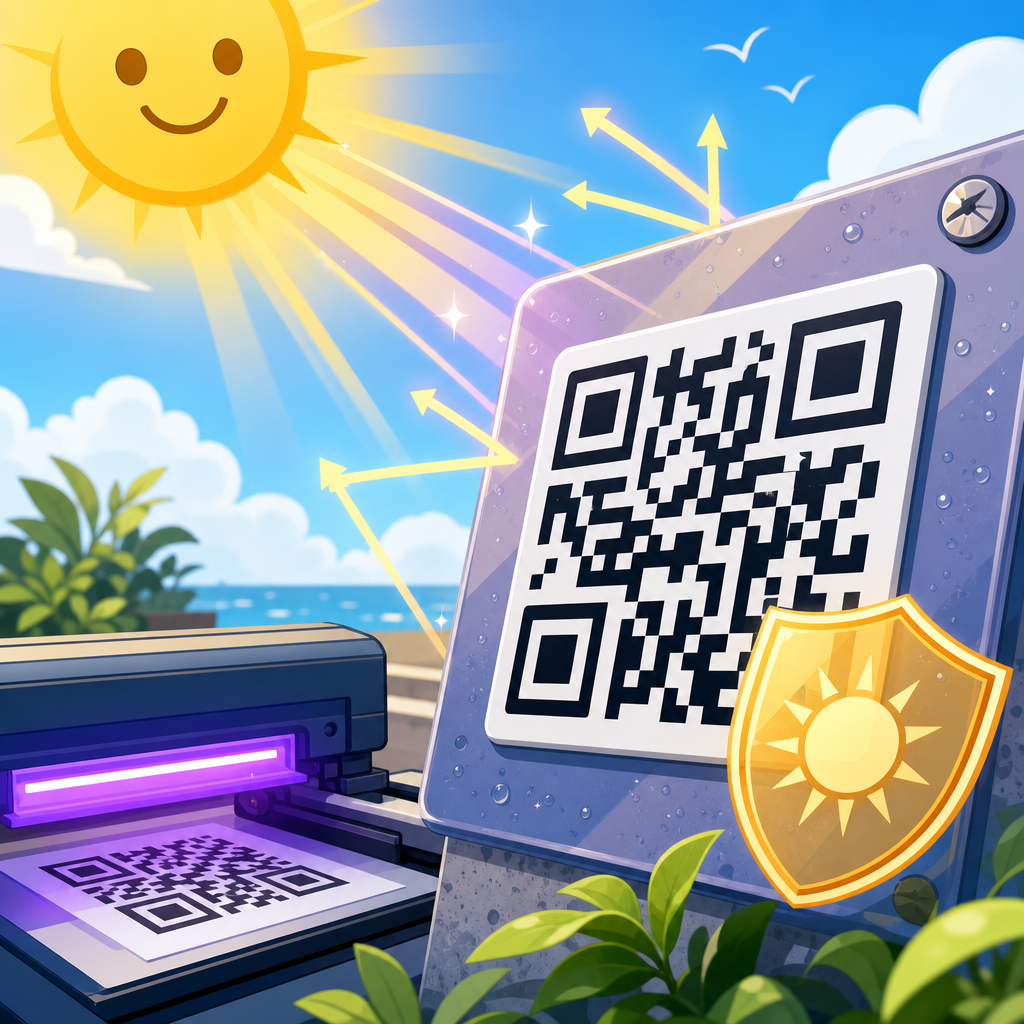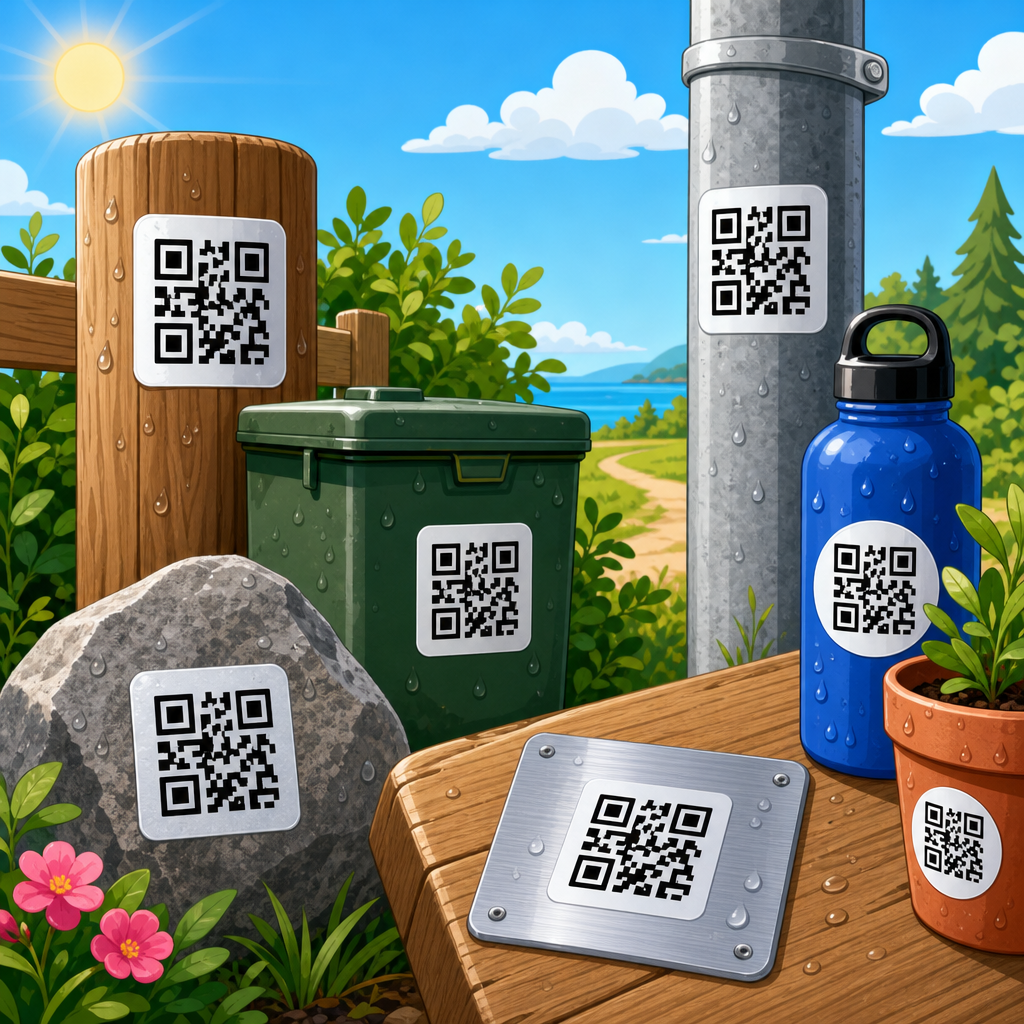
Lighting is one of the most decisive variables in QR code performance, yet it is often treated as an afterthought during design, printing, and deployment. In practical testing, I have seen a perfectly printed code fail on a retail counter at noon, then scan instantly after the sign was tilted a few degrees or moved away from a spotlight. That outcome surprises teams because they focus on size, contrast, and error correction, while overlooking how light interacts with paper, plastic, glass, screens, and camera sensors. If a QR code is meant to work in real environments, lighting has to be part of quality assurance from the first prototype to the final placement.
To understand how lighting affects QR code scanning, it helps to define the mechanics involved. A QR code scanner, whether in a phone camera or dedicated imaging device, must detect the code’s finder patterns, separate dark modules from light background areas, and interpret the data despite perspective distortion, motion, and noise. Lighting determines how clearly those modules appear to the sensor. Too little light produces grain, blur, and low contrast. Too much light can wash out edges, create glare, or trigger overexposure. Uneven light can make one side of the symbol readable and another side invisible. In each case, the QR code itself may be valid, but the capture conditions prevent reliable decoding.
This matters across the entire QR Code Design, Printing & Materials workflow because testing is only meaningful when it reflects real use. A code printed on matte cardstock may pass in the studio and fail on a glossy menu under restaurant pendants. A label on shrink-wrap may scan in the warehouse and fail under supermarket refrigeration lights. A code on a phone screen may work indoors and break in direct sunlight because of reflections, brightness limits, and polarizing effects. For teams responsible for QR Code Testing & Quality Assurance, lighting is therefore a hub issue: it influences print validation, material selection, placement decisions, device compatibility, accessibility, and long-term maintenance. Get lighting right, and scan rates improve. Ignore it, and even technically correct codes underperform.
Why Lighting Changes QR Code Readability
QR code readability depends on contrast at the camera sensor, not just contrast in the artwork file. That distinction is essential. Designers may create a code with black modules on a white background and assume readability is guaranteed. In reality, the scanning device sees a scene shaped by ambient illumination, surface reflections, shadows, and automatic camera processing. Modern smartphone cameras constantly adjust exposure, white balance, sharpening, and ISO. Those corrections help general photography, but they can hurt machine-readable symbols when highlights clip, shadows crush, or edge detail smears.
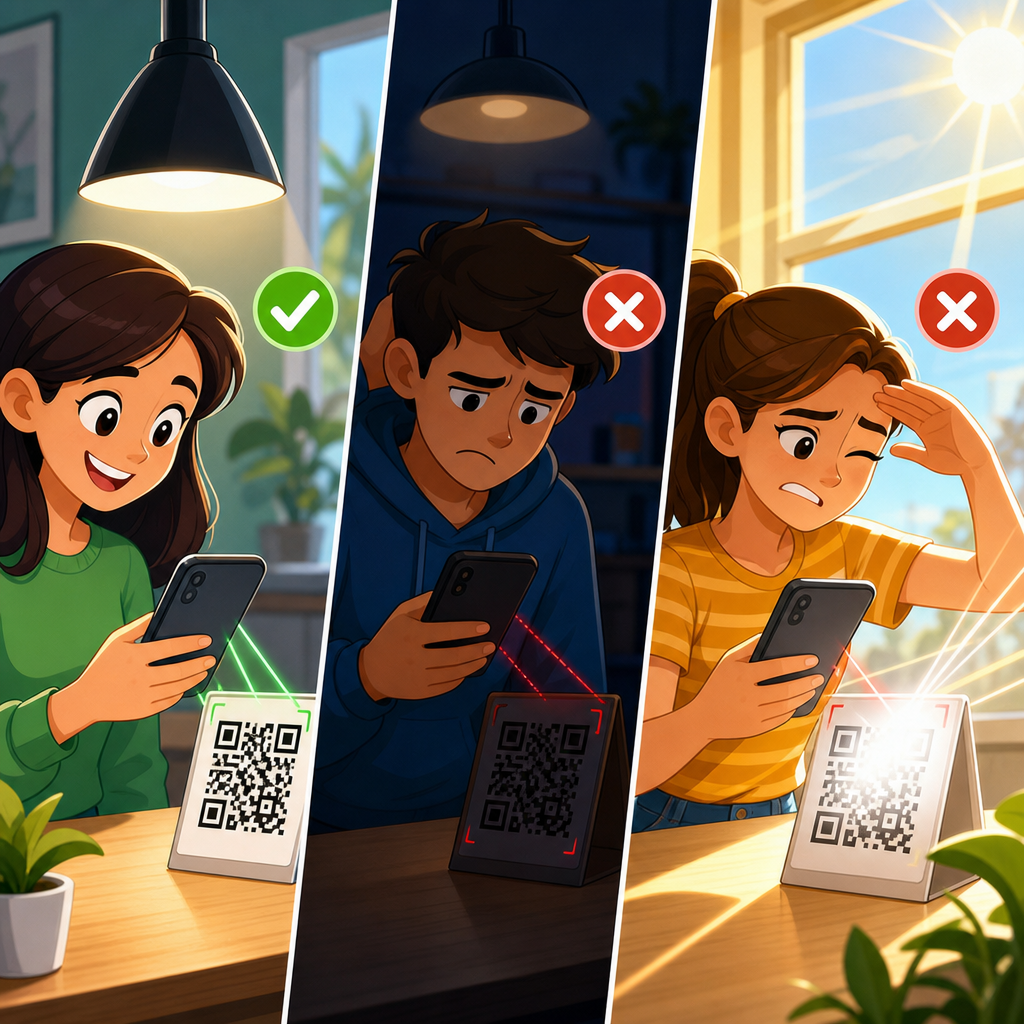
In field tests, the most common lighting-related failures come from four conditions. First, low light forces longer exposure times and higher sensor gain, which increases blur and image noise. Second, direct glare from glossy substrates creates specular highlights that hide modules completely. Third, backlighting lowers perceived contrast when a code is placed in front of a bright window or digital display. Fourth, mixed lighting, such as daylight plus warm LEDs, can confuse auto-exposure and color rendering enough to reduce module separation. Even high error correction cannot compensate if finder patterns are obscured or if enough adjacent modules merge together in the captured image.
Distance also amplifies lighting problems. A QR code scanned from close range can tolerate more noise because it occupies more pixels. At longer range, each module becomes smaller, so mild glare or modest blur can erase the structure the decoder needs. This is why signage, packaging, and posters require lighting tests at actual expected scanning distances rather than desktop checks alone. A reliable quality program evaluates the code as a full optical system: symbol design, substrate, illumination, angle, device camera, and user behavior.
Common Lighting Conditions That Cause Scan Failures
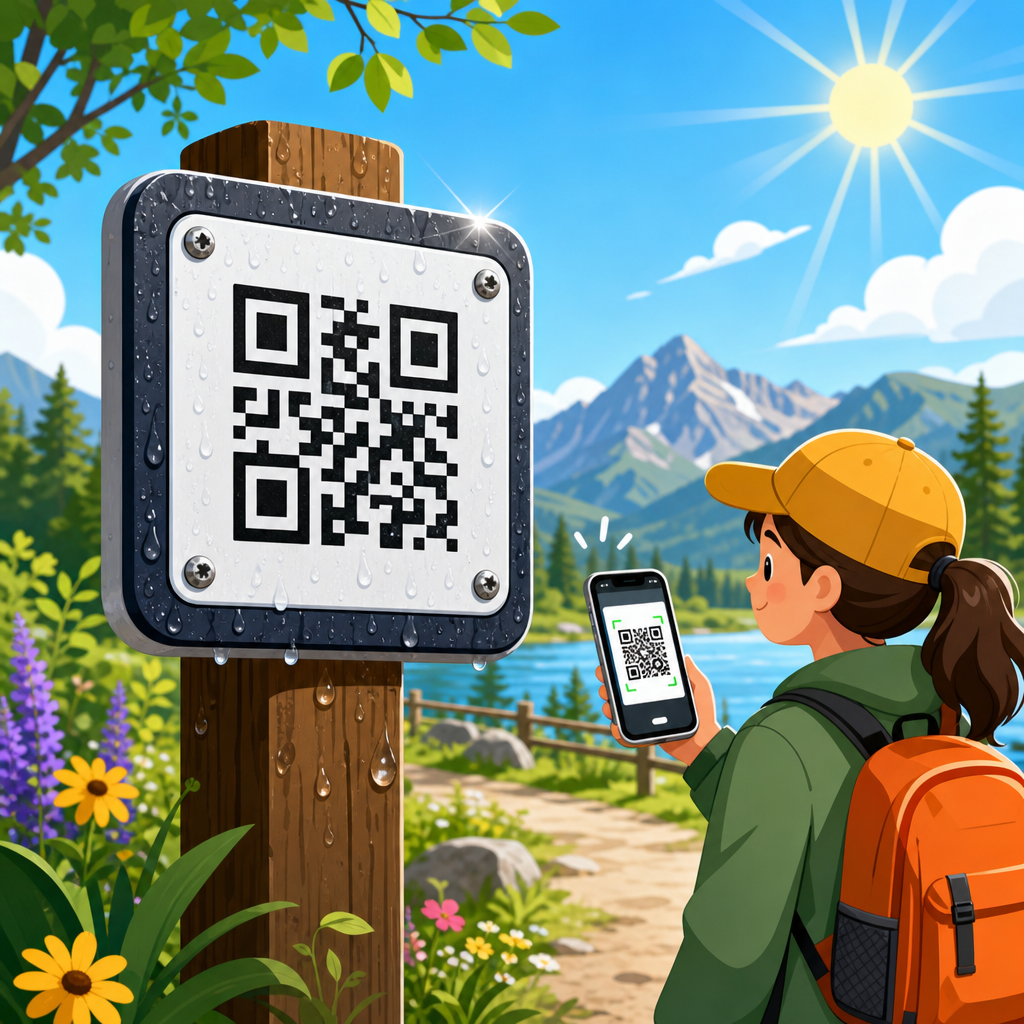
Not all bad lighting looks dramatic. Some of the worst-performing installations fail under ordinary conditions that teams overlook during approval. Retail spotlights are a frequent example. They produce concentrated reflections on laminated signs and product packaging, especially when the code sits under a protective film. Office fluorescents can create banding or uneven brightness across wall posters. Outdoor daylight introduces hard shadows at certain hours and severe washout on reflective surfaces. Vehicle dashboards, vending machines, kiosk screens, and menu boards add another complication because users often scan at off-axis angles, increasing reflected glare.
Screen-based QR codes have their own lighting profile. Bright environments reduce the apparent contrast of a screen because ambient reflections compete with the emitted image. Protective glass, anti-smudge coatings, and cracked screens can all scatter light. I have repeatedly found that codes which scan well on a laptop indoors become unreliable on older phones outside, even when the code size is unchanged. Auto-brightness often reduces display output to save battery, and that lower luminance can be enough to break marginal designs.
| Lighting condition | Typical effect on scanning | Common real-world example | Best corrective action |
|---|---|---|---|
| Low ambient light | Noise, blur, slow focus | Restaurant table tents, bars, events | Increase illumination, enlarge code, use matte stock |
| Direct glare | Washed-out modules and hidden finder patterns | Glossy menus, laminated posters, shrink-wrap | Change angle, reduce gloss, reposition light source |
| Backlighting | Lower perceived contrast | Window signage, storefront decals | Move code, add opaque backing, test at user angle |
| Mixed color temperature | Inconsistent exposure and edge detection | Malls, transit hubs, trade show booths | Standardize lighting where possible and retest on multiple phones |
| Outdoor sun | Reflections, shadows, overheating screens | Posters, vehicle decals, outdoor packaging | Use high contrast, nonreflective materials, shade testing |
These conditions matter because most users will not troubleshoot. They will try once or twice, then give up. Quality assurance has to assume impatient behavior. If scanning requires a precise tilt, a shaded hand, or moving several feet, the deployment is not robust enough.
How Materials, Finishes, and Print Choices Interact With Light
Lighting problems are rarely separate from materials. The same QR code file can perform very differently on uncoated paper, gloss labels, acrylic signs, corrugated board, metal plates, or OLED displays. Matte finishes generally improve reliability because they diffuse reflected light instead of sending a sharp highlight back to the camera. Gloss coatings can make colors appear richer to the eye, but they often reduce machine readability under directional light. This is why packaging teams should not sign off on QR placement until production samples are tested under store lighting, not just inspected under neutral design-studio lamps.
Ink choice and substrate color also affect scan success. Dark modules need sufficient density, and the background needs a clear luminance difference. A code printed in dark blue on kraft paper may look stylish, yet scan poorly under warm lighting because the tonal separation collapses. Metallic inks, pearlescent coatings, embossing, foils, and transparent labels are especially risky. They change the way light reflects and can distort module edges. ISO/IEC 18004 defines QR code symbology requirements, but compliance at the artwork level does not guarantee performance after specialty finishing. In production reviews, I treat decorative effects as potential optical hazards until tested.
Print quality itself becomes more sensitive under difficult lighting. Dot gain, ink spread, soft edges, and registration issues might still decode in ideal conditions, but fail once contrast is reduced by shadow or glare. Quiet zone preservation is equally important. If reflections affect the code border and nearby graphics crowd the symbol, scanners have less margin for accurate detection. For a hub article on QR Code Testing & Quality Assurance, this is the central lesson: testing cannot stop at file validation. It must extend to finished materials, final lighting, and actual user capture conditions.
Testing Methods for Reliable QR Code Quality Assurance
Effective QR code testing starts with a structured matrix. Test the same code across multiple devices, distances, angles, and lighting states. At minimum, include recent iPhone and Android models, one lower-end phone with a weaker camera, and any dedicated scanners used in operations. Evaluate scan speed, first-attempt success rate, focus time, and failure patterns. I recommend running tests in bright diffuse light, low indoor light, direct spotlit conditions, and outdoor daylight. If the code will appear on screens, test minimum and automatic brightness settings as well.
Objective verification tools are useful, but they should not replace real-world scans. A print quality verifier can reveal symbol contrast, modulation, fixed pattern damage, and decode grade. Camera-based apps can help compare performance quickly, while analytics platforms can expose drop-off by location or campaign asset. Yet the most revealing process is observational testing: watch users scan without instructions. If they instinctively tilt the package to avoid glare or move closer because the poster is dim, lighting is already affecting usability. Capture these behaviors as quality findings, not anecdotal comments.
A practical workflow for hub-level quality assurance includes six checkpoints. First, validate the QR code structure and destination. Second, inspect prepress output for size, contrast, and quiet zone. Third, review material and finish samples. Fourth, test production proofs under intended lighting. Fifth, conduct on-site scans after installation at different times of day. Sixth, monitor live analytics and customer feedback for failure signals. This sequence prevents a common mistake: approving a code in isolation, then discovering environmental problems only after deployment. Good testing is repeatable, documented, and tied to acceptance thresholds such as first-scan success and average time to decode.
Design and Placement Best Practices to Reduce Lighting Risk
The simplest way to improve scan reliability under variable light is to increase optical margin. Use strong dark-on-light contrast, preserve an adequate quiet zone, avoid overly dense artwork customizations, and size the code for real scanning distance. As a working rule, larger symbols are more forgiving when lighting is imperfect because each module occupies more pixels in the captured image. This is especially important for posters, shelf signs, and transit placements where users scan from farther away or while moving.
Placement is often more important than code generation settings. Avoid locations that naturally attract reflections, such as behind curved glass, next to chrome trim, or directly under downlights. Keep codes off folds, seams, bottle shoulders, and warped surfaces that distort module geometry. For window decals, consider opaque white backing to preserve contrast against changing outdoor light. For product packaging, position the code on the flattest matte panel available rather than the most visually prominent shiny area. These choices may feel minor during design review, but they are decisive in live performance.
For digital displays, raise screen brightness during the scan experience, maintain generous white space around the code, and avoid animated backgrounds or nearby high-frequency patterns. If the code is shown in an app, lock orientation and prevent dimming during checkout or login. In retail and event environments, adding a short instruction such as “Hold camera 6–10 inches away” can help, but instructions should support a strong design, not compensate for a weak one. The goal of QR Code Testing & Quality Assurance is resilience: the code should scan quickly without requiring ideal behavior, ideal light, or expert handling.
Building a Hub-Level QA Program for Ongoing Performance
Because this page serves as a hub within QR Code Design, Printing & Materials, it should connect lighting to the wider quality system rather than treat it as a one-time checklist item. A mature QA program defines standards for code size, color contrast, substrate approval, finish restrictions, and environmental testing. It also assigns ownership. Design teams control visual choices, production teams control materials, installers control placement, and marketers track scan outcomes. When responsibility is fragmented, lighting-related failures slip through because each team assumes another group tested them.
The strongest organizations create reusable test protocols. For example, every new packaging line can require scans under 300 to 500 lux retail lighting, direct LED spotlight simulation, and daylight-adjacent conditions. Every sign or menu deployment can require proof scans at target distance and user angle. Every digital QR workflow can require tests on low-brightness screens and outdoors. These standards reduce guesswork and make quality measurable. They also support internal linking across the broader subtopic, including print finishes, minimum QR size, color selection, screen display optimization, verification tools, and placement strategy.
In the end, lighting affects QR code scanning because cameras do not read design files; they read reflected or emitted light in imperfect environments. That single fact explains why some codes pass preflight yet fail in the field. Treat lighting as a core quality variable, test on final materials, validate at the point of use, and document what conditions produce the fastest first-time scans. Teams that do this consistently see fewer support issues, higher engagement, and better return from every printed or displayed code. Audit your current QR touchpoints, test them under real lighting, and fix the weak spots before users find them first.
Frequently Asked Questions
Why does lighting have such a big impact on QR code scanning?
Lighting affects QR code scanning because a camera does not read a code the way a person does. It relies on clear differences between the dark modules and the light background, along with sharp edges and a clean overall image. When lighting is poor, uneven, or overly intense, that visual structure starts to break down. Low light can introduce blur, digital noise, and slow focusing. Harsh direct light can wash out the image or create bright hotspots that hide parts of the code. Even when a QR code looks readable to the human eye, a phone camera may struggle to isolate the pattern if the exposure is off or the contrast is reduced by glare.
In real-world environments, lighting also changes continuously. A code that scans well in a controlled office may fail under retail spotlights, in a restaurant with glossy menus, near a storefront window at midday, or outdoors as the sun shifts. That is why lighting should be treated as a core performance factor, not a small environmental detail. Size, contrast, print quality, and error correction all matter, but lighting determines whether the camera can actually capture those strengths in a usable image at the moment of scan.
What kinds of lighting problems most commonly cause QR codes to fail?
The most common problems are glare, reflections, shadows, low light, and uneven illumination. Glare is especially damaging because it can cover critical parts of the code with a bright reflective patch, making some modules effectively invisible to the scanner. This often happens on laminated signs, glossy packaging, acrylic displays, glass surfaces, and phone or kiosk screens. Reflections are similar but can be even trickier because they may introduce competing visual information from surrounding objects, windows, or overhead lights.
Shadows create another major issue. If part of the code is darkened while the rest is well lit, the camera may have trouble interpreting the full pattern consistently. Low light reduces image clarity and often forces the camera to compensate with slower shutter speeds or higher sensitivity, both of which can degrade the image. Uneven lighting is a frequent hidden cause of failure because a code may appear visible overall while parts of it are overexposed and other parts are underexposed. In practice, these issues often combine. For example, a code on a glossy countertop display might be under a spotlight, partially shadowed by the scanner’s hand, and angled toward a window. Any one of those factors can reduce performance, but together they can make a well-designed QR code scan inconsistently or not at all.
How can I design and place a QR code to make it more reliable under different lighting conditions?
Start with the fundamentals: use strong contrast, a simple code style, and a size appropriate for the expected scanning distance. A standard dark code on a matte white or light background is still the safest choice because it gives cameras the clearest separation. Avoid glossy finishes whenever possible, especially for signs, labels, menus, product cards, and displays that will be viewed under overhead lighting. Matte materials diffuse light more evenly and reduce specular reflections, which makes the code easier to capture from different angles.
Placement matters just as much as design. Try to position the code where it will receive consistent, diffuse light rather than direct spotlighting or strong backlighting from windows. Small changes in angle can dramatically improve scan reliability by redirecting glare away from the camera. If a code is mounted behind glass or on a shiny surface, test whether tilting the sign, moving it slightly lower or higher, or shifting it away from a strong light source improves performance. It is also wise to leave ample quiet zone around the code and avoid cluttered backgrounds, since difficult lighting already increases the camera’s workload. In short, the most reliable QR codes are not just well designed; they are also installed with the light environment in mind.
Do printed QR codes and digital QR codes respond differently to lighting?
Yes, they often do. Printed QR codes are affected heavily by the properties of the material they are printed on. Uncoated paper, matte cardstock, and non-reflective labels usually perform better under varied lighting because they minimize glare. By contrast, glossy brochures, laminated table tents, polished packaging, and plastic displays can create bright reflections that obscure parts of the code. Print quality also matters, because if the edges are soft or ink coverage is inconsistent, difficult lighting will make those weaknesses more noticeable to the scanner.
Digital QR codes on screens introduce a different set of challenges. Brightness settings, screen glare, fingerprints, screen protectors, refresh behavior, and ambient reflections all play a role. A phone or tablet displaying a QR code may look crisp indoors, then become hard to scan outdoors because the screen is competing with sunlight. Very bright screens can also bloom slightly on camera, while dim screens may not provide enough separation in a bright environment. Kiosks and digital signage can perform well, but only if brightness, angle, anti-glare properties, and placement are considered. The key takeaway is that both print and digital formats can work extremely well, but each interacts with light differently, so each needs its own testing approach.
What is the best way to test a QR code for lighting-related scanning issues before deployment?
The best approach is practical, scenario-based testing in the actual or expected lighting conditions where the code will be used. Do not rely on a single successful scan under ideal office lighting. Test the code at different times of day, from different user positions, and with multiple devices if possible. If the code will appear in a store, test it under store lighting. If it will be used near a window, test it in morning and midday sun. If it will be placed on a counter, wall, menu, package, or screen, test it in that exact orientation and material finish.
During testing, pay close attention to scan speed and consistency, not just whether the code eventually works. A code that scans instantly ten times in a row is much stronger than one that succeeds only after the phone is moved around to find the right angle. Try common real-world behaviors: hold the phone slightly off-center, approach from above and below, and scan with typical hand movement rather than a perfectly still setup. If problems appear, make small adjustments first, such as changing the sign angle, reducing glare, increasing ambient light, or moving the code away from direct illumination. These small environmental fixes often solve issues faster than redesigning the code itself. Thorough lighting tests reveal whether a QR code is truly ready for public use, and they prevent the frustrating situation where a technically correct code fails in front of actual users.