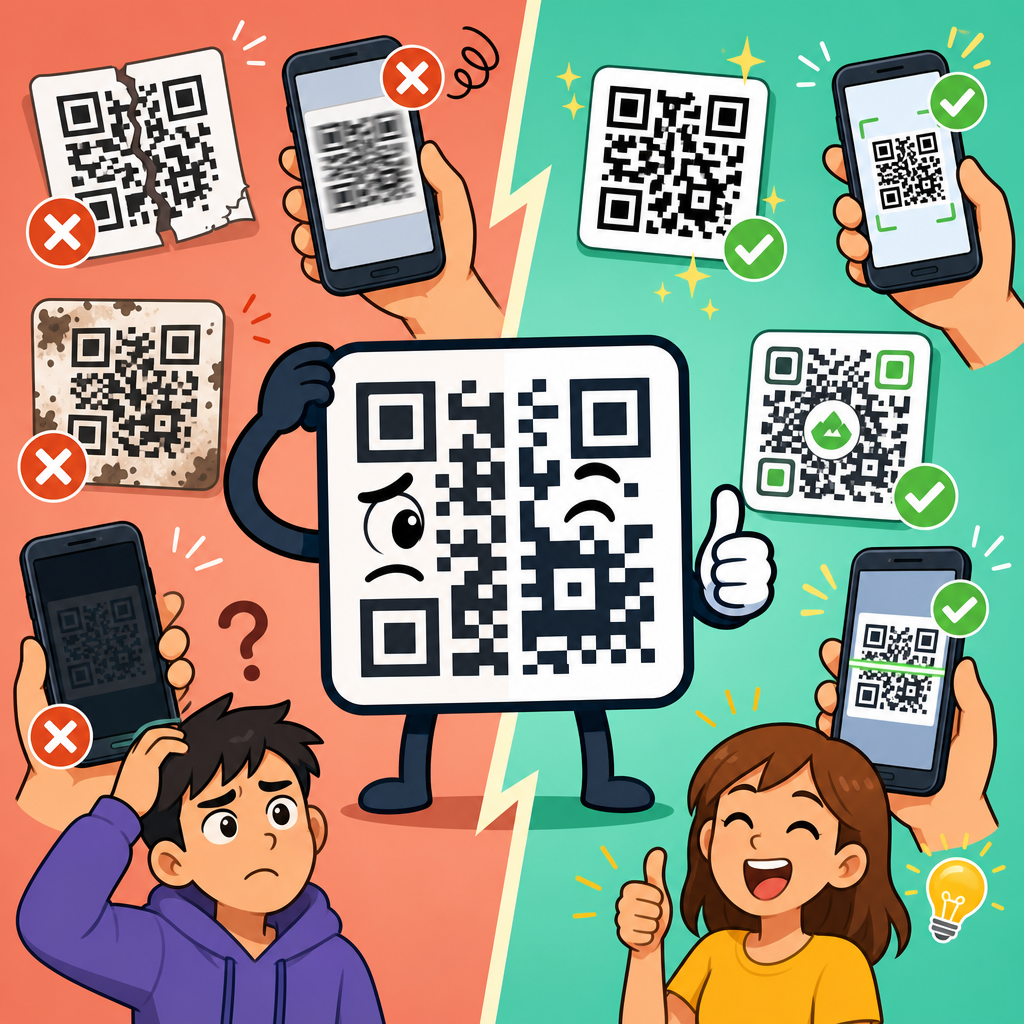
QR code failures are rarely random; they usually trace back to testing gaps, print defects, poor material choices, or weak deployment planning. In QR Code Testing & Quality Assurance, the goal is simple: make every code scan quickly, reliably, and safely across real devices, lighting conditions, surfaces, and user contexts. A QR code is a two-dimensional matrix barcode that stores data such as URLs, contact records, Wi-Fi credentials, payment requests, or product IDs. Quality assurance is the disciplined process of checking whether that code works before and after release. In practice, that means validating symbol structure, contrast, size, quiet zone, destination behavior, print durability, and analytics integrity.
I have seen expensive campaigns fail because a perfectly styled package code was tested only on one flagship phone in an office with bright overhead lighting. Once shipped, the same code sat on curved bottles under store fluorescents, picked up glare, and stopped scanning consistently. The lesson is that QR code testing is not a cosmetic step at the end. It is a production control function that connects design, printing, substrates, adhesives, inks, device compatibility, and user experience. For brands, a failed code wastes media spend and erodes trust. For operations teams, it interrupts inventory, traceability, service workflows, and payments. For regulated uses such as medical devices or manufacturing records, poor readability can create compliance and safety risk.
This hub article covers the common QR code failures and fixes that matter most in the broader QR Code Design, Printing & Materials discipline. It explains what breaks, why it breaks, how to test systematically, and which standards and tools help teams catch problems early. It also serves as a practical foundation for related pages on print sizing, color choices, substrate selection, lamination, verification, outdoor durability, and scan analytics. If you need one reference point for QR Code Testing & Quality Assurance, start here and use it as the framework for every design review, prepress check, and field audit.
Structural failures: when the symbol itself is flawed
The first category of failure starts inside the code. A QR symbol can fail because it was generated incorrectly, exported at low resolution, distorted during layout, or edited in ways that damage finder patterns, alignment patterns, timing patterns, or the quiet zone. The quiet zone is the blank margin around the symbol, and it is not optional. ISO/IEC 18004 defines the core requirements for QR code symbols, and one of the most common production mistakes is crowding text, icons, borders, or background graphics too close to the edges. Scanners need that clean separation to detect the code quickly.
Another frequent issue is over-customization. Designers often round modules too aggressively, insert oversized logos, or reverse colors without understanding the tolerance limits. Error correction helps, but it is not a license to rebuild the symbol beyond recognition. I generally treat logo insertion as a constrained exception, not a default design move. If branding is required, keep the payload short, choose an appropriate error correction level, preserve all detection patterns fully, and verify the final symbol using more than one scanning engine. A code that scans on a native iPhone camera but fails on older Android hardware or warehouse handhelds is not production ready.
Resolution mistakes also cause hidden failures. A vector master is safest for print because it scales cleanly. Problems begin when a QR code is exported as a tiny raster image, then enlarged in presentation software or a packaging layout file. That interpolation softens edges, creates anti-aliasing, and reduces decodability. The fix is straightforward: generate the code from a reliable tool, preserve vector output when possible, and set raster exports at final size with sufficient pixel density. For print production, review the imposed artwork at one hundred percent and inspect edges for fuzziness or module deformation before approval.
Print and material failures: when a good code becomes unreadable
Many QR codes are structurally sound before press and unusable after print. That happens because print processes and materials change the symbol. Dot gain can make modules spread on uncoated paper. Ink starvation can weaken dark areas on corrugated stock. Flexographic plates can compress fine detail. Thermal labels can fade with heat exposure. Gloss laminates and metallic films can introduce glare or reflections that defeat autofocus and contrast detection. The code did not fail in software; it failed in production.
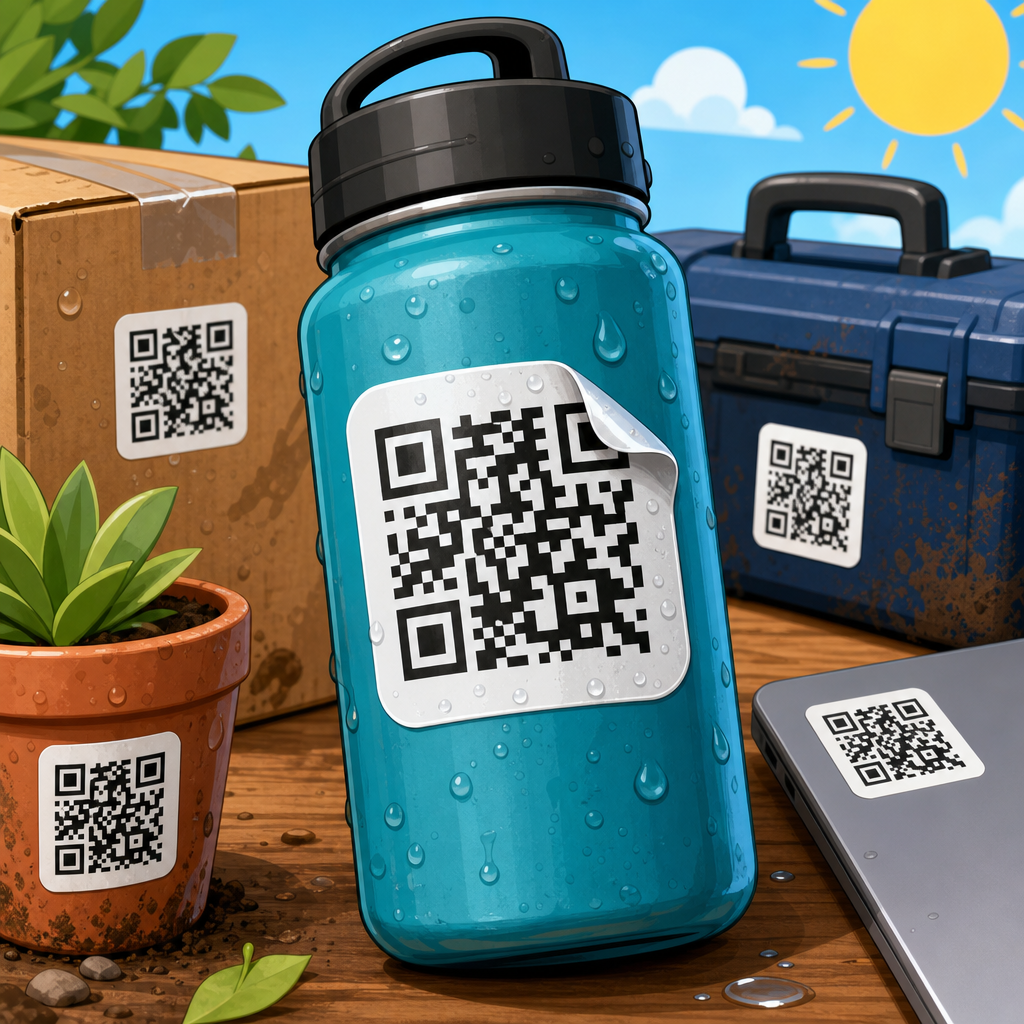
Curved and irregular surfaces are another major source of scanning problems. A code placed on a narrow bottle, cable tag, wristband, or shrink sleeve may warp visually when viewed through a camera. In these cases, size and placement are as important as the symbol. On one beverage label project, moving the code from the shoulder curve to a flatter back panel improved first-pass scans dramatically without changing the design at all. Surface texture matters too. Embossing, varnish buildup, and textured paper can fragment module edges.
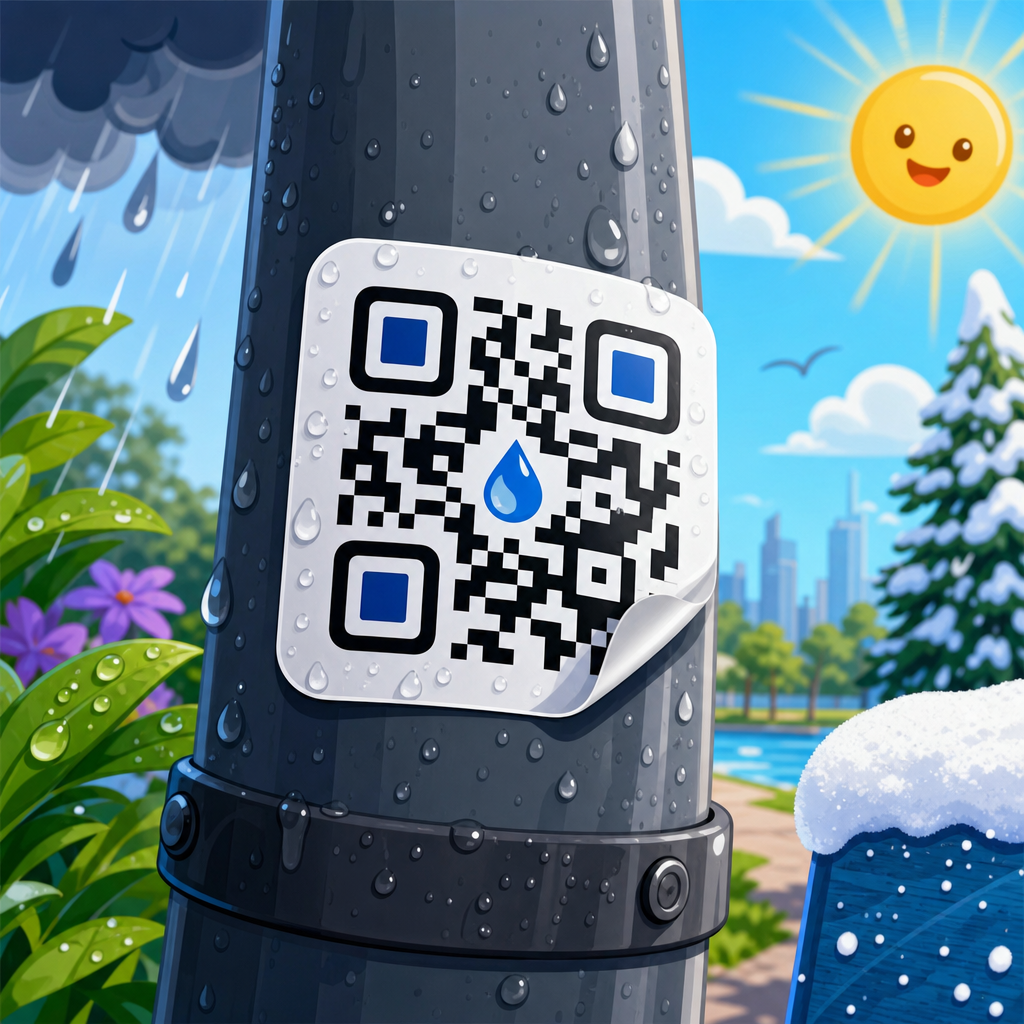
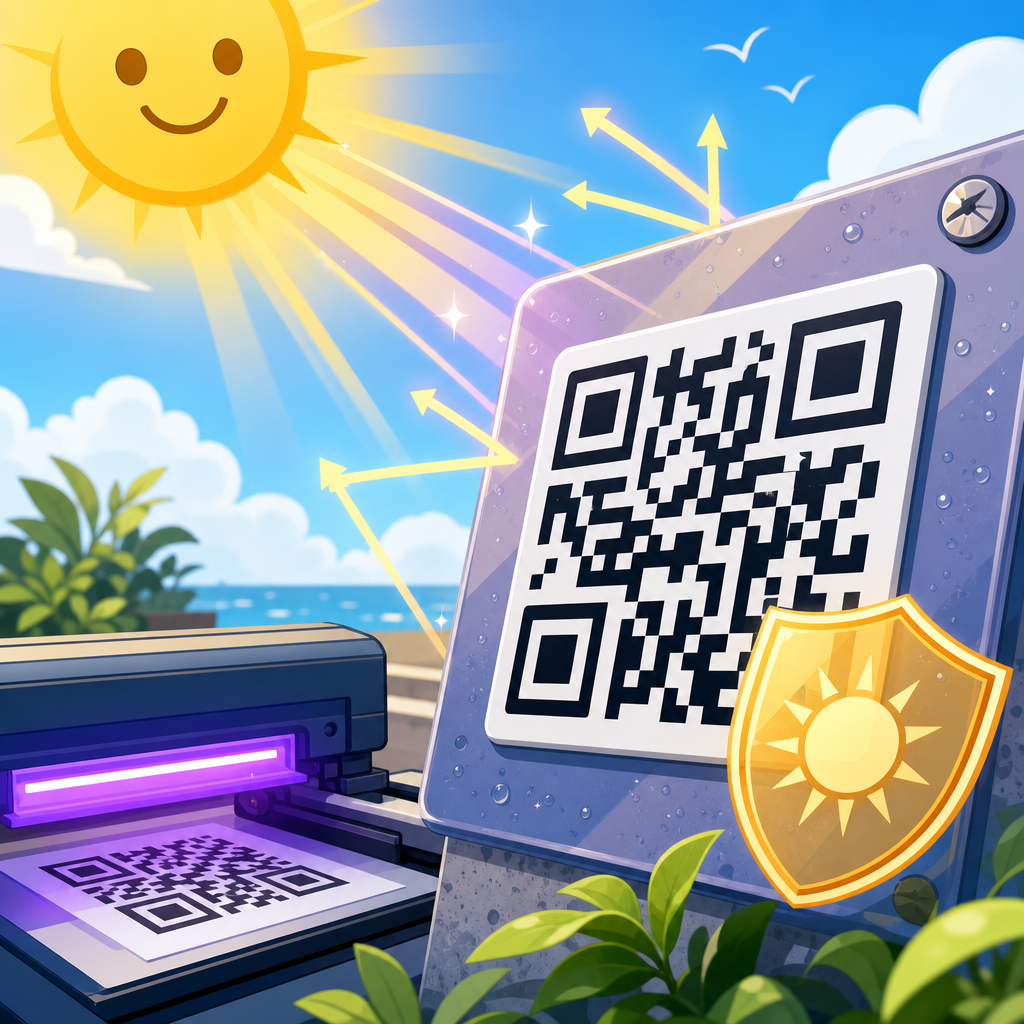
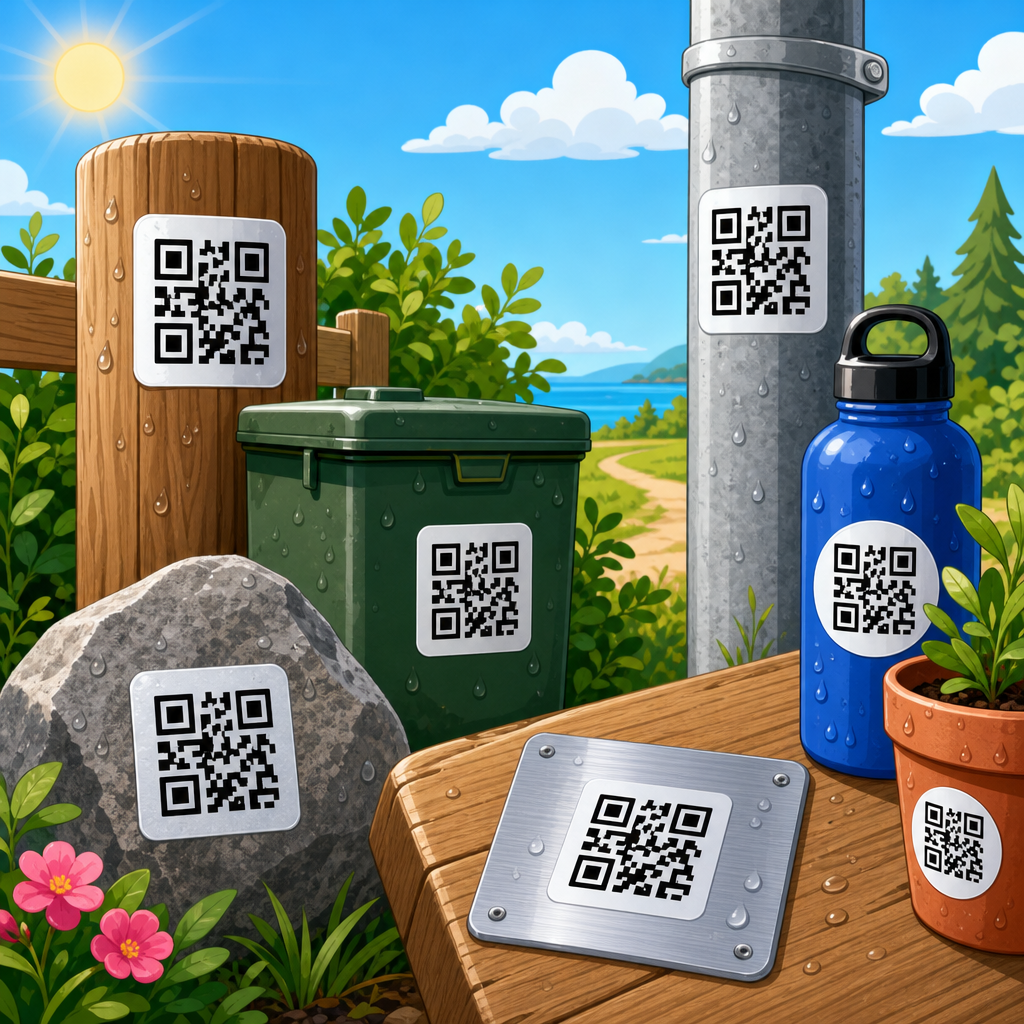
The practical fix is to test the exact print method and substrate, not a desktop mockup. Build press proofs, label proofs, and environmental samples. Check contrast using objective measures where possible; dark gray on black may look premium on screen and fail instantly in the field. A dependable rule is high contrast, matte finish, and enough physical size for the expected scanning distance. If the code must live outdoors, run abrasion, moisture, UV, and chemical exposure tests. For industrial labels, I usually review resistance to cleaners, oils, and temperature cycling because a code that scans on day one but smears after maintenance is still a failed code.
Scan environment failures: when context defeats readability
Even a well-printed symbol can fail in the wrong environment. Lighting is the biggest variable. Low light increases camera noise and motion blur. Direct sun can wash out pale backgrounds. Point-source lighting can create hotspots on glossy labels. Distance and angle matter because phone cameras use autofocus and exposure routines that vary by model. Motion matters because users rarely hold perfectly still, especially in retail aisles, vehicles, events, and factory floors.
Context testing should answer direct questions. Can the code scan under fluorescent office light, warehouse sodium lighting, and outdoor daylight? Does it work from the likely user distance? Can it be captured one-handed? Is the code still readable behind a protective acrylic cover or through a freezer door? If a code appears on transit posters, can a commuter scan it while walking, or is it mounted too high and too small? These are not edge cases; they are the actual use conditions that define success.
A disciplined test matrix prevents blind spots. I recommend validating across current iPhone and Android models, at least one older budget device, and any dedicated scanners used operationally. Test native camera apps and, where relevant, embedded scanners inside payment, loyalty, or field-service applications. Record scan success rate, time to scan, and failure mode. When issues appear, change one variable at a time: size, finish, placement, contrast, destination, or payload. Teams that skip controlled retesting often fix the wrong problem.
| Failure | Typical cause | How to test | Most reliable fix |
|---|---|---|---|
| Slow or failed scans | Low contrast, glare, small size | Scan under mixed lighting on multiple phones | Increase size, improve contrast, use matte finish |
| Works on screen, fails in print | Raster scaling, dot gain, poor substrate | Compare digital proof to press sample at final size | Use vector artwork and print-specific proofing |
| Intermittent scans | Curved placement or damaged quiet zone | Test at realistic angles and distances | Move code to flat area and restore margins |
| Code scans but page fails | Broken redirect, bad URL, slow landing page | Check redirects, mobile load, analytics tagging | Repair destination and monitor uptime |
Destination and workflow failures: when the scan works but the experience fails
Many teams stop testing after a successful scan beep, but a readable code can still fail the user if the destination is broken. Common problems include expired campaigns, mistyped URLs, redirect loops, SSL certificate errors, region blocks, oversized mobile pages, app deep links without fallback behavior, and analytics tags stripped by redirects. In service and operations settings, the destination may expose the wrong asset record, open a stale form version, or demand login flows that front-line users cannot complete on mobile data.
Dynamic QR codes reduce some of this risk because the final destination can be updated without reprinting the symbol. They also introduce governance needs. Someone must control redirect rules, audit destination changes, and watch uptime. I prefer a documented release checklist: confirm the target URL, verify HTTPS, test redirects with and without cookies, validate campaign parameters, and review page performance in PageSpeed Insights or WebPageTest. If the post-scan page takes five seconds on a weak connection, many users will abandon even though the code technically worked.
The fix is end-to-end quality assurance. Test the code, then test the full journey: camera opens, code resolves, page loads, consent banners do not block the primary action, forms submit correctly, and events are logged in analytics. For payments, verify amount, merchant, and confirmation flows. For manuals and support, make sure the page opens at the right language and version. A QR code is not just a symbol; it is the front door to a workflow, and that workflow must be tested like any customer-facing system.
Verification methods, standards, and ongoing quality control
Good QR Code Testing & Quality Assurance combines scanner testing with formal verification. Scanning answers whether common devices can decode a symbol in practical conditions. Verification measures symbol quality against defined criteria using specialized equipment. For teams producing high volumes, especially in manufacturing or regulated supply chains, verification is the stronger control because it catches print drift before users notice it. While QR-specific requirements originate in ISO/IEC 18004, print quality evaluation often references ISO/IEC 15415 for two-dimensional symbols. Verifiers grade factors such as symbol contrast, modulation, axial non-uniformity, grid non-uniformity, and unused error correction.
In real production environments, I use both approaches. A verifier tells you whether the printed symbol meets quality thresholds. A device test tells you whether the code still works on the phones and scanners your audience actually uses. Neither replaces the other. Small businesses may not own verification hardware, but they can still run disciplined checks with calibrated proofs, sample retention, controlled lighting, and a defined approval protocol. Large brands and converters should go further with incoming material checks, in-process press inspections, batch sampling, and post-application audits.
Ongoing quality control matters because QR performance degrades over time. Packaging lines drift. Printer heads wear. Thermal transfer ribbons change. Adhesives yellow. Outdoor signage fades. Teams should monitor scan analytics for unexpected drops in engagement by location, batch, or substrate. That data often reveals quality issues before customer complaints surface. Build a maintenance rhythm: re-test evergreen codes quarterly, verify destinations monthly, and review environmental durability on any code exposed to sun, moisture, abrasion, or chemicals. Consistency, not one-time testing, is what keeps QR codes dependable at scale.
How to build a practical QA process for every QR code project
The most effective QA process is simple enough to repeat and strict enough to catch failure early. Start with generation controls: create the code from a trusted platform, lock the payload, choose the right error correction level, and preserve a master vector file. Next, review design constraints: maintain the quiet zone, avoid low-contrast palettes, keep logos conservative, and size the code for actual scanning distance. Then move into prepress and production checks: proof on the real substrate, inspect print sharpness, and review finish effects such as varnish or lamination.
After production, run field tests in the environments that matter. Use multiple phone models, at least one older device, and any dedicated scanners in service. Time the scan, note the angle and lighting, and record whether the destination loads cleanly on mobile networks. For operational deployments, train staff to report failures with photos, device type, location, and batch details. That evidence speeds root-cause analysis. Finally, document ownership. Someone should be accountable for the symbol file, the destination, analytics, revalidation dates, and retirement plans for expired campaigns. Without ownership, QR code quality declines quietly.
Common QR code failures and fixes come down to discipline. Most issues are preventable when teams test the symbol, the print, the surface, the environment, and the destination as one system. Use this hub as your baseline for QR Code Testing & Quality Assurance, then apply the same rigor to related decisions on size, color, materials, adhesives, finishes, and verification. Reliable QR codes convert better, support operations more smoothly, and protect brand credibility. Before your next print run or campaign launch, build a test matrix, verify the output, and scan every code like a real user would.
Frequently Asked Questions
Why do QR codes fail to scan even when they look correct?
Most QR code failures are not caused by randomness or bad luck. They usually come from preventable issues in design, production, placement, or testing. A code can appear visually fine and still be difficult for a phone camera to read if it has low contrast, is printed too small, is placed on a reflective or curved surface, or uses a damaged quiet zone, which is the clear margin around the code that scanners rely on for detection. Even slight distortion, blur, ink spread, or compression artifacts can make a code harder to process.
Another common problem is that teams test the QR code in ideal conditions only. A code may scan perfectly on a desktop monitor or a freshly printed sample, but fail in real use when exposed to glare, poor lighting, motion, dirty surfaces, lower-end cameras, cracked screens, or different scanning apps. Device variation matters. Some phones recover well from imperfect images, while others do not. That is why QR Code Testing & Quality Assurance focuses on real-world performance rather than assuming that one successful scan proves the code is ready for deployment.
The destination also matters. Sometimes the QR symbol itself scans correctly, but users perceive it as a failure because the link is broken, the landing page loads slowly, the app deep link is misconfigured, or the content is blocked by network restrictions. In practice, a working QR experience depends on the entire chain: the code image, the print or display method, the environment, the scanning device, and the content that opens after the scan.
What are the most common print and design mistakes that make QR codes unreliable?
The most frequent print and design mistakes are low contrast, insufficient size, missing quiet zones, and poor surface selection. A QR code should usually be dark on a light background for the best reliability. Reversed designs, patterned backgrounds, metallic finishes, transparent substrates, or brand-heavy styling can reduce scan performance significantly. While custom QR codes can be effective, they still need to preserve the core finder patterns, alignment structure, and clean separation between modules. Overdesign is a common source of failure.
Print quality is equally important. If the code is too small for the expected scanning distance, cameras may not capture enough detail to decode it. If ink bleeds, edges soften, or modules fill in, the pattern becomes ambiguous. On glossy packaging, window decals, laminated menus, or curved bottles, reflections and distortion can interfere with detection. Materials matter more than many teams expect. A code printed on paper may work well, while the same file applied to textured plastic or wrapped around a cylinder may become unreliable.
Placement errors also create avoidable problems. QR codes placed too close to folds, seams, corners, perforations, or competing graphics can be partially blocked or visually lost. Outdoor installations introduce additional variables such as fading, dirt, weathering, and extreme lighting. The best fix is to treat QR code deployment like a production system: validate the final printed or mounted version, on the actual material, in the actual setting, at the actual expected scanning distance, before full rollout.
How should businesses test QR codes before printing or launching them?
Effective QR code testing should be systematic, not casual. Start by validating the encoded data itself. Make sure the URL, contact card, payment payload, Wi-Fi credential, or product identifier is correct and formatted properly. Then test the code image across multiple devices, operating systems, and scanning methods, including native camera apps and common third-party scanners. A QR code that works on one flagship phone does not automatically work everywhere.
Next, test under realistic environmental conditions. Scan the code in bright light, low light, and angled light. Check performance with glare, shadows, motion, and different viewing distances. If the code will be used outdoors, test it outdoors. If it will appear on packaging, test on actual packaging. If users may scan while standing, walking, or in a checkout line, consider those behaviors part of the quality assurance process. The goal is not just technical readability but consistent usability in the contexts where people will encounter the code.
It is also important to test the full user journey after the scan. Confirm that the destination page loads quickly, is mobile-friendly, and matches the user’s expectation. If the QR code triggers a form, payment screen, app install, or authentication step, verify that each downstream step works smoothly. Many organizations stop at “the camera recognized the code,” but true quality assurance asks whether the entire experience is fast, reliable, and safe from end to end.
Can damaged or partially obscured QR codes still work, and how can that be improved?
Yes, QR codes can often still work when they are slightly damaged because they include built-in error correction. This allows scanners to recover data even when part of the symbol is obscured, scratched, smudged, or worn. However, error correction is not a guarantee. It helps within limits, and those limits shrink quickly when damage combines with other issues such as low contrast, bad lighting, poor focus, or printing errors. A code with high error correction may survive some physical wear, but it still needs sound design and deployment practices.
To improve resilience, choose an appropriate error correction level based on the use case. Codes placed on industrial equipment, shipping labels, outdoor signs, product packaging, or high-touch surfaces may benefit from stronger protection. At the same time, avoid assuming that higher error correction solves everything. It increases symbol density, which can make very small codes harder to scan. The right balance depends on available print area, expected wear, and scanning distance.
Other durability improvements include using higher-quality materials, protective finishes that reduce abrasion without adding glare, and placements that avoid folds, seams, and frequent contact points. If obstruction is likely, such as on labels that may wrinkle or packaging that may scuff, test the code after simulated wear. In quality assurance, durability is not theoretical. You want evidence that the code still performs after handling, transport, storage, and real customer use.
What are the best fixes if a live QR code deployment is already failing in the field?
Start by identifying whether the failure is in the symbol, the environment, or the destination. If users cannot get their cameras to recognize the code at all, inspect size, contrast, print quality, quiet zone, placement, and surface effects such as glare or curvature. If the code scans but users still report problems, check the landing page, redirects, app behavior, cellular performance, and analytics. A field failure is often a system failure, not just a barcode failure.
The fastest fixes usually involve improving visibility and scan conditions. Increase size, restore a clean margin, use a darker foreground on a lighter matte background, and move the code away from cluttered graphics or reflective materials. If the code is on signage, adjust placement height and angle so users can scan naturally without awkward positioning. If it is on packaging, review whether product shape, sealing, or shrink wrap is interfering with readability. In some cases, replacing a stylized code with a simpler standard design produces an immediate improvement.
For digital or destination-side issues, update broken links, reduce redirect chains, optimize mobile load speed, and ensure the content is accessible without unnecessary friction. Dynamic QR codes can be especially useful because they allow you to update the destination without reprinting the symbol. Finally, build a feedback loop. Use scan analytics, support reports, spot audits, and periodic retesting to catch problems early. The most effective long-term fix is a stronger QR Code Testing & Quality Assurance process that prevents the same failure patterns from reaching production again.