Printing QR codes at home is simple when you understand how code size, contrast, material choice, printer settings, and testing work together. A QR code is a two-dimensional barcode that stores data such as a website URL, Wi-Fi login, payment link, contact card, or menu. Smartphone cameras and scanning apps read the square modules, then translate that pattern into an action. In practice, a printable QR code is not just a graphic downloaded from a generator. It is a functional access point that must remain scannable after ink hits paper, adhesive, cardboard, plastic sleeves, or product packaging. That difference matters.
I have printed QR codes for flyers, event badges, shipping inserts, classroom handouts, and countertop signs, and the same pattern appears every time: people focus on creating the code, then lose reliability during printing. A code that scans perfectly on a screen can fail on paper because it is too small, stretched, low contrast, glossy, or crowded by design elements. Home printing adds another layer. Consumer inkjet and laser printers can produce excellent results, but only when the file resolution, paper stock, scaling, and finish suit the intended scanning distance and lighting conditions.
This guide explains how to print QR codes at home as a complete hub for the broader topic of printing QR codes. It covers file preparation, printer selection, ideal sizes, materials, placement, testing, and common mistakes. If you need a quick answer, start with this rule: print a high-resolution QR code in black on a matte white background, keep the quiet zone clear, avoid resizing disproportionately, and test the final piece with multiple phones before producing a batch. Those basics solve most failures. The deeper details below help you move from “usually scans” to “works consistently in real conditions.”
Choose the Right QR Code File Before You Print
The first printing decision happens before the printer turns on. You need the right source file. If possible, export the QR code as SVG, EPS, or PDF because vector files stay sharp at any size. PNG can also work well if exported at sufficient resolution, generally at least 300 DPI for print and often higher for very small labels. JPEG is the weakest choice because compression artifacts can blur module edges and reduce scan reliability. I regularly see home users copy a small screenshot of a QR code from a browser, paste it into a document, enlarge it, and wonder why it fails. That workflow almost guarantees soft edges.
You also need to decide whether the code should be static or dynamic. A static QR code contains fixed data, such as a direct URL or plain text, and cannot be edited after printing. A dynamic QR code points through a redirect managed by a service, which lets you update the destination later, track scans, or change campaigns without reprinting. For home printing, either works, but the choice affects risk. Static codes are independent and durable. Dynamic codes are flexible, but they rely on the platform remaining active and the redirect staying live.
Error correction is another critical setting. QR codes commonly use levels L, M, Q, and H. Higher error correction helps the code remain scannable if part of it is damaged, obscured, or stylized, but it also increases pattern density. For plain home printing on paper, level M or Q is usually a strong balance. I reserve H for situations where a logo overlays the center or the printed surface may get worn. More correction is not automatically better if it makes a small code too dense for a basic printer to render cleanly.
Set Size, Contrast, and Quiet Zone for Reliable Scanning
The best printable QR code size depends on scanning distance, camera quality, and content density. A common baseline for handouts and product inserts is at least 0.8 x 0.8 inches, though 1 x 1 inch is safer for many home print jobs. For posters or signs viewed from farther away, increase the code significantly. A practical rule used in signage is that the scanning distance should be roughly ten times the code width. That means a 1-inch code is comfortable at about 10 inches, while a 3-inch code works better around 30 inches. Real-world conditions vary, so testing matters more than theory.
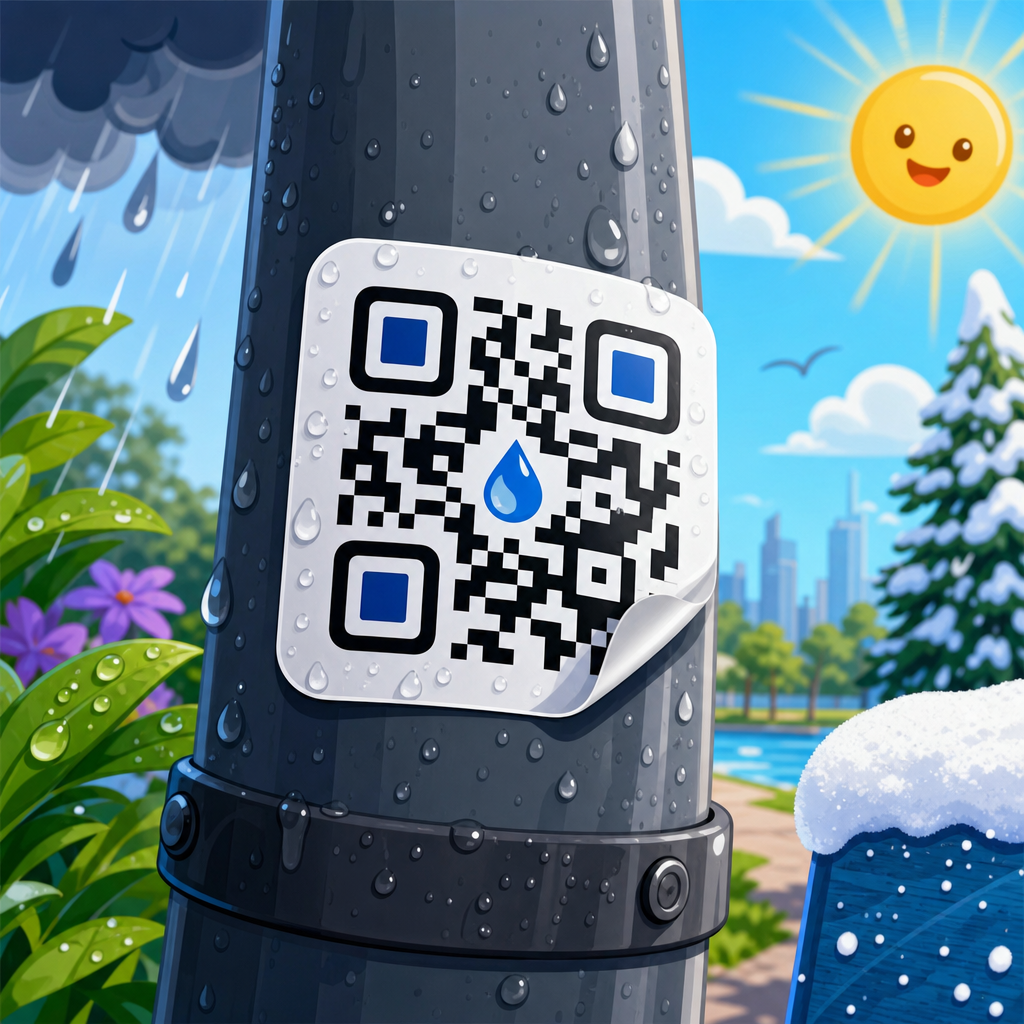
Contrast should be high. Black modules on a white background remain the gold standard because they give smartphone cameras the clearest distinction. Dark blue on white can work. Light gray, yellow, metallic inks, or pastel backgrounds often do not. In home environments, uneven lighting and phone autofocus limitations punish low-contrast designs fast. Matte surfaces also outperform glossy ones because glare can wash out the module pattern and block scanning from certain angles.
The quiet zone is the blank margin around the QR code. It is not optional decoration space. Most standards-based guidance calls for a clear border at least four modules wide on all sides. If text, borders, photos, or design elements intrude into that margin, some phones will misread or fail to detect the code entirely. When I review failed print pieces, missing quiet zone is one of the most frequent causes after undersized codes.
| Printing factor | Best practice at home | Why it matters |
|---|---|---|
| File format | SVG, PDF, or high-resolution PNG | Keeps edges sharp and prevents pixelation |
| Color | Black on matte white | Delivers the highest scan contrast |
| Minimum size | 0.8 to 1 inch for close scanning | Improves readability on phone cameras |
| Quiet zone | At least 4 modules on each side | Helps scanner detect code boundaries |
| Error correction | M or Q for most print uses | Balances resilience and pattern density |
| Surface finish | Matte paper or label stock | Reduces glare and reflection |
Pick the Best Home Printer and Paper for the Job
You can print QR codes successfully on both inkjet and laser printers, but they behave differently. Inkjet printers are common in homes and can produce deep blacks on quality paper, yet they are more vulnerable to feathering on porous stock and smudging if the ink is not fully dry. Laser printers create crisp edges and resist smearing, which is useful for labels, office handouts, and bulk monochrome runs. If I need tiny QR codes for inventory labels or compact packaging inserts, I generally trust a decent laser printer first because toner edges stay cleaner at small sizes.
Paper choice matters almost as much as printer type. Standard copy paper is acceptable for internal use, classroom materials, and rough prototypes. Matte brochure paper improves sharpness and perceived contrast for marketing pieces. Adhesive label sheets are excellent for jars, boxes, and mailers but require checking that the printer supports the stock weight and adhesive backing. Glossy photo paper looks appealing but can produce glare strong enough to hurt scans under direct light. If a code will be taped to a window, laminated, or placed under acrylic, start with a matte print and test it in final lighting.
Printer settings should favor accuracy over speed. Select high or best quality, disable fit-to-page if it alters scale, and print at 100 percent unless you intentionally sized the code in your document. Many home users accidentally shrink the quiet zone or distort the square by dragging corners in Word, Google Docs, or Canva without locking proportions. Always confirm the final printed dimensions with a ruler. A QR code that should be 1 inch wide but prints at 0.7 inches may still look fine to the eye and still fail repeatedly in use.
Prepare the Layout for Flyers, Labels, Signs, and Packaging
Printing QR codes at home is not only about the code itself; placement on the page affects results. On flyers, keep the code near a clear call-to-action, such as “Scan to view pricing” or “Scan for the full menu.” Users scan more when they know what happens next. On labels and packaging, avoid folds, corners, seams, and curved surfaces that warp the square pattern. Cylindrical bottles are especially tricky. A code that wraps too far around a bottle loses readability because the camera sees distortion rather than a flat grid.
For signs, think about viewing angle and approach path. A tabletop sign scanned from standing height needs a larger code than a handout held close. Restaurant table tents, trade show placards, and bulletin board posters often fail because the code is sized for desktop viewing rather than physical distance. The same applies to window posters. Exterior light, reflections, and tinted glass all reduce scan success, so the printed code should be bigger and bolder than you might expect.
When designing multi-element pieces, separate the QR code from clutter. Dense backgrounds, patterned textures, and overlapping graphics can confuse detection even if the code technically has enough contrast. If you want branding, add it around the code rather than inside it unless you understand the error correction tradeoff. A small logo in the center can work when generated properly, but heavy styling, rounded modules, gradients, or inverse colors make home printing less forgiving. For hub-level guidance, the safest recommendation is simple design first, branding second.
Test Every Printed QR Code Before You Make More
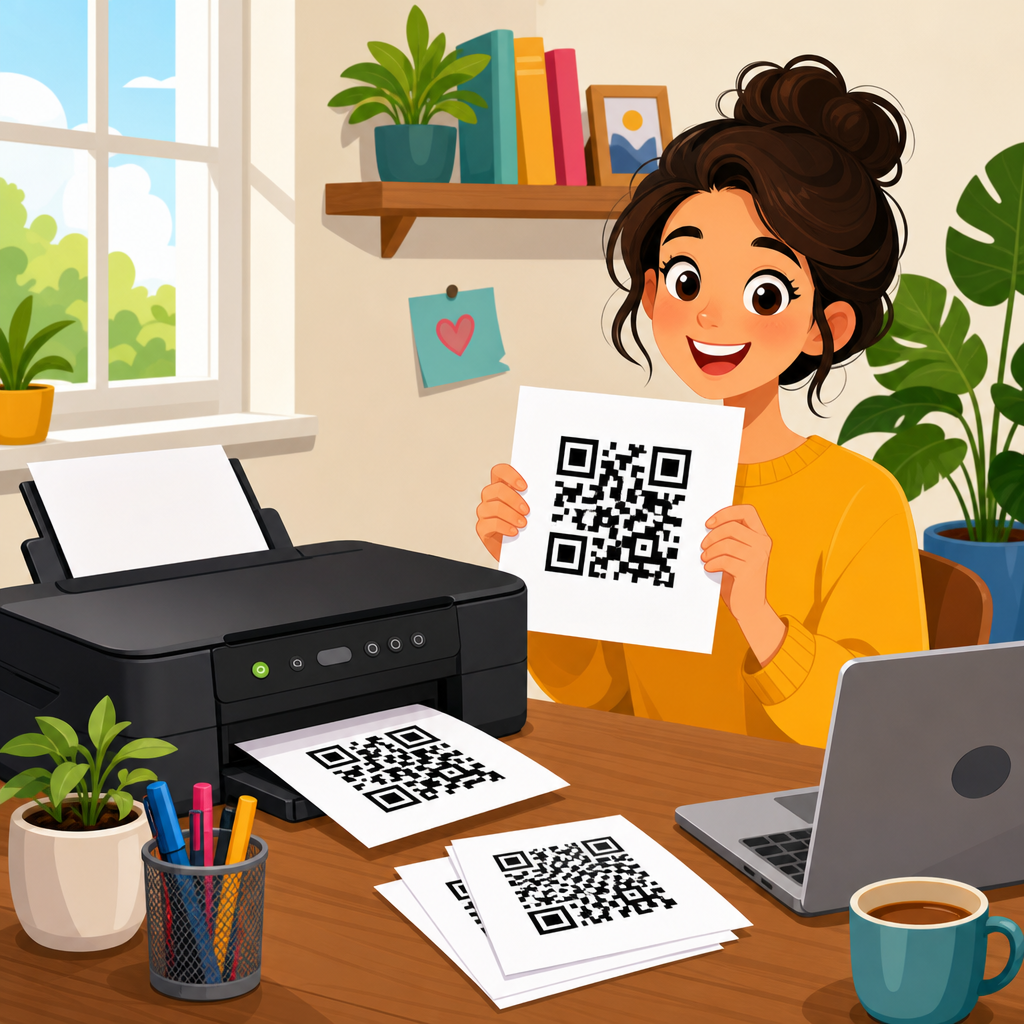
The most important step in printing QR codes at home is testing the final physical output, not the digital preview. Print one copy, place it where it will be used, and scan it with multiple devices. I usually test with an iPhone camera, an Android camera, and at least one third-party scanner app because different decoding software handles edge cases differently. Test under bright light, indoor light, and the actual angle users will encounter. If the code is on packaging, test it after application, not before, because curved surfaces and wrinkles change performance.
Check speed as well as success. A code that scans only after several seconds of hunting is not production-ready. Good printed QR codes resolve quickly, usually within a second or two on modern phones. If scans are inconsistent, troubleshoot in this order: increase size, improve contrast, restore the quiet zone, switch to matte stock, and print at higher quality. Replacing a stylized code with a plain black-and-white version often fixes the problem immediately.
It is also wise to test the destination. Broken redirects, expired pages, slow mobile landing pages, and intrusive pop-ups create a poor experience even when the code scans perfectly. For event materials and packaging inserts, I recommend checking the code again after twenty-four hours and once more from cellular data rather than office Wi-Fi. That catches hosting, redirect, and device-specific issues before you print a full stack.
Common Home Printing Mistakes and How to Avoid Them
The most common mistake is printing too small. The second is using a low-quality image. After that come glossy materials, crowded layouts, and untested designs. Another frequent problem is over-customization. People assume that because a QR code generator allows gradients, embedded logos, and decorative eyes, every variation is safe to print. In reality, each visual modification consumes readability margin. What works on a backlit phone screen may break when rendered by a home printer on absorbent paper.
Lamination introduces another tradeoff. It protects signs and menus from moisture and handling, but cheap glossy pouches can create reflections that block scans. If durability matters, use matte lamination film or place the code behind non-glare sleeves. Tape can cause similar issues if it wrinkles over the code. Even transparent tape changes reflectivity enough to matter under overhead lights.
Finally, do not ignore maintenance. If you print QR codes for long-term use, inspect them periodically. Sunlight fades some inks, outdoor humidity warps paper, and repeated handling wears corners. Replace anything that scans slowly or inconsistently. Home printing is convenient because reprints are fast and cheap, but that advantage only helps if you treat printed QR codes as functional tools that deserve ongoing quality checks.
Printing QR codes at home works best when you treat the process like a small production workflow rather than a quick click-and-print task. Start with a sharp source file, choose the right code type and error correction level, print at a sensible size, protect the quiet zone, and use strong contrast on matte material whenever possible. Then match printer and paper to the job, place the code where people can comfortably scan it, and test the physical piece with several phones in real lighting. Those steps consistently separate dependable codes from frustrating ones.
As the main hub for printing QR codes within the broader design, printing, and materials topic, this guide gives you the core rules that apply across flyers, labels, packaging, signs, menus, and classroom materials. The practical takeaway is straightforward: simplicity improves scan reliability. Clean black-and-white codes, printed sharply at the right size on the right surface, outperform heavily styled designs almost every time. When in doubt, make the code larger, plainer, and easier to see.
If you are preparing your next print project, create one test sheet today and evaluate it in the exact setting where people will scan it. That single habit will save more time, paper, and frustration than any design trick.
Frequently Asked Questions
1. What size should a QR code be when printing at home?
The right size depends on how and where the QR code will be used, but as a general rule, it should be large enough for a phone camera to clearly distinguish the individual square modules. For close-range uses such as product labels, invitations, packaging inserts, or countertop signs, a QR code that is at least 1 x 1 inch often works well if it contains a short URL or simple data. If the code stores more information, the pattern becomes denser, which means it usually needs to be printed larger to remain easy to scan. For posters, window signs, flyers, and wall displays, increase the printed size based on expected scanning distance. A common guideline is that the scanning distance should be roughly 10 times the width of the code. That means a 2-inch code is better for scans from around 20 inches away, while larger placements may need a 4-inch or bigger code.
It is also important to preserve the quiet zone, which is the empty margin around the QR code. Without that clear border, many phones struggle to recognize where the code begins and ends. Most experts recommend leaving a margin of at least four modules on all sides. If you resize a QR code in a design program, do so proportionally so the shape does not stretch. Avoid squeezing it into a narrow space or adding decorative effects that interfere with its structure. In short, choose a size that matches the content density, expected scan distance, and available print area, then test it on multiple phones before final use.
2. What printer settings help produce a QR code that scans reliably?
Printer settings matter more than many people expect because a QR code is a functional pattern, not just a visual element. The most important goal is to keep the edges of the modules sharp and the contrast strong. Start by printing at the highest practical resolution your home printer allows, especially if the QR code is small. A blurry, low-resolution print can cause the square modules to bleed together, which makes scanning slower or unreliable. If your printer software includes quality options, choose a high-quality or best-quality setting for final output rather than draft mode. Draft mode may save ink, but it often reduces edge clarity and consistency.
Paper selection and print scaling also matter. Use a setting that prints at actual size or 100% scale unless you intentionally resize the code in a controlled way. Some printers or PDF viewers automatically shrink content to fit margins, which can reduce the quiet zone or make the code too small. If available, preview the print layout first. For black-and-white QR codes, use true black on a light background rather than gray tones. On inkjet printers, allow the print to dry fully so dark areas do not smear. On laser printers, verify that toner is evenly fused and not flaking. If you are printing labels or glossy materials, use the correct media setting so ink or toner adheres properly. Finally, print one sample first and scan it under normal lighting conditions before running a larger batch.
3. Do QR codes need to be black and white, or can I print them in color?
QR codes do not have to be strictly black and white, but they do need strong contrast between the dark modules and the lighter background. Black on white remains the safest and most reliable option for home printing because it gives smartphone cameras the highest chance of reading the pattern quickly across different lighting conditions and camera qualities. If you want to use color for branding or design reasons, keep the code itself dark and the background very light. Deep navy, dark green, or dark brown can work, while pale pastel modules on a white background usually do not. Similarly, avoid dark backgrounds with light modules unless you have thoroughly tested them, because some scanners perform less consistently with reversed color schemes.
You should also be cautious with patterned, metallic, glossy, or transparent surfaces. Even if a QR code looks attractive, reflections, shadows, and visual noise can interfere with recognition. If the code is printed over an image, make sure the background behind the code area is plain and light enough to preserve contrast. Decorative gradients, drop shadows, and stylized shapes inside the modules may weaken functionality, especially when printed on home equipment. If your goal is dependable scanning rather than visual experimentation, stick with a simple dark-on-light design. Once printed, test the finished piece using different phones, camera apps, and room lighting so you know the color choices still support fast scanning.
4. What materials can I use to print QR codes at home?
You can print QR codes at home on a wide range of materials, including standard printer paper, cardstock, sticker labels, photo paper, laminated sheets, and certain compatible vinyl or adhesive media. The best material depends on where the code will be placed and how long it needs to last. For temporary indoor uses such as event handouts, menus, classroom materials, or product inserts, regular matte paper or lightweight cardstock is usually enough. For signs that need a cleaner presentation or more durability, heavier cardstock or label stock can be a better choice. Matte finishes are often easier to scan than glossy ones because they reduce glare from overhead lights and camera flashes.
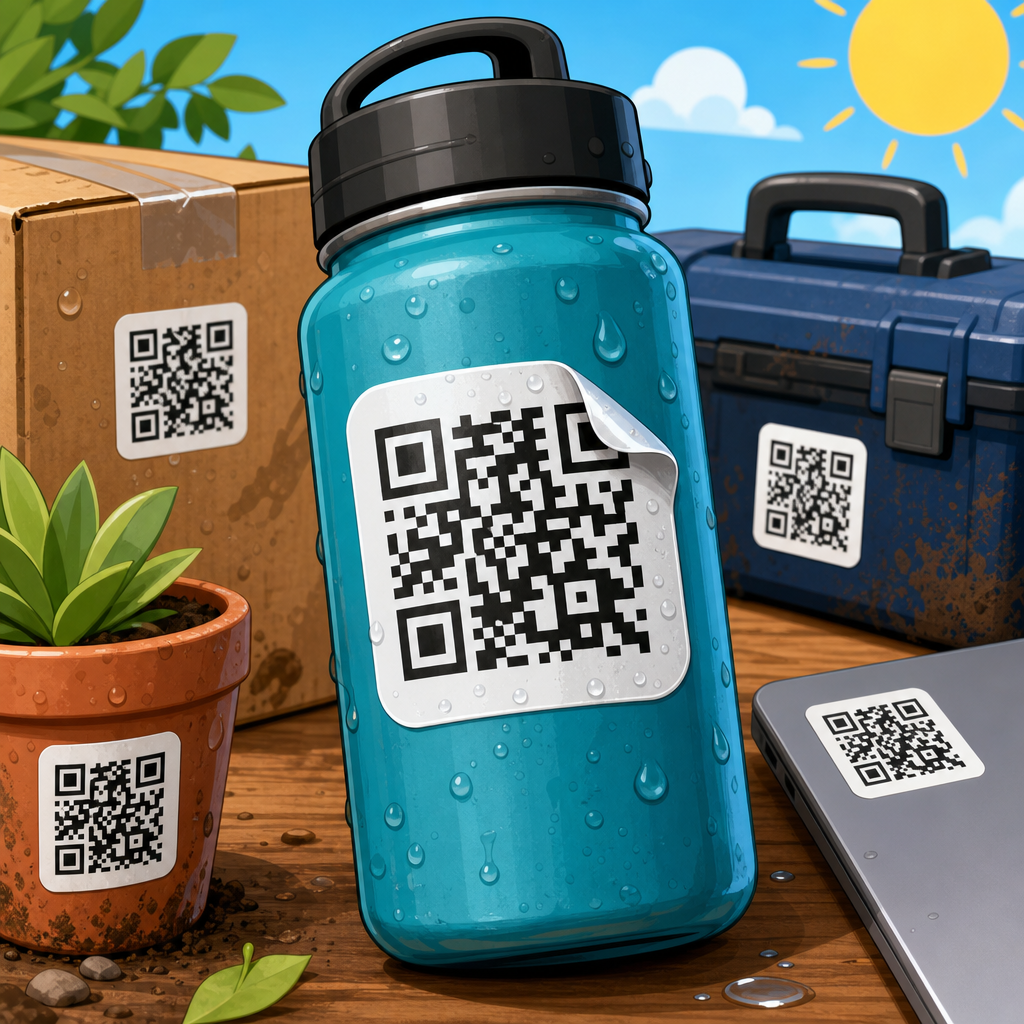
If the QR code will be handled frequently, posted in a window, used on packaging, or exposed to moisture, choose a more durable material and consider protective lamination. Keep in mind that glossy laminates and shiny label surfaces can create reflections, so a matte protective layer is often preferable. If you print on adhesive labels, make sure the label does not wrinkle when applied, since warping can distort the code. For curved surfaces such as bottles or jars, avoid placing the QR code where the curve bends the pattern too much. A flat section is always better. No matter which material you use, the same rule applies: clarity and contrast come first. A simple code printed cleanly on a matte, stable surface will usually outperform a more decorative code on a reflective or distorted material.
5. How can I test a printed QR code to make sure it works before using it?
Testing is the final and essential step because even a well-designed QR code can fail if the printed result is too small, too reflective, poorly aligned, or placed in difficult lighting. Start by scanning the printed code with your own smartphone camera from the distance and angle a typical user would use. Then test it with at least one or two other devices if possible, including both iPhone and Android phones, because camera behavior and scanning software can vary. Confirm not only that the code scans, but that it opens the correct destination immediately and consistently. If the QR code leads to a website, make sure the page loads quickly, is mobile-friendly, and uses the correct URL with no typos or broken redirects.
It is also smart to test the code in real-world conditions. Scan it in bright light, indoor light, and lower light if the code will be used in different environments. Check whether glare affects readability if the material has any shine. If the code will appear on a poster or sign, test from the expected viewing distance rather than only at arm’s length. If you are printing multiple copies, inspect several from the batch to make sure your printer output is consistent and that no smudging, streaking, or scaling issues occurred. When possible, use a short, clean destination URL or a dynamic QR code platform that lets you update the linked content later without reprinting. Careful testing protects you from wasted materials and ensures the printed QR code works as a true access point, not just as a graphic on the page.