Printing large QR codes for signage is a practical discipline that sits at the intersection of graphic production, scanning behavior, and material performance. A code that works perfectly on a phone screen can fail on a storefront window, trade show wall, menu board, warehouse placard, or outdoor banner because print introduces variables that digital previews hide. Size, contrast, quiet zone, surface texture, viewing distance, lighting, and data density all affect whether a passerby can scan in one second or gives up after three attempts. When businesses ask how to print large QR codes for signage, they are usually asking a broader question: how do you make a QR code readable, durable, brand-safe, and scalable across different environments?
The answer starts with understanding what “large” actually means in signage. Large QR codes are not simply enlarged small files. They are codes designed for longer scan distances, bigger physical surfaces, and more varied use conditions. In print production, the key unit is the module, the tiny square that forms the code. Scannability depends less on overall size than on the printed size of each module relative to the camera, the distance, and the amount of encoded information. I have seen beautifully designed poster codes fail because they packed a long URL with tracking parameters into a compact symbol, forcing modules so small that ink spread blurred them on vinyl. I have also seen simple dynamic URL codes scan flawlessly from eight feet away because the data payload was short and the quiet zone was preserved.
This hub page covers printing QR codes comprehensively, with a focus on signage use cases. It explains the sizing rules that matter, the file formats printers should request, the material choices that affect legibility, and the testing methods that reduce expensive reprints. It also serves as a strategic starting point for related topics within QR code design, printing, and materials, from substrate selection to finish options to installation best practices. If your goal is to print QR codes that scan reliably on indoor signs, retail displays, event graphics, packaging inserts, construction boards, or exterior wayfinding, the principles here will help you specify them correctly the first time.
Start with scan distance, data density, and the right QR code type
The most important decision in printing QR codes for signage happens before design: define the scan distance. A person standing twelve inches from a countertop sign behaves differently from someone approaching a transit shelter poster from six feet away. A useful practical rule is that larger expected scan distance requires larger modules, not just a proportionally larger overall code. For many everyday signs, designers use a minimum QR size around 0.8 to 1 inch, but large-format signage usually needs substantially more. In production, I plan backward from viewing distance, then confirm with physical tests on the actual substrate under real lighting. That avoids the common mistake of treating online size calculators as universal truth.
Data density is the second major variable. A QR code storing a short dynamic URL can remain relatively simple, with fewer modules and larger printed squares. A code that embeds a long static URL, vCard, Wi-Fi credential, or UTM-heavy tracking link becomes more complex and harder to scan when printed. For signage, dynamic QR codes are usually the better choice because they shorten the encoded string, allow destination updates after installation, and support analytics without forcing you to reprint expensive graphics. In practice, this is one of the highest-leverage choices a team can make. Reducing encoded complexity often improves scan performance more than increasing physical size alone.
Error correction matters too. QR codes support L, M, Q, and H levels, allowing roughly 7 percent, 15 percent, 25 percent, and 30 percent restoration of damaged data. Many marketers assume the highest setting is always best, but that is not automatically true for print signage. Higher correction creates denser codes, which can reduce module size and make blur more likely on porous paper, fabric, or low-resolution print devices. I typically use M or Q for most signs, reserving H for cases where logos, abrasion, or partial obstruction are likely. The right setting balances resilience with visual simplicity.
Choose dimensions that preserve module size and quiet zone
When people search for how to print large QR codes for signage, they usually want a size chart. The better answer is a sizing method. First, determine the QR version created by your data payload and error correction level. Then calculate module count and set a printed module size appropriate for the scan distance and print process. Finally, preserve the quiet zone, the empty border around the code, which should be at least four modules wide on all sides according to established QR standards. If that border gets crowded by text, borders, images, folds, or trim, scan reliability drops quickly.
For practical signage, I use conservative starting points. Counter displays and table tents often work with codes around 1 to 1.5 inches if the data is short and the user scans from arm’s length. Posters, wall graphics, and lobby signs generally perform better at 2 to 4 inches. Window decals intended to be scanned from outside a storefront often need 4 inches or more because glare and reflection reduce camera accuracy. Billboards and roadside placements are special cases; while people ask for giant QR codes on these formats, the true constraint is whether scanning is safe, legal, and realistic from the intended stopping distance. Many billboard QR campaigns underperform because the scan scenario itself is poorly conceived.
| Signage context | Typical scan distance | Recommended starting QR size | Production note |
|---|---|---|---|
| Counter sign or menu tent | 12 to 24 inches | 1 to 1.5 inches | Use a short dynamic URL and strong contrast |
| Poster or wall sign | 2 to 5 feet | 2 to 4 inches | Test under venue lighting before final run |
| Storefront window graphic | 2 to 6 feet | 4 inches or larger | Avoid glare, transparent films, and clutter near the quiet zone |
| Trade show backwall | 3 to 8 feet | 4 to 6 inches | Place at reachable height, not above eye level |
| Outdoor wayfinding or banner | 4 to 10 feet | 6 inches or larger | Account for weathering, fading, and lower scan stability in sunlight |
These dimensions are starting points, not guarantees. A dense code printed at 4 inches can scan worse than a simpler code printed at 2 inches. Production teams should always inspect module edges at final output size and evaluate the quiet zone after trimming, mounting, and installation. If a sign has bleed, contour cutting, or framing, leave extra safe area beyond the quiet zone so finishing does not intrude into the scan field.
Use print-ready files, high contrast, and materials that do not fight the camera
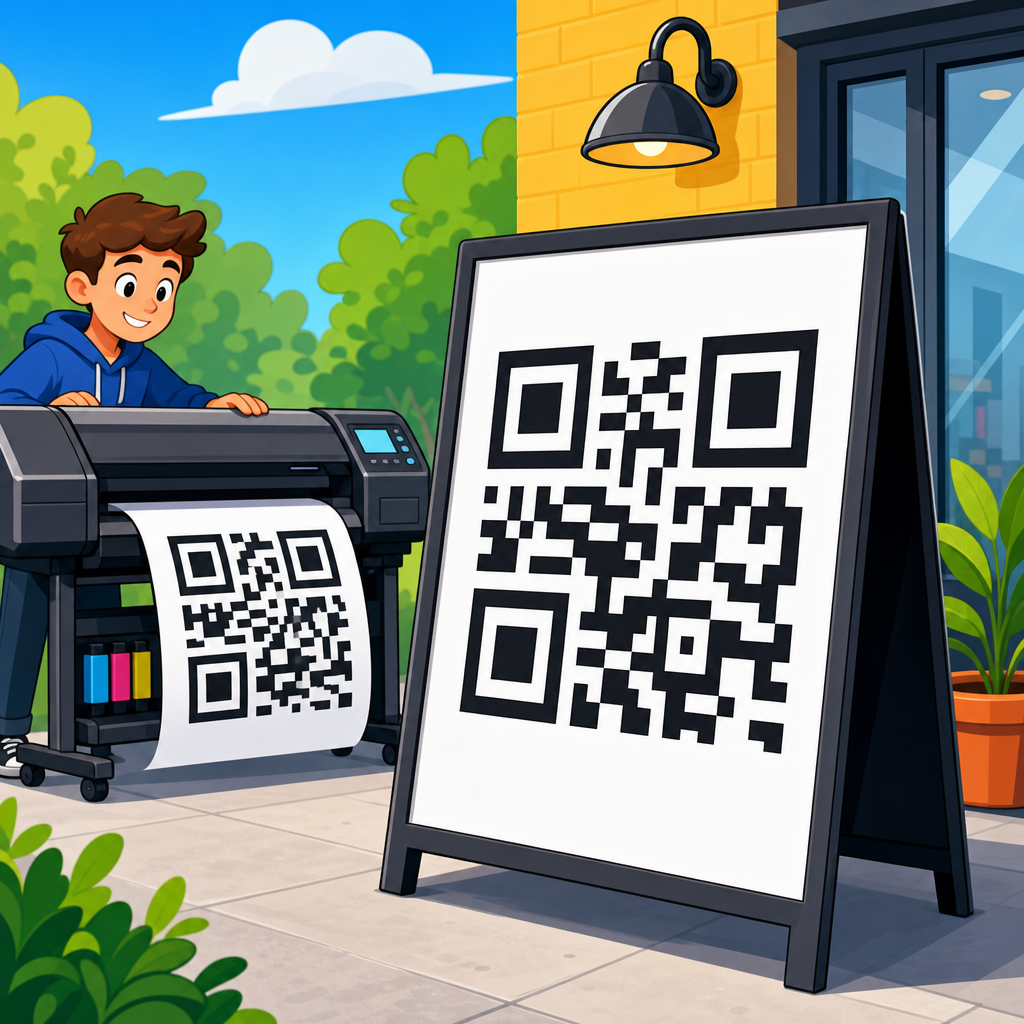
The best file format for printing QR codes is vector, usually SVG, EPS, or PDF generated from a reputable QR platform or design application. Vector artwork keeps module edges crisp at any size and avoids interpolation artifacts common with low-resolution raster files. If a printer asks for PNG, supply one only at sufficient resolution for final output size, and verify that anti-aliasing has not softened the edges. I have corrected many failed sign files where a QR code was pasted from a screenshot or exported as a tiny web graphic, then enlarged 800 percent in layout software. It looked acceptable on screen and became unreadable in print.
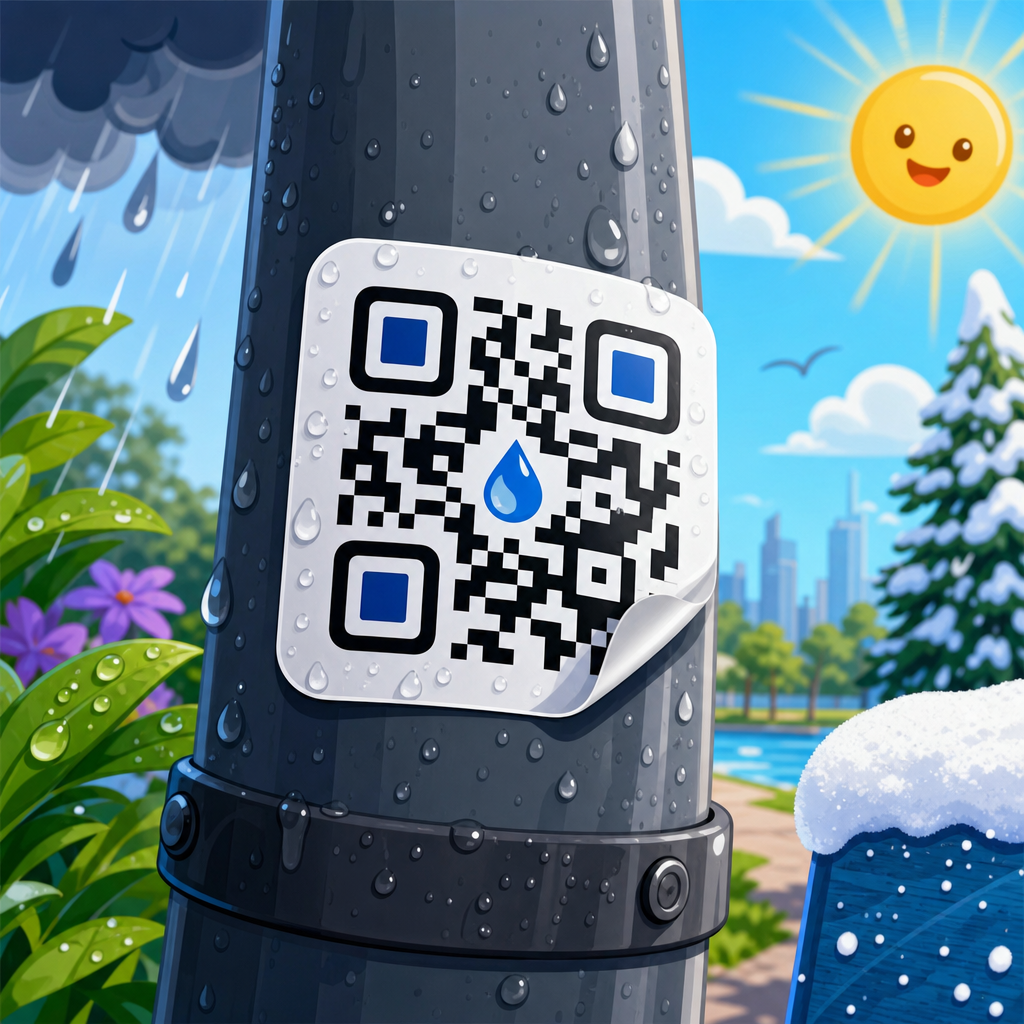
Contrast is non-negotiable. The safest choice is black modules on a white or very light matte background. Dark blue on pale yellow can also work well, but low-contrast combinations, gradients, metallic inks, transparent backgrounds, and glossy laminates introduce risk. Phones do not “understand” your brand palette; they detect edges and pattern contrast. In signage, reflections are a major enemy. Window films, acrylic face mounts, and gloss overlaminates can create hotspots that mask modules. Matte finishes usually scan more reliably, especially in retail spaces with directional lighting or daylight from multiple angles.
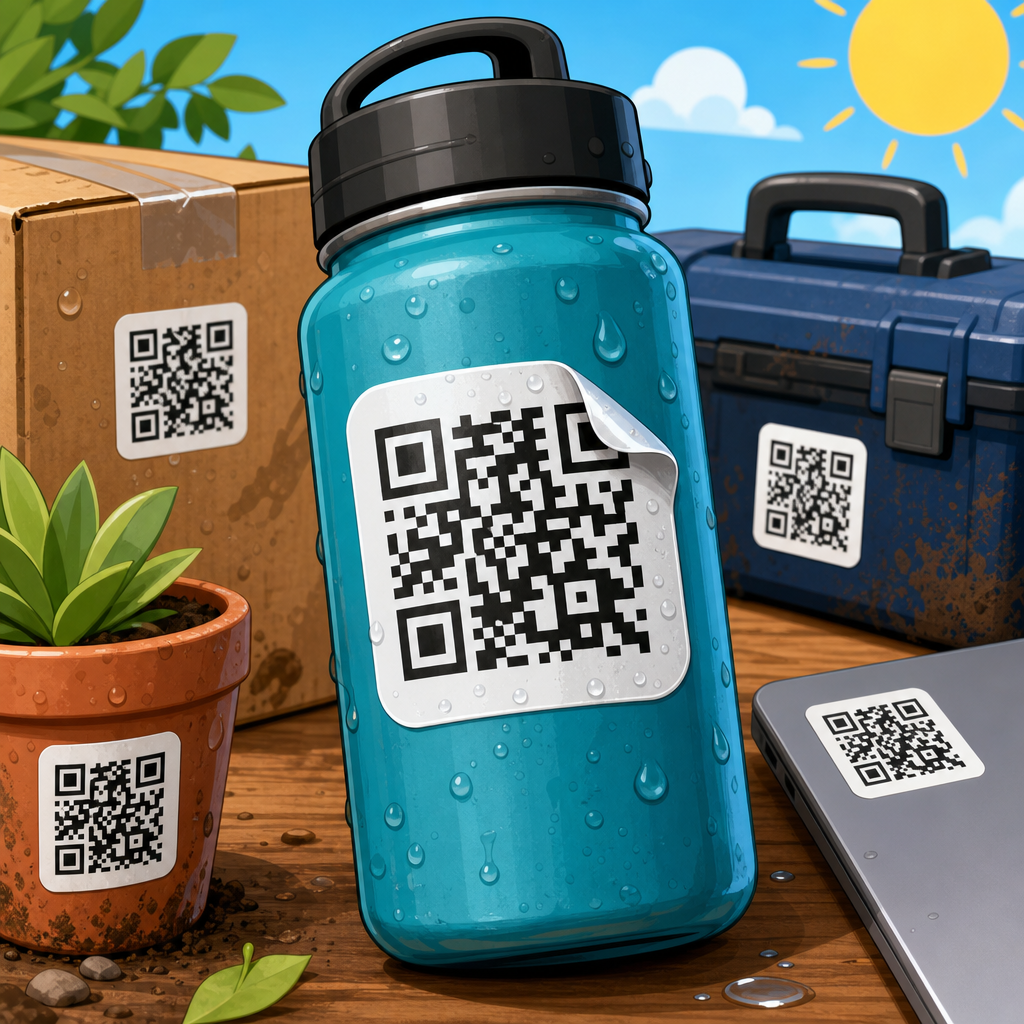
Material selection should match both environment and print process. For indoor posters, coated paper with a matte finish is predictable and economical. For decals and long-term displays, printable vinyl with a non-glare laminate is often better. For rigid signage, PVC board, ACM, corrugated plastic, or foam board can all work if the print remains flat and high contrast. Fabric graphics deserve extra caution because weave and tension can distort the modules. Textured materials, unfinished wood, brushed metal, and perforated window film may look distinctive, but they reduce edge clarity and introduce missing-data patterns that some phones cannot resolve consistently.
Color management also matters more than many teams expect. Rich black mixes can print unevenly across devices, while pure black can yield sharper modules on some workflows. On inkjet large-format systems, dot gain and substrate absorption change edge definition. On UV flatbeds, curing and surface energy can affect crispness. Ask the print provider how the chosen device handles fine square detail, and request a production proof at actual size. A QR code is not decorative line art; it is functional data, and it should be treated like a barcode with stricter acceptance standards.
Placement, branding, and testing determine whether people actually scan
A technically perfect code can still fail if placement ignores human behavior. Put the QR code where a person can comfortably approach, frame it, and hold a phone steady. On signs, chest-to-eye-level placement usually works best. Codes mounted too low require awkward bending; codes placed too high on backwalls or window graphics force steep camera angles and glare. Leave visual breathing room around the code and give users a reason to scan with a clear call to action such as “See menu,” “Get pricing,” “Join waitlist,” or “Download spec sheet.” Generic prompts like “Scan me” produce weaker engagement because they do not explain the payoff.
Brand customization should be restrained. Adding a logo in the center, rounding modules, or recoloring the symbol can work if the source file is generated correctly and tested on representative devices. Problems arise when designers push styling beyond functional limits, especially on large signs viewed under imperfect conditions. If you use a logo, increase physical size, keep error correction appropriate, and test across iPhone and Android models, older cameras, and different scanning apps. Native camera apps have improved dramatically, but they do not all interpret stylized symbols equally. What scans on a flagship phone in the studio may fail on a midrange device in a lobby.
Testing should mirror reality. Print the code at final size on the actual material or a close equivalent. Test in the intended light at the intended height and angle. Measure first-scan success rate, average time to scan, and failure modes such as glare, blur, or landing-page delay. For campaigns with significant media spend, I recommend a simple field protocol: test at least ten scans per device type, from expected approach distances, during multiple times of day if the sign is near windows or outdoors. This process sounds basic, but it catches the majority of preventable failures before installation.
Because this page is the hub for printing QR codes, it is also the logical gateway to deeper production decisions: choosing laminates, comparing paper versus vinyl, understanding adhesive films, selecting outdoor-safe inks, sizing codes for packaging, and preparing artwork for die-cut labels or rigid signs. Each of those topics builds on the same principle: a QR code is successful only when design, print method, material, and placement are specified together rather than in isolation.
A practical workflow for reliable QR signage production
The most reliable workflow is straightforward. Define the user action and destination first. Generate a dynamic QR code with a short URL. Select an error correction level that supports modest customization without unnecessary density. Export a vector file. Place it in the layout with a protected quiet zone and no competing graphics. Choose a high-contrast color scheme and matte surface whenever possible. Proof it at full size. Test it on multiple phones in real conditions. Then release to production with written specs covering size, substrate, finish, and placement height. That process has saved me far more money than any post-print fix ever has.
For organizations managing many locations, standardization is essential. Build a QR signage specification sheet that includes minimum sizes by use case, approved colors, required quiet zone, acceptable logo treatment, preferred file formats, and testing steps. Centralizing those rules improves scan rates and reduces brand inconsistency. It also makes future internal linking between related resources easier because every downstream article on materials, finishes, or installation can reference the same core standard. In operational terms, that is how a sub-pillar hub should function: it sets the baseline, then supports detailed guidance for every print scenario that follows.
Printing large QR codes for signage is not difficult, but it is unforgiving of shortcuts. Size must be based on scan distance and data density. Files must be print-ready. Contrast must stay high. Materials and finishes must support edge clarity, not undermine it. Placement must reflect how people actually use phones in physical space. Most importantly, every code must be tested in the environment where it will live. Follow those fundamentals and your signage will do what it is supposed to do: turn attention into action quickly and reliably. If you are building or refreshing printed QR assets, start by documenting one repeatable production standard and apply it across every sign, store, and campaign.
Frequently Asked Questions
What size should a large QR code be for signage?
The right size for a large QR code depends less on the word “large” and more on how far away people will be when they try to scan it. As a practical rule, the farther the viewing distance, the larger the code needs to be so a phone camera can clearly resolve the modules, or small square cells, that make up the pattern. For close-range signage such as countertop displays, table tents, menu boards, and small wall graphics, a code around 1.5 to 3 inches square may be enough if the design is clean and the encoded URL is short. For posters, storefront signs, trade show panels, and wayfinding displays viewed from several feet away, it is usually safer to move into the 4 to 12 inch range or larger depending on placement.
What matters most is not just overall dimensions, but module size and scan context. A QR code with a lot of data has more modules packed into the same area, which makes each square smaller and harder to scan at distance. That means two codes printed at the same physical size can perform very differently. If the code contains a long URL with tracking parameters, a vCard, or other dense content, it may need to be printed significantly larger than a simple short link. This is why many print professionals recommend using a dynamic QR code or shortened URL structure to reduce data density before sizing the artwork.
Testing is essential. Print the code at intended size, place it on the actual substrate if possible, and scan it from realistic distances and angles using multiple phone models under typical lighting conditions. A code that scans perfectly from two feet may fail from six feet or when glare hits the surface. For public-facing signage, it is usually smart to size more generously than the minimum. A larger code gives scanners more tolerance for movement, poor focus, lower-end cameras, and less-than-ideal environmental conditions.
Why do QR codes that look fine on screen sometimes fail when printed large?
Screen previews can be misleading because digital displays are controlled environments. On a screen, the code is backlit, high contrast, flat, sharp, and viewed at close range. In print, the code becomes subject to ink spread, material absorbency, surface glare, texture, mounting distortion, shadows, and ambient light. A QR code that appears crisp in a design file may lose edge definition when printed on porous paper, fabric, corrugated board, or vinyl with a textured laminate. Even slight softening at the module edges can reduce scan reliability, especially in denser codes.
Another common issue is insufficient quiet zone, which is the blank margin around the QR code. On screen, the code may still appear recognizable even if graphics sit close to the edges. In print, surrounding text, borders, patterns, or busy backgrounds can interfere with a phone’s ability to isolate the code. Large-format layouts often introduce this problem because designers try to integrate the code tightly into a sign composition. The quiet zone should remain clean and uninterrupted on all sides, and it should scale proportionally with the code size.
Print production choices can also undermine performance. Low-resolution raster artwork, compression artifacts, or scaling a bitmap after export can distort the code. For signage, vector artwork is usually the safest approach because it preserves sharp geometry at any size. If raster output must be used, resolution should be high enough for final print size, not just for on-screen display. In addition, color combinations that seem attractive in mockups may reduce contrast in real conditions. Metallic inks, transparent backgrounds on windows, dark colors on dark materials, and glossy finishes can all create scan failures that were invisible during digital design review.
What design rules matter most when printing QR codes for storefronts, banners, menus, and other signs?
The most important rules are contrast, simplicity, quiet zone preservation, and realistic placement. A large QR code should usually be dark on a light background for maximum scanning reliability. Black on white remains the strongest baseline because it offers the clearest contrast across different phones and lighting situations. While branded colors can work, they should be tested carefully. Low-contrast combinations such as gray on beige, dark blue on black, or pastel tones may look refined but often perform poorly in real-world scanning.
Quiet zone is equally critical. The blank space around the code helps camera software separate the symbol from the rest of the sign. If logos, headlines, decorative shapes, or image textures encroach on that space, scan performance can drop sharply. Customization should be approached carefully. Rounded modules, embedded logos, stylized finder patterns, and artistic treatments can be effective only if they are implemented conservatively and validated through print tests. The more a code is stylized, the less margin for error remains once material and environmental variables are introduced.
Placement can matter as much as design. A code should be positioned where a person can comfortably approach, frame it with a phone, and hold steady for a moment. If it is mounted too high, too low, behind reflective glass, around a corner, near bright direct light, or in a crowded visual area, scan behavior suffers. On menus and point-of-sale signs, leave enough physical space so a user can get close without blocking others. On window signage, remember that transparency, reflections, and changing outdoor light can reduce readability. On banners or wall graphics, avoid folds, seams, grommets, and curved mounting surfaces that may warp the pattern.
How does material choice affect the performance of a large printed QR code?
Material choice has a direct impact on edge clarity, contrast stability, and glare, all of which influence scan success. Smooth, matte, dimensionally stable substrates usually give the best results because they preserve crisp printed modules and reduce reflections. By contrast, glossy laminates, glass surfaces, metallic media, heavily textured materials, and fabric can make large QR codes harder to scan. Gloss and glass create hotspots that can wash out part of the code in a camera preview. Texture can visually break up the modules. Fabric and banners may ripple or sag, introducing geometric distortion.
Ink behavior also changes from one substrate to another. On uncoated or highly absorbent materials, dots can spread slightly, softening corners and shrinking white spaces between modules. On some large-format print systems, this can be especially problematic for dense QR codes with fine detail. Rigid boards, coated papers, quality vinyl, and properly profiled print settings typically produce more reliable results than absorbent or irregular surfaces. If the sign will be exposed to weather, UV light, or repeated cleaning, durability becomes part of performance too. Fading, scratching, peeling, and contamination can all reduce contrast over time.
For outdoor or long-term signage, it is wise to think beyond day-one appearance. A QR code may scan well when newly installed but degrade after weeks of sun exposure, dust buildup, condensation, or abrasion. Choosing durable media, protective finishes that do not add excessive glare, and inks rated for the intended environment helps maintain usability. The best practice is to produce a sample on the exact material, install or position it in realistic conditions, and test repeatedly at different times of day before approving a full run.
How can you make sure a large QR code for signage scans reliably before final production?
The best way to ensure reliability is to treat QR code printing as a production test, not just a design task. Start by minimizing data density. Use a short destination URL or dynamic QR code so the symbol contains fewer modules and remains easier to scan when enlarged for signage. Build the artwork as vector whenever possible, preserve a proper quiet zone, and avoid excessive customization until the plain version has been proven to work. If branding is important, add it only after the functional baseline is confirmed.
Next, create physical proofs at actual size or at least at the critical code area size. Testing on a desktop printer is useful for early checks, but final validation should happen on the intended print device and material because large-format output characteristics can differ significantly. Scan the proof using multiple smartphones, both newer and older models, in portrait and landscape orientation, from the expected approach distance, and under the lighting conditions people will encounter in the real environment. Include tests for glare, low light, angled viewing, and user motion.
It also helps to test the complete user experience, not just whether the camera recognizes the code. Confirm that the landing page loads quickly, is mobile-friendly, and matches the signage context. A perfectly scannable code still fails if it sends users to a slow, cluttered, or irrelevant destination. For public signs, monitor real-world performance after installation if possible. Dynamic QR codes with analytics can reveal scan volume, location patterns, and underperforming placements, making it easier to refine future signage decisions. In practice, the most reliable large QR codes come from a disciplined process: simplify the data, size generously, print cleanly, test in context, and optimize based on actual use.