QR codes look simple, but beginners often miss critical setup details that affect scannability, tracking, security, print quality, and user trust. A complete QR code checklist helps you move from idea to launch without costly mistakes. In practical terms, a QR code checklist is a step-by-step quality control framework covering the destination link, code type, design, placement, testing, analytics, and maintenance. I have used this process for product packaging, restaurant menus, event signage, retail displays, and training materials, and the same pattern repeats: the campaigns that perform well are rarely the most decorative ones; they are the ones planned carefully before printing or publishing.
For beginners, the challenge is not generating a QR code. That takes seconds with almost any generator. The hard part is making sure the code does the right job in the right context for the right audience. A QR code on a storefront window has different requirements than one on a medicine label, shipping insert, conference badge, museum placard, or invoice. Distance, lighting, device type, cellular signal, call to action, and even paper finish can change scan behavior. If you understand those variables early, you avoid reprints, broken links, low conversion rates, and frustrated users.
This hub article explains QR code checklists comprehensively so you can use it as a reference before every launch. It covers what to verify before creating a code, what to inspect in design and print, how to test for real-world conditions, how to measure results, and how to maintain codes after deployment. It also acts as a foundation for related resources in a broader QR Code Resources, Templates & Tools library, because every template, audit worksheet, and generator comparison should connect back to a consistent checklist. If you want dependable scans, clean user journeys, and measurable outcomes, this is the place to start.
Start with the purpose, destination, and code type
The first item on any QR code checklist is the objective. Ask one direct question: what should happen immediately after the scan? The answer determines the content format, landing page design, and success metric. If the goal is lead generation, the code should open a mobile-first page with a short form. If the goal is support, it may open a knowledge base article, PDF, or video tutorial. If the goal is payment, the destination may be a supported payment link or app deep link. Defining the action first prevents the common beginner mistake of sending users to a generic homepage where intent is lost.
Next, verify the destination itself. Confirm that the URL is live, uses HTTPS, loads quickly on mobile data, and does not trigger intrusive pop-ups before the user reaches the key content. A QR code can be perfectly scannable and still fail if the webpage is slow or confusing. Google’s Core Web Vitals are relevant here because mobile load delays hurt completion rates. In campaigns I have reviewed, reducing landing page weight often improved performance more than changing the QR code artwork. A concise page with one primary action usually wins over a cluttered page with multiple navigation choices.
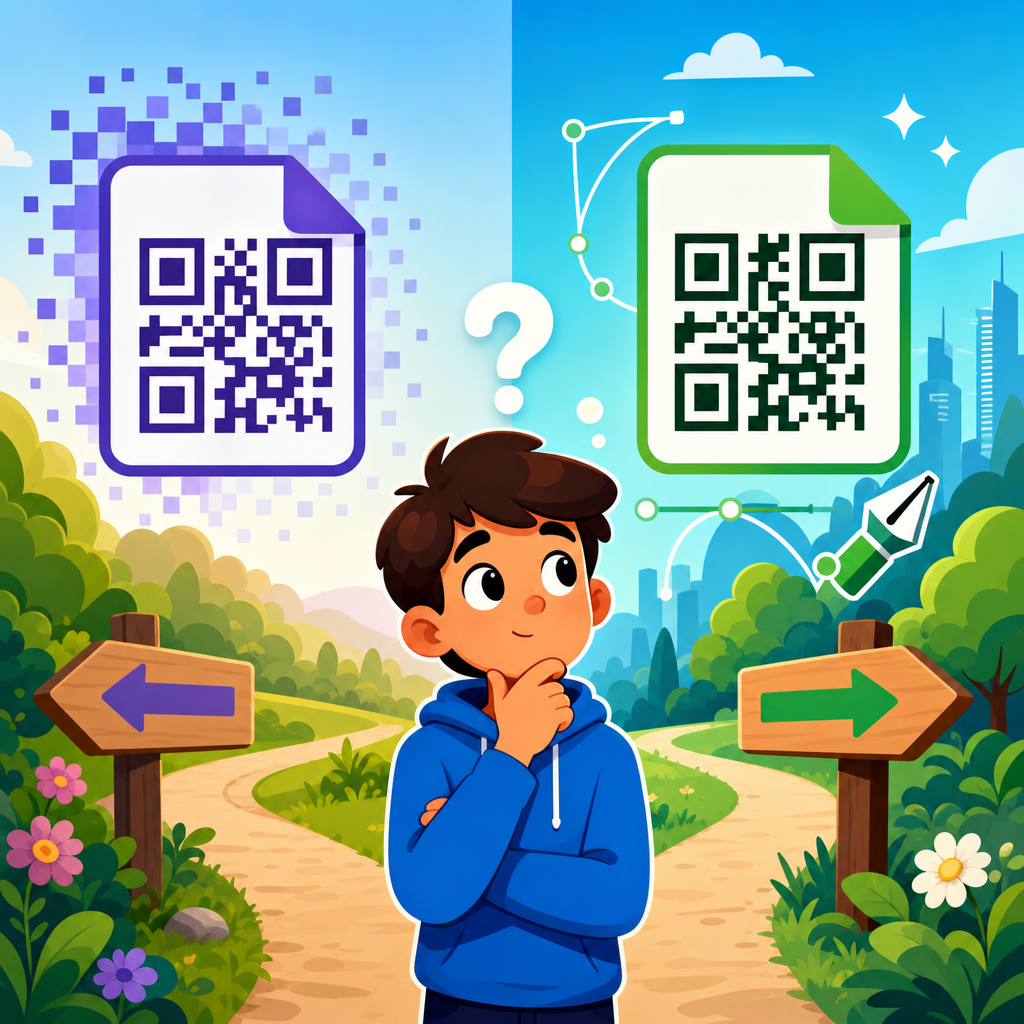
Then choose between a static and dynamic QR code. Static codes encode the final destination directly and cannot be edited after printing. Dynamic codes point to a redirect service, allowing you to change the destination later, add analytics, and segment traffic by campaign. Beginners usually benefit from dynamic codes for flyers, packaging, out-of-home signage, and long-life assets because links, promotions, and product pages change. Static codes still make sense for permanent data like plain text, Wi-Fi credentials, or unchanging URLs where privacy and simplicity matter more than flexibility. The key checklist rule is this: if the content may change, use a dynamic code from a reliable provider with export options and clear ownership controls.
Check technical setup before you design anything
Once the objective is clear, move to technical validation. Not all QR codes are equal. Error correction level, encoded data length, module density, and file format all affect usability. QR codes support four error correction levels: L, M, Q, and H. Higher error correction allows more damage or obstruction while remaining readable, but it also increases complexity because more modules are needed. If you plan to place a logo in the center or print on surfaces that may scratch, higher correction can be useful. If you encode too much data, however, the pattern becomes dense and harder for low-end cameras to read quickly. Beginners should usually keep the encoded content short and let the landing page do the heavy lifting.
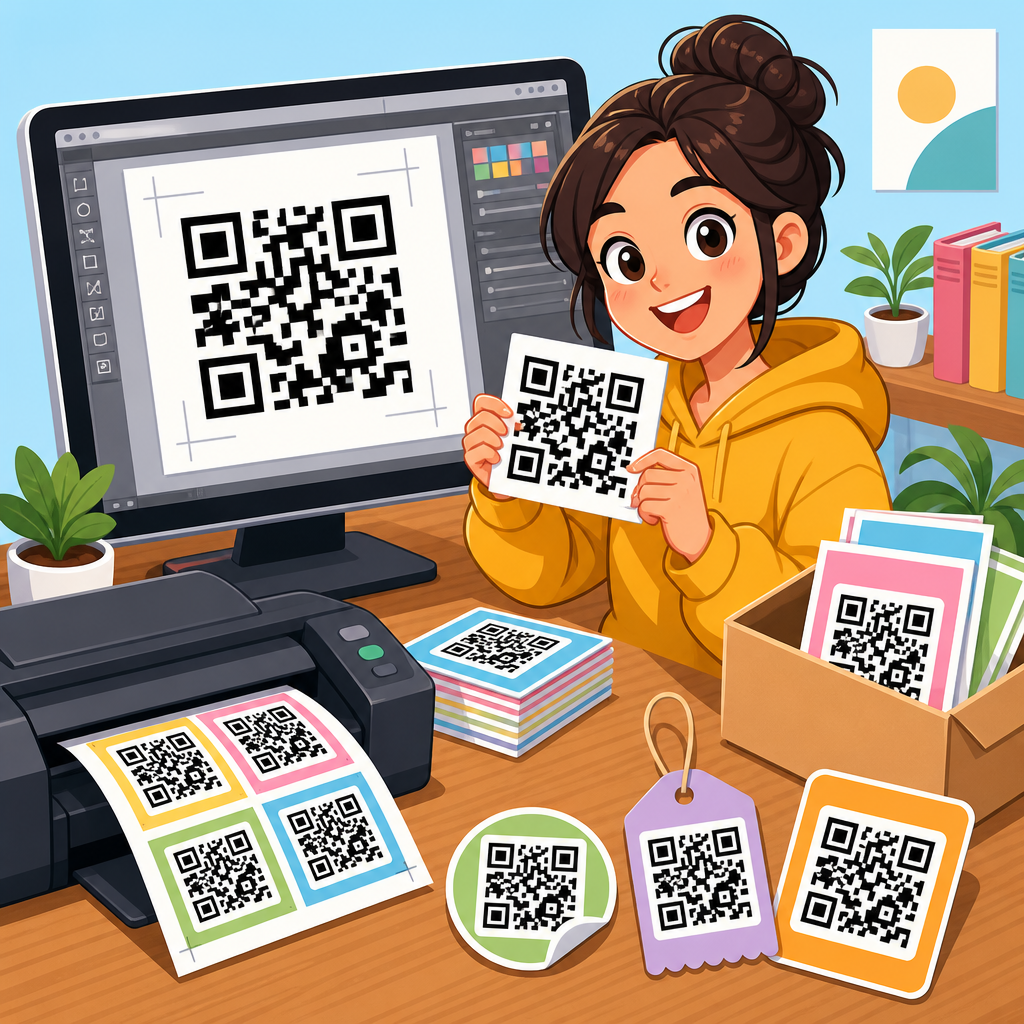
File format matters too. For print, vector formats such as SVG, EPS, or PDF preserve sharp edges at any size. Raster files like PNG can work for digital placements and basic print jobs, but low-resolution exports often cause fuzzy edges that degrade scan reliability. This issue becomes obvious on large posters or small labels. Quiet zone is another nonnegotiable item. Every QR code needs a clear margin around it, typically four modules wide, so scanners can distinguish the code from surrounding graphics. I regularly see failed codes where the design is technically attractive but the quiet zone has been crowded by borders, icons, or background textures.
Your checklist should also include destination compatibility. If the code opens a PDF, test whether the file is readable on iPhone and Android without forcing unnecessary app downloads. If it launches a map, verify the link format in Apple Maps and Google Maps. If it initiates a phone call, SMS, email, or app action, test those behaviors on multiple devices. These are simple checks, but they prevent high-friction experiences. A QR code is not just a graphic; it is an interaction layer. Every step after the scan must be intentional.
Use design rules that protect scan performance
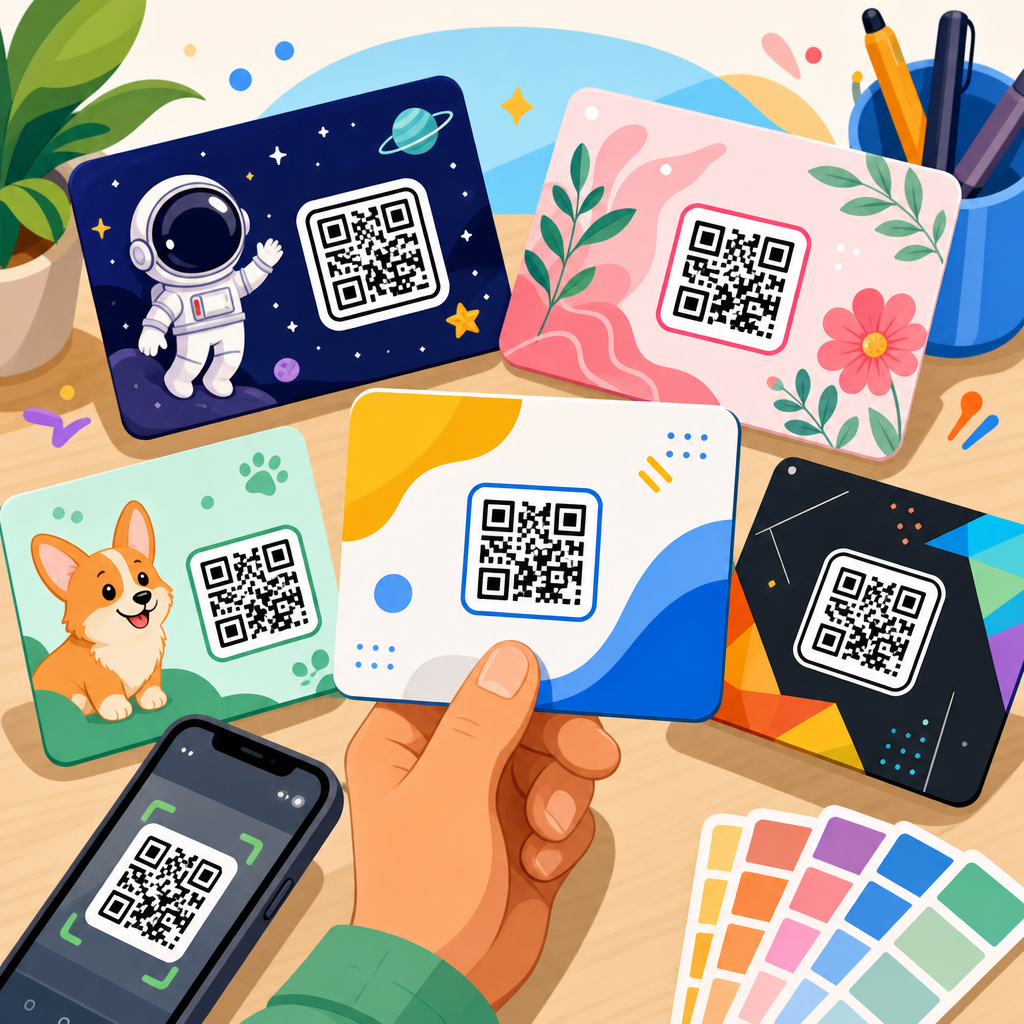
Good QR code design supports brand recognition without sacrificing readability. The checklist starts with contrast. Dark modules on a light background remain the most reliable option because smartphone cameras and scanning software detect them quickly. Inverted designs, gradients, metallic inks, or low-contrast brand colors may look modern, but they increase failure rates, especially in poor lighting. If you use brand styling, test aggressively in real conditions rather than assuming software previews reflect reality.
Size is equally important. A practical rule used in print production is a scanning distance ratio of roughly 10:1, meaning a code should be about one inch wide for every ten inches of scanning distance. A code scanned from two feet away needs to be larger than one scanned from six inches away on product packaging. Surface and placement matter as well. Glossy lamination can create reflections, curved bottles can distort modules, and window decals can become difficult to scan in bright sunlight. On menus and table tents, I prefer matte finishes and flat placement because they reduce glare and improve consistency.
Beginners also need a checklist item for the call to action. Never assume people will know why to scan. “Scan to view the menu,” “Scan for setup instructions,” or “Scan to claim your discount” consistently outperforms a bare code with no explanation. Clear labels improve trust and set expectations. In regulated industries or sensitive contexts, include the destination domain near the code so users know where they are going. This simple practice reduces hesitation and supports safer scanning behavior.
| Checklist Area | What to Verify | Beginner Standard |
|---|---|---|
| Purpose | Single clear action after scan | One goal per code |
| Destination | HTTPS, fast mobile page, no broken links | Loads in a few seconds on mobile data |
| Code Type | Static or dynamic based on change risk | Use dynamic for printed campaigns |
| Design | High contrast, clean quiet zone, adequate size | Dark on light with four-module margin |
| Placement | Flat, visible, reachable, well lit | Avoid glare, curves, and awkward angles |
| Testing | Multiple phones, apps, distances, lighting | Test before and after printing |
| Measurement | Analytics, UTM tags, redirect tracking | Track scans and downstream actions |
| Maintenance | Link monitoring and content updates | Review active codes regularly |
Test the QR code in real conditions, not just on your screen
Testing is where a serious QR code checklist separates itself from a casual one. A code that scans on your laptop screen from six inches away is not proven. You need to test the final asset, in the final size, on the final material, under the actual environmental conditions users will face. That means checking indoor and outdoor lighting, different camera qualities, varying hand steadiness, and realistic scan distances. If a restaurant menu code works only after three attempts under dim dinner lighting, it is not ready.
Use multiple scanning methods. Test with the native iPhone camera, the native Android camera on at least one Samsung and one Google Pixel device if possible, and an alternate scanning app. Different devices process focus, exposure, and code recognition differently. Also test after compression if the code will appear in email, social media, or messaging apps, because platform compression can degrade image clarity. For print, inspect a physical proof. What looks crisp in a design file can soften on uncoated paper or bleed on porous packaging stock.
Accessibility belongs on the testing checklist too. Make sure the code is placed where a person can physically approach it and hold a phone steady. Codes mounted too high, too low, behind glass, or near reflective surfaces can be difficult for many users. For public signage, pair the code with a short fallback URL so users can still reach the content if scanning fails or if they use a desktop later. This is especially important in transportation hubs, healthcare settings, and instructional environments where failure creates unnecessary friction.
Track performance with analytics and campaign structure
A QR code checklist is incomplete without measurement. If you cannot tell which code was scanned, where it was placed, and what happened afterward, you lose most of the strategic value of the channel. Dynamic QR codes make this easier because they can record scan counts, timestamps, approximate locations, and device types through the redirect layer. You should also append UTM parameters to destination URLs so analytics platforms such as Google Analytics 4 can attribute sessions, conversions, and revenue to specific campaigns.
Campaign naming discipline matters more than most beginners expect. Use a consistent convention that identifies the channel, placement, date, and purpose. For example, a retail display campaign might use parameters that distinguish a front-window poster from a shelf talker and a receipt insert. That structure allows you to compare placements, test calls to action, and identify weak links in the user journey. In one packaging rollout I worked on, scans were healthy but conversions were poor. Analytics showed that users reached the page but dropped during a long form. Simplifying the form produced better results than redesigning the code itself.
Privacy and data governance should also appear in your checklist. If you use a third-party QR platform, review data retention, access controls, and ownership terms. In some regions and industries, user tracking may trigger disclosure requirements. If codes link to forms collecting personal data, make sure consent language, privacy notices, and storage practices align with your organization’s standards. QR technology feels lightweight, but the underlying data flows are often part of a larger compliance picture.
Maintain, audit, and improve live QR codes over time
The final stage in a complete QR code checklist begins after launch. Live codes require maintenance. People often print a code once and forget about it, but websites move, offers expire, products change, and redirect services can lapse. Set a review schedule for every active code, especially those on packaging, signage, manuals, and long-life marketing assets. Monthly checks are reasonable for active campaigns; quarterly reviews work for evergreen resources. Confirm the destination still loads, the message is current, and the call to action still matches user intent.
Auditing should include performance trends and physical condition. If scan volume drops, investigate whether placement changed, signage became damaged, or the linked content lost relevance. For printed materials in the field, ask frontline teams to report wear, obstruction, and customer complaints. On industrial labels or outdoor installations, weathering can reduce contrast over time. On product packaging, a design revision may unintentionally shrink the code below a safe size. A checklist only works when someone owns it operationally.
As this hub within QR Code Resources, Templates & Tools grows, your checklist can branch into specialized subtopics: print readiness, packaging compliance, event QR workflows, restaurant menu standards, PDF and Wi-Fi QR templates, analytics tagging guides, and QR code troubleshooting. That hub-and-spoke structure helps beginners start with one master checklist and then move into scenario-specific resources as their use cases mature.
A complete QR code checklist for beginners is not about making QR codes complicated. It is about making them dependable. Start with a clear goal, verify the destination, choose the right code type, protect scan quality with disciplined design, test in real conditions, measure results, and maintain every live code after launch. Those steps prevent the most common failures and turn a basic square graphic into a reliable bridge between physical and digital experiences.
The main benefit of using a checklist is consistency. Whether you are creating one code for a flyer or managing hundreds across packaging, signage, onboarding documents, and campaigns, the same framework reduces risk and improves outcomes. You waste less money on reprints, capture cleaner analytics, and give users a faster path to the information or action they want. That is why checklists are foundational tools, not optional extras, in any serious QR workflow.
Use this article as your hub reference, then build a repeatable review process around it. Create a standard checklist document, assign ownership, test every code before release, and revisit active codes on a schedule. If you do that, your QR codes will scan more reliably, convert more effectively, and stay useful long after they are published.
Frequently Asked Questions
1. What should be included in a complete QR code checklist for beginners?
A complete QR code checklist should cover every step between creating the code and making sure it works reliably in the real world. At minimum, beginners should verify the destination link, choose the right QR code type, confirm the landing page works on mobile devices, check the design for scannability, test print or screen placement, and set up a method to track performance. This is important because QR codes often fail for simple reasons such as broken URLs, poor color contrast, low print quality, or placing the code where users cannot easily scan it.
A strong checklist usually starts with the goal. Ask what action you want the user to take after scanning. That could be opening a menu, visiting a product page, downloading an app, viewing event details, or submitting a form. Once the goal is clear, confirm that the linked content is fast-loading, mobile-friendly, and relevant to the context in which the code appears. A QR code on product packaging should lead to a page that helps the buyer immediately, while a code on signage should load quickly and display the essential information without unnecessary friction.
The checklist should also include technical and visual review points. Confirm whether you need a static or dynamic QR code, make sure the code has enough quiet space around it, avoid overly stylized designs that reduce readability, and maintain strong contrast between the code and its background. Then test the code using multiple phones, different scanning apps, various lighting conditions, and realistic distances. Finally, include maintenance items such as monitoring analytics, checking for destination changes, and updating the linked content when campaigns or product information change. A checklist is not just for launch day; it is a quality control system for the full lifecycle of the QR code.
2. How do I choose between a static QR code and a dynamic QR code?
The choice between a static and dynamic QR code depends on how much flexibility, tracking, and long-term control you need. A static QR code contains the final destination directly in the code itself. Once it is created and printed, the destination cannot be changed. This makes static codes simple and often free to generate, but it also makes them less forgiving if the URL changes or if you later want to use the same printed code for a different campaign.
A dynamic QR code works differently. Instead of encoding the final destination directly, it points to a short redirect URL managed through a platform. That means you can update the final landing page later without changing the printed code. For beginners, this is often the safer choice for marketing, packaging, restaurant menus, event signage, and any use case where content may change over time. Dynamic codes also typically support analytics, allowing you to measure scans, locations, devices, and campaign performance. That data is extremely useful if you want to know whether the code is actually delivering results.
In a checklist, the decision usually comes down to permanence and measurement. If the destination will never change and you do not need scan tracking, a static code may be enough. If you want editability, reporting, campaign management, or the option to fix mistakes after print production, choose dynamic. Many beginners underestimate how often URLs, promotions, or landing pages change. For that reason, dynamic codes are often the more practical option even if they require a paid service. The cost of flexibility is usually much lower than the cost of reprinting packaging, posters, menus, or promotional materials.
3. What design mistakes make a QR code hard or impossible to scan?
The most common design mistakes are low contrast, overcrowding, excessive customization, small sizing, and placing the code on visually busy surfaces. QR codes may look simple, but they rely on precise patterns that scanning software must recognize quickly. If you make the code too decorative, remove too much of the pattern, use colors that blend into the background, or print it too small, you increase the chance of scan failure. Beginners often focus on branding first and function second, but a QR code that looks attractive and does not scan is ineffective.
Good checklist practice starts with contrast. Dark code on a light background is still the safest standard. Avoid metallic inks, glossy glare-heavy surfaces, and color combinations with weak separation, such as light gray on white or pastel tones with minimal distinction. Keep the quiet zone, which is the empty margin around the QR code, intact. Without enough clean space around the edges, scanners may struggle to identify the boundaries of the code. Also avoid stretching the code, warping it into unusual shapes, or placing logos so large that they interfere with the core pattern.
Size and context matter just as much as color and styling. A code used on business cards can be smaller than one placed on a wall poster or event banner, because the expected scanning distance is very different. If users need to scan from several feet away, the code must be larger. Print quality is another overlooked issue. Pixelated output, poor resolution, and low-quality materials can ruin an otherwise correct design. The safest approach is to test the finished design in its actual format, on its real material, and in the real environment where people will use it. A QR checklist should always treat design as a scannability issue first and a branding opportunity second.
4. How should I test a QR code before printing or launching it?
Testing should be treated as a formal pre-launch step, not a quick scan on one phone. A beginner-friendly QR code checklist should include testing the destination URL, loading speed, device compatibility, placement, lighting conditions, and scan distance. Start by confirming that the code opens the correct page and that the page itself is live, secure, and mobile-friendly. Then test on both iPhone and Android devices, because camera behavior and browser handling can differ. If possible, test with built-in camera apps as well as third-party scanning tools.
Next, test the code in realistic conditions. If it will appear on packaging, scan it from the curved surface or material it will actually be printed on. If it will be displayed in a restaurant, test it under indoor lighting, near reflective surfaces, and at the angles customers are likely to use. If it will be shown on event signage, test from the expected viewing distance and in both bright and dim settings. Many QR problems only become obvious when the code is used in context. A code that scans perfectly on a desktop preview may fail once it is shrunk, laminated, mounted behind glass, or placed too high on a wall.
It is also smart to test the full user journey after the scan. Does the page load quickly on mobile data, not just Wi-Fi? Is the call to action clear? Are there pop-ups or forms that make the experience frustrating? If the code is meant to drive conversions, the landing experience matters just as much as the scan itself. Finally, if you are using a dynamic QR platform, verify that analytics are recording scans correctly. A complete checklist does not end when the camera recognizes the code; it ends when the user successfully reaches the intended destination and can act without confusion.
5. Why do tracking, security, and maintenance matter after a QR code goes live?
Many beginners assume the work is finished once the QR code is printed or published, but the post-launch phase is where long-term success is determined. Tracking matters because it shows whether people are actually scanning the code, when they are scanning it, and which placements or campaigns are performing best. Without analytics, you are guessing. A dynamic QR code platform can help you measure scans by time, device, region, and sometimes source, which allows you to improve placement, messaging, and landing pages based on real behavior rather than assumptions.
Security matters because users need to trust where the code will take them. If a QR code points to a suspicious-looking URL, a broken page, or an unsecured site, users may abandon the experience or lose trust in the brand. Beginners should always use secure HTTPS destinations, clear branding, and pages that match the promise made next to the code. It is also important to monitor for physical tampering in public spaces, where malicious actors may place stickers over legitimate QR codes. In environments like retail, restaurants, and events, routine visual inspection should be part of the maintenance checklist.
Maintenance matters because links, offers, menus, product information, and campaign goals change over time. A code that worked perfectly at launch can become outdated, misleading, or broken months later. That is why a complete QR code checklist should include scheduled audits. Re-scan the code regularly, review analytics, confirm the destination is still relevant, and update dynamic redirects when needed. For printed materials with a long lifespan, this step is especially important. Ongoing maintenance protects user experience, preserves trust, and ensures the QR code continues to support business goals instead of quietly becoming a dead end.