QR codes fail for predictable reasons, and most scanning problems can be fixed once you understand how symbol structure, print quality, contrast, sizing, placement, and testing interact. In QR Code Testing & Quality Assurance, the goal is simple: make every code readable by real phones, in real lighting, at real distances, after the code has been printed, shipped, handled, and exposed to wear. I have worked on restaurant menus, product labels, retail signs, event badges, direct mail, and industrial packaging, and the pattern is consistent: teams usually blame the scanner first, when the real issue is almost always design or production control. A QR code is a two-dimensional matrix barcode defined by ISO/IEC 18004, made of dark and light modules, finder patterns, timing patterns, quiet zones, encoded data, and error correction. If any of those elements are compromised, scan reliability drops quickly.
This matters because a non-scanning code is not a minor design flaw; it is a broken user journey. A shopper cannot reach a product page. A diner cannot open a menu. A technician cannot retrieve maintenance instructions. A campaign cannot attribute traffic correctly. Poor scan performance also wastes print budgets, damages trust, and creates support costs that are far higher than the time required to run proper quality checks before launch. Good QR Code Testing & Quality Assurance is therefore both a design discipline and an operational process. It means validating content, checking symbol construction, reviewing artwork, testing print samples, and confirming performance across device types and environments. This hub explains the failure points that cause QR codes to stop scanning, how to diagnose each one, and the practical fixes that improve reliability before a code reaches customers.
Start with the data: destination errors, redirects, and content formatting
If a QR code does not appear to scan, first confirm that the problem is the symbol, not the destination. I have seen perfectly readable codes reported as “broken” because the URL returned a 404, the Wi-Fi payload used the wrong encryption type, the vCard had malformed fields, or the shortened link was blocked by a firewall. A scanner may decode the code successfully but still leave the user at a dead end. That is why the first quality assurance step is content validation. Test the destination link in a browser, verify HTTPS, confirm mobile page speed, and check that tracking parameters do not create invalid URLs. If you use dynamic QR codes, audit the redirect chain. Too many redirects slow resolution and can trigger failures on weak connections.
Formatting errors matter just as much for non-URL payloads. A phone number should use a clean tel: format. An email payload needs a valid mailto: structure. Calendar events, SMS strings, and Wi-Fi credentials must match the syntax scanners expect. For Wi-Fi QR codes in particular, SSID case, hidden network flags, and password escaping are common failure points. Quality assurance at this stage is straightforward: decode the QR code with at least three scanner apps and two native camera apps, inspect the raw content, and verify that the action launched by the device matches the intended behavior.
Symbol construction problems: size, version, error correction, and quiet zone
Many QR codes fail because the symbol itself is built poorly. Four variables do most of the damage: physical size, data density, error correction level, and quiet zone. The more data you encode, the more modules the code contains. More modules in the same print area means smaller individual squares, and smaller modules are harder for cameras to resolve. That is why a long URL copied directly into a code often performs worse than a short redirect URL. In production, I routinely reduce scan failures by shortening the data first, then rebuilding the symbol at a larger x-dimension.
Error correction helps only within limits. QR codes support L, M, Q, and H levels, which recover approximately 7%, 15%, 25%, and 30% of symbol damage respectively. Designers often assume H solves everything, then place a large logo over the center and wonder why lower-end phones struggle. Higher error correction increases redundancy, but it also adds complexity and can reduce module size if the overall code dimensions stay fixed. The correct approach is balance: choose the lowest data load possible, use an appropriate error correction level, and keep branding overlays conservative.
The quiet zone is non-negotiable. This blank margin around the code helps the scanner separate the symbol from surrounding graphics. The standard recommendation is four modules on all sides, and in the field I often prefer more, especially on packaging with busy backgrounds. When codes are boxed in by decorative frames, text, dielines, or folds, scanners can misidentify the symbol boundary. If a code looks cramped, increase the clear space first; that single change often restores readability.
| Issue | What it looks like | Why scanning fails | Practical fix |
|---|---|---|---|
| Code too small | Works up close, fails at normal distance | Camera cannot resolve module detail | Increase printed size and viewing distance ratio |
| Too much data | Dense, busy matrix | Modules become too fine for print and capture | Use a short URL or dynamic redirect |
| Weak quiet zone | Text or graphics sit against the code | Scanner cannot isolate symbol edges | Add at least four modules of clear margin |
| Logo too large | Center area heavily covered | Error correction capacity is exceeded | Reduce overlay size and retest on older phones |
| Low contrast | Stylized colors or tinted backgrounds | Insufficient luminance difference | Use dark modules on a light, matte background |
Print quality and material issues that ruin scan performance
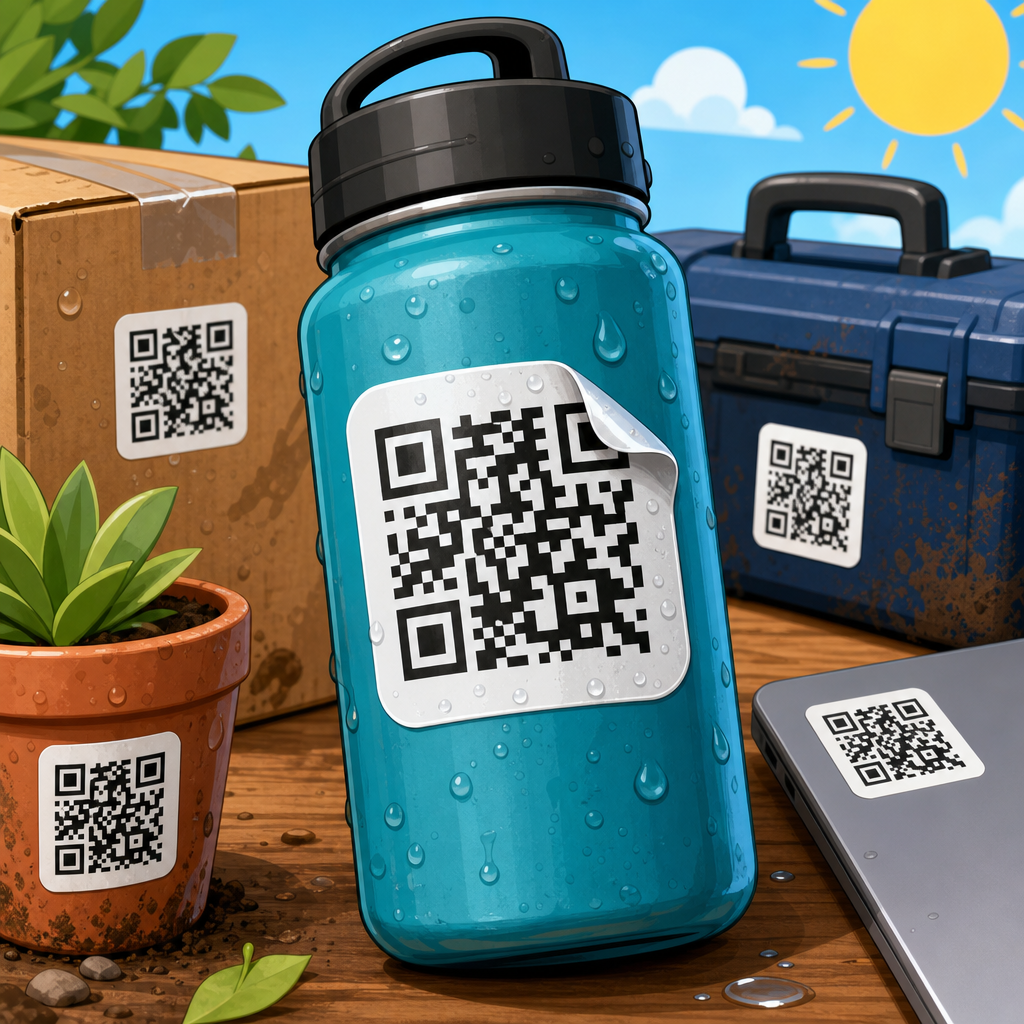
On screen, almost any QR code can look acceptable. In print, tiny defects become fatal. Dot gain can close small white spaces on uncoated stock. Ink spread can soften edges. Toner can create ragged module boundaries on low-grade office output. On corrugated board, flute texture interrupts module geometry. On flexible packaging, stretching can distort the square grid. Labels applied over curved bottles can bend the symbol enough to confuse scanners. I have seen thermal printers produce codes that pass visual inspection but fail because heat settings create inconsistent darkness across the pattern.
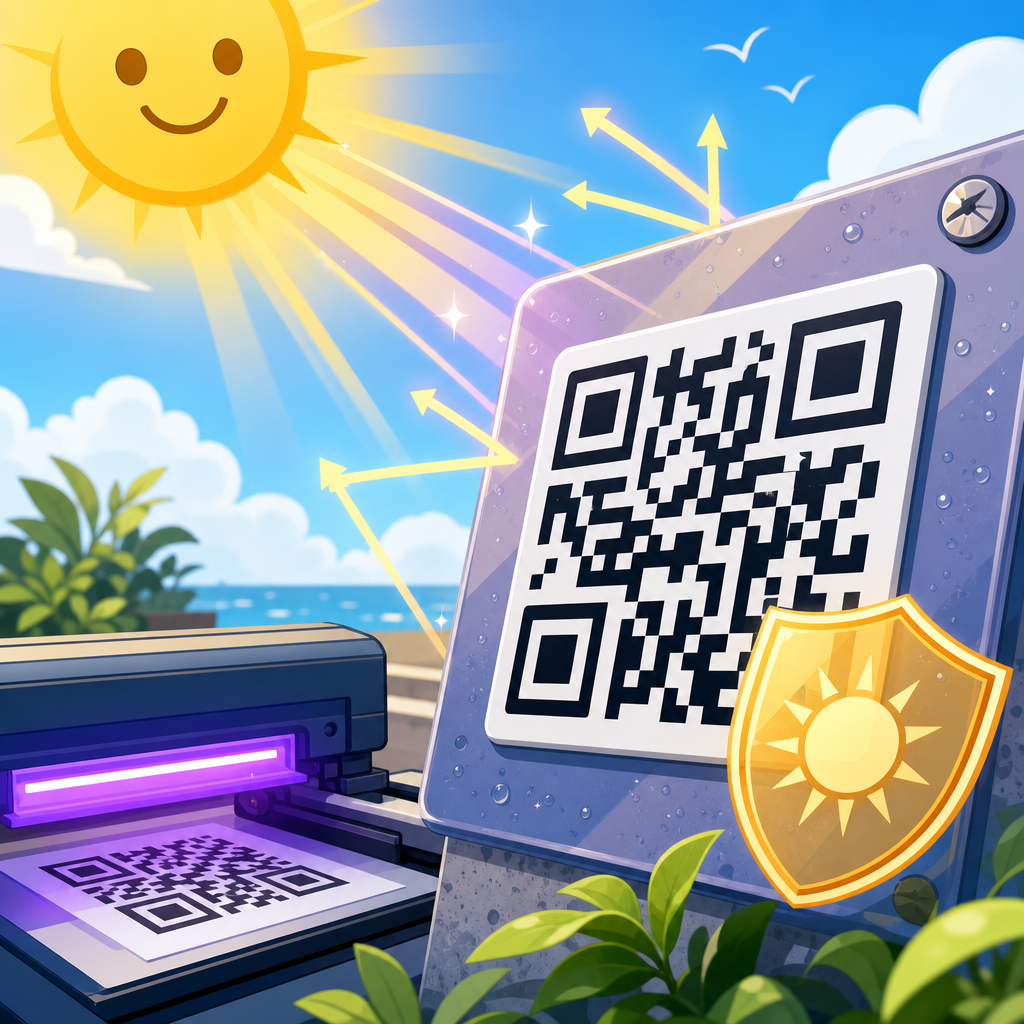
Material finish is another major factor. Gloss lamination, metallic foils, holographic films, and varnishes introduce reflections that wash out dark modules under store lighting. Transparent substrates are especially risky because the effective background changes with whatever sits behind the code. If the package content shows through, contrast becomes unpredictable. For reliable scanning, matte white backgrounds and solid black modules remain the safest combination. Where brand constraints require color, test luminance contrast rather than trusting how the design looks on a calibrated monitor.
Resolution and production method must match code complexity. For offset and digital print, vector artwork is preferred because it scales cleanly and preserves sharp module edges. If a raster file must be used, export at sufficient resolution for final print size; low-resolution PNG files enlarged in layout software are a common source of blurred modules. In prepress, check overprint settings, trapping, knockouts, and registration. A code built from four-color black can misregister, while a rich black mix may create halos or muddy detail. A single solid ink is more dependable.
Design choices that look impressive but scan badly
Customization is where many QR codes become fragile. Rounded modules, gradients, inverted colors, illustrated finder patterns, and embedded logos can work, but only after disciplined testing. The hard truth is that scanner tolerance varies widely across devices. A flagship phone in bright daylight may decode an artistic code instantly, while a midrange Android under fluorescent light may fail repeatedly. When teams ask me whether a stylized code is “allowed,” my answer is always the same: it is allowed only if it survives realistic testing across the devices your audience actually uses.
Color contrast drives much of this outcome. Scanners do not care about brand harmony; they care about luminance separation. Dark navy on black, gold on cream, or pale gray on white may pass a design review and still underperform. Inverted codes, with light modules on a dark background, remain less reliable because many scanners are optimized for dark-on-light symbols. Busy photographic backgrounds are also hazardous. Even when the code itself remains technically intact, high-frequency visual noise around it reduces detection speed.
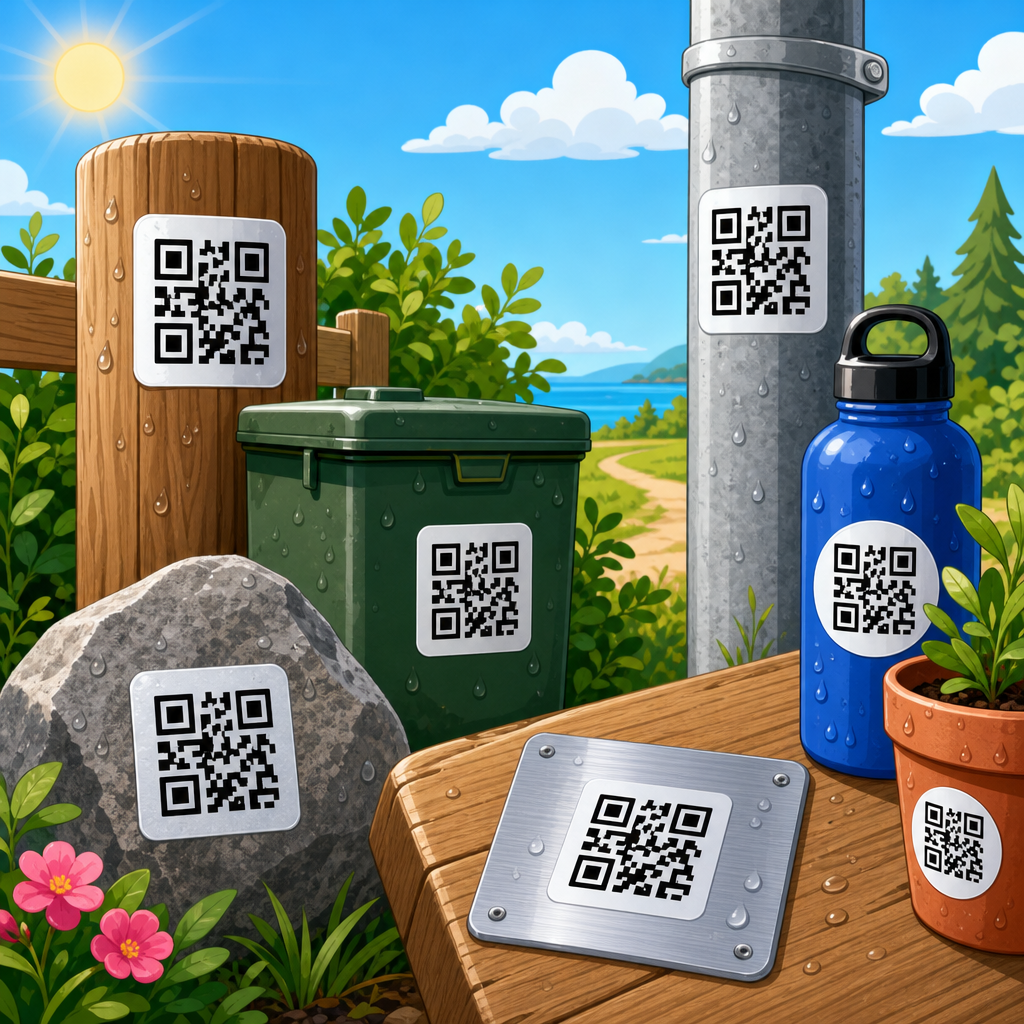
Placement matters as much as styling. Codes positioned near folds, perforations, seams, bottle shoulders, corners, or reflective product windows become harder to capture. A good placement allows the user to frame the whole symbol without glare, curvature, or physical obstruction. On posters and shelf signage, mount height and approach angle influence practical scan distance. On mailers, a code near the spine or crease can deform after handling. The best-looking location is not always the best-performing one.
Device, environment, and user behavior variables you must test
A QR code does not exist in a lab. It is scanned by different cameras, with different autofocus behavior, image processing, and operating systems. Newer phones generally perform better, but quality assurance cannot assume premium hardware. Test with current iPhone and Samsung devices, then include at least one midrange Android and an older model still common in your market. Native camera apps should be the baseline because that is what most people use. Third-party scanners can help diagnose edge cases, but they are not the primary user experience.
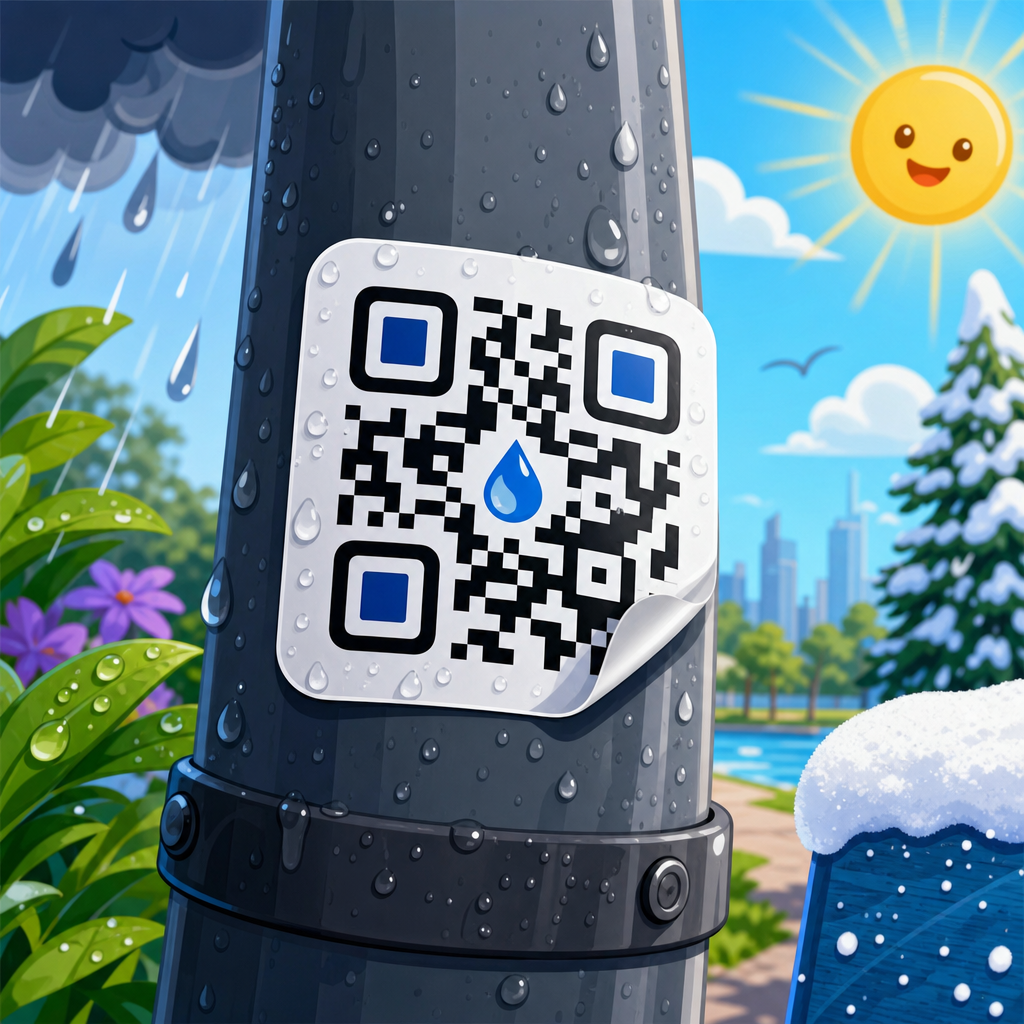
Environmental testing is where hidden failures appear. I test under bright daylight, office lighting, retail lighting, and low light. I also check glare by changing angle, because reflective substrates often fail only at certain orientations. Distance matters. A code on a billboard may be perfectly generated and still unusable because the module size is too small for the expected scanning distance. A practical rule many printers use is roughly one inch of code width for every ten inches of scanning distance, then adjust upward if the code is dense or the environment is poor. Movement matters too: users scan while walking, holding shopping bags, or standing in queues. A code that requires perfect stillness is too fragile for real use.
Human behavior should be part of QA. People do not always center the code carefully. They may scan through scratched protective covers, with low battery brightness, or with dirty camera lenses. Instructions can reduce friction. A short callout such as “Scan for assembly guide” improves user confidence, and adding fallback text like a short URL protects the journey when scanning conditions are poor. QR Code Testing & Quality Assurance should assess the full interaction, not only machine readability.
Build a repeatable QR Code Testing & Quality Assurance workflow
The most reliable teams use a checklist, not intuition. My standard workflow starts with content verification, then symbol review, then print proof testing, then environmental and device testing, and finally post-launch monitoring. For symbol review, decode the file before it enters layout. Confirm size, error correction, quiet zone, contrast, and file format. For print proofs, scan both flat proofs and production samples, because final materials often behave differently from contract proofs. For packaging, test after application to the actual container, not just from the label sheet.
Use measurement where possible. A barcode verifier is ideal in regulated or high-volume environments, though many consumer campaigns rely on phone-based practical testing instead. If you print at scale, log pass or fail results by device, light condition, substrate, and production batch. That data quickly shows patterns, such as one press, material, or finishing step causing a disproportionate number of failures. Dynamic QR platforms can also reveal downstream issues through analytics. If scans drop sharply after a packaging change, investigate print and placement before blaming demand.
As a sub-pillar hub, this topic connects naturally to deeper articles on minimum QR code size, quiet zone requirements, print resolution, glossy versus matte finishes, QR code color contrast, logo-safe customization, testing across iPhone and Android, and how to verify codes on labels, signage, menus, mailers, and packaging. The unifying principle across all of them is simple: reliable scanning is designed, printed, and tested into the code from the beginning.
When your QR code is not scanning, the fix is usually not mysterious. Check the destination first, then reduce data load, protect the quiet zone, improve contrast, enlarge the symbol, and test on the actual printed material under real conditions. Most failures come from preventable choices: oversized logos, tiny modules, reflective finishes, poor placement, low contrast, or skipped proof testing. Once you address those root causes, scan performance improves quickly and consistently.
The main benefit of disciplined QR Code Testing & Quality Assurance is confidence. You can print at scale knowing the code will work for customers, not just for the designer who approved it on a laptop screen. That protects conversion rates, campaign measurement, customer satisfaction, and brand credibility. It also reduces expensive reprints and support issues that stem from a broken scan experience.
If you manage QR codes on packaging, menus, signage, or marketing materials, treat testing as a release gate, not an afterthought. Build a checklist, test across devices and lighting conditions, and validate the final printed piece before launch. Then use the related resources in this QR Code Design, Printing & Materials hub to go deeper on size, contrast, finishes, placement, and print production standards. A QR code should work the first time someone points a camera at it. Make that the standard for every code you publish.
Frequently Asked Questions
Why won’t my QR code scan even though it looks fine to the eye?
A QR code can appear perfectly sharp and still fail in real-world scanning because phones are not judging it the way people do. A camera needs enough detail, contrast, and clean structure to separate the dark modules from the light background, detect the three corner finder patterns, and interpret the full symbol without confusion. Problems often come from low contrast, overly dense data, tiny module size, poor lighting, glossy reflections, motion blur, or print distortion. In many cases, the code technically exists, but it does not exist in a form that a phone can reliably decode from normal use conditions.
This is why visual inspection is never enough. A code that looks acceptable on a screen may fail after printing, trimming, laminating, shrinking, or being placed on curved packaging. Even something as simple as a dark green code on a black label or a code printed too close to other design elements can reduce scan reliability. The fix is to test the code the way people will actually use it: on real phones, at realistic distances, in bright and dim light, and on the final printed material. If it scans only under ideal conditions, it is not production-ready.
How big should a QR code be to scan reliably?
There is no single universal size that works for every use case because scan performance depends on both the physical size of the code and the amount of data packed into it. A simple URL encoded in a low-density QR code can scan well at a relatively modest print size, while a code carrying more data becomes more complex and needs to be printed larger so each module remains distinct. What matters most is module size, not just overall dimensions. If the tiny squares become too small for the camera to resolve at the intended distance, the code becomes unreliable or unreadable.
A practical rule is that the farther away people will scan, the larger the code needs to be. A code on a restaurant menu can be smaller than one on a retail sign viewed from a few feet away, and both can be far smaller than a code on a poster meant to be scanned across a room. Good quality assurance means matching the code size to the real environment: phone camera quality, expected distance, lighting, and material. If a code is failing, one of the most effective fixes is often to reduce the encoded data and increase the printed size so the symbol has more breathing room and cleaner module definition.
Does color and contrast really matter for QR code scanning?
Yes, color and contrast matter a great deal. Scanners work best when there is a strong difference between the foreground and background, typically dark modules on a light background. Many scan failures come from designs that prioritize branding over readability, such as light gray codes, metallic inks, transparent overlays, or color combinations that look stylish but do not produce enough tonal separation for the camera. A phone may also interpret some colors differently under warm indoor light, direct sunlight, or reflective surfaces, which makes marginal designs even less dependable.
The safest approach is high contrast with a solid, light background and a dark foreground. Black on white remains the most reliable standard, but other combinations can work if the contrast is strong. You should also avoid glossy finishes, gradients, textures, and busy imagery behind the code unless they have been thoroughly tested on the final material. In quality assurance work across menus, labels, signs, badges, and direct mail, contrast issues are among the most common causes of preventable failure because they often slip through design review and only show up when real users try to scan in less-than-perfect conditions.
What printing and placement mistakes make QR codes hard to scan?
Several common production mistakes can ruin scan performance even when the original digital file was correct. Poor print resolution can blur module edges, ink spread can fill in white spaces, and low-quality substrates can distort the symbol. Placement errors are just as important. A QR code positioned near folds, seams, perforations, bottle curves, package corners, or glare-prone surfaces may become partially obscured or visually warped. If the required quiet zone—the empty margin around the code—is too small or invaded by text, borders, graphics, or patterns, scanners may struggle to isolate the code from its surroundings.
Placement should always reflect how the item will be held, viewed, and used. On a product label, for example, a code may scan well on a flat proof but fail once applied to a curved container. On an event badge, a code may become unreadable if covered by lanyards, bends, or laminate glare. On direct mail, trimming shifts can clip the quiet zone. The fix is to treat QR codes as functional elements, not decorative afterthoughts. Give them adequate clear space, keep them off problematic surfaces when possible, and test the final printed piece after production, not just the design file before it goes to press.
How can I test a QR code properly before using it in print or signage?
Proper QR code testing means evaluating the code under realistic conditions, not just confirming that it scans once on a designer’s phone. Start by testing the exact final asset, including the intended colors, size, resolution, and surrounding artwork. Then test the printed version on the actual material if possible, because paper stock, label film, coatings, and finishing can all affect readability. Use multiple phones and camera apps, since scanning performance varies by device, operating system, autofocus quality, and image processing. A code that works only on newer flagship phones is still a problem if your audience includes average consumer devices.
You should also test in the environments where the code will live: indoor lighting, low light, bright daylight, glare, hand-held movement, and realistic scanning distances. Try damaged or worn scenarios if the item will be handled, shipped, refrigerated, folded, or exposed to moisture. Confirm that the destination loads correctly, quickly, and on mobile devices, because a “scan problem” is sometimes actually a bad landing page or redirect issue. The goal of QR Code Testing & Quality Assurance is simple: every code should be readable by real phones, in real lighting, at real distances, after print and handling—not just theoretically valid. When you test that way, most scanning problems become predictable, measurable, and fixable before they ever reach customers.