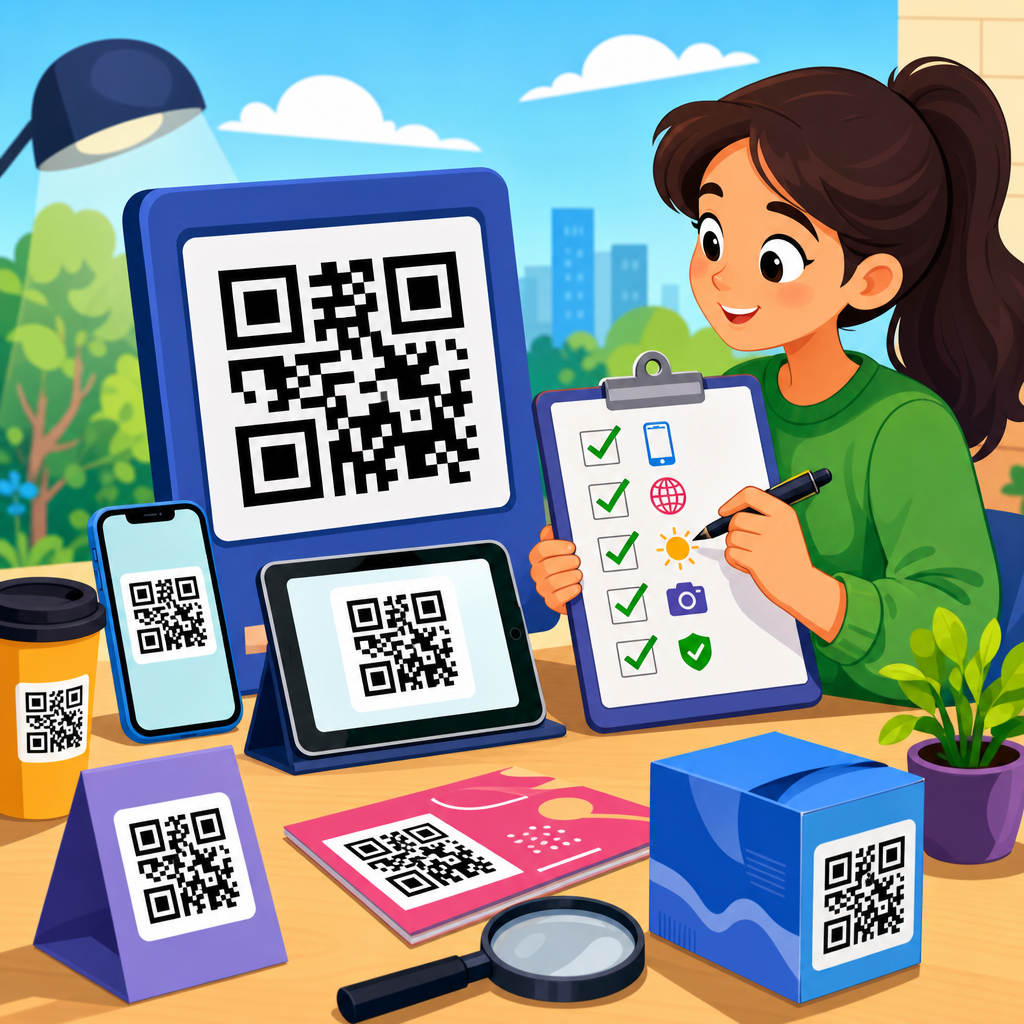
Launching a QR campaign without a rigorous validation process is one of the fastest ways to waste print budget, lose conversions, and create avoidable customer friction. A QR code testing checklist is the practical framework teams use to confirm that a code scans quickly, resolves to the right destination, survives real-world printing conditions, and produces reliable analytics before anything goes live. In the context of QR code design, printing, and materials, testing and quality assurance sit between creative approval and production signoff. They protect the investment already made in artwork, packaging, signage, mailers, labels, menus, and point-of-sale displays.
When I review QR assets for launch, I separate testing into four categories: scan performance, destination accuracy, physical production quality, and measurement integrity. Scan performance asks whether common camera apps and scanning apps can read the symbol under realistic conditions. Destination accuracy checks redirects, UTM tagging, page speed, mobile rendering, and compliance requirements. Physical quality focuses on size, contrast, quiet zone, surface finish, placement, and substrate behavior. Measurement integrity verifies that analytics platforms, tag managers, and QR generators all report the same user journey. This discipline matters because QR codes fail in ordinary ways: glossy lamination causes glare, low contrast reduces recognition, damaged labels break finder patterns, and a last-minute URL change introduces a redirect loop. Most failures are preventable when testing happens before launch rather than after distribution.
What a QR code testing checklist should cover
A complete QR code testing checklist answers a simple question: will this code work for the intended audience, in the intended environment, on the intended material, at the intended scale? Start with the symbol itself. Confirm the encoded content is correct, whether that is a static URL, dynamic redirect, vCard, Wi-Fi credential, app deep link, payment payload, or PDF download. Verify the error correction level matches the design risk. For clean, high-contrast codes with no logo overlay, moderate correction is usually sufficient. If branding elements cover part of the symbol or the code may experience wear, a higher correction level can be justified, but it also increases density, which can reduce readability at small sizes.
Then test across device and software combinations. At minimum, use recent iPhone and Android models, native camera apps, and one dedicated scanning app. I also test on older midrange phones because many campaigns fail there first; lower-quality sensors and slower autofocus expose weak design choices immediately. Include network conditions in the checklist. A code that resolves instantly on office Wi-Fi may stall on a crowded retail network or in a parking lot with poor cellular service. If the call to action appears outdoors, test in bright sun, shade, and evening light. If it appears on curved packaging, test from multiple angles and distances. The checklist should force teams to validate the real environment, not an idealized desk setup.
Scan reliability: readability, error correction, and device coverage
Scan reliability is the first gate because nothing else matters if the code cannot be read quickly. The most important controls are module clarity, quiet zone preservation, contrast, and size. The quiet zone is the blank margin around the QR code, typically four modules wide, and it is not optional. Designers often squeeze nearby text, icons, borders, or die lines too close to the symbol, which interferes with recognition. Contrast should be strong, with a dark foreground on a light background. Reverse QR codes can work, but they are less forgiving and need extra testing. Metallic inks, gradients, transparent backgrounds, and heavily textured materials raise risk and should be treated as exceptions, not defaults.
Size depends on scan distance and print quality. A common field rule is that the scanning distance should be roughly ten times the code width, but that is only a starting point. Dense codes with long URLs need larger print dimensions than short dynamic URLs because each module becomes smaller. In production reviews, I prefer dynamic short links not only for editability but also because they simplify the symbol and improve scan tolerance. Device coverage should include autofocus speed, low-light behavior, and camera app prompt behavior. Some phones recognize QR codes instantly in the native camera, while others require steadier framing. A practical acceptance standard is that a first-time user should be able to scan within two to three seconds under normal conditions.
Print and material quality checks before production approval
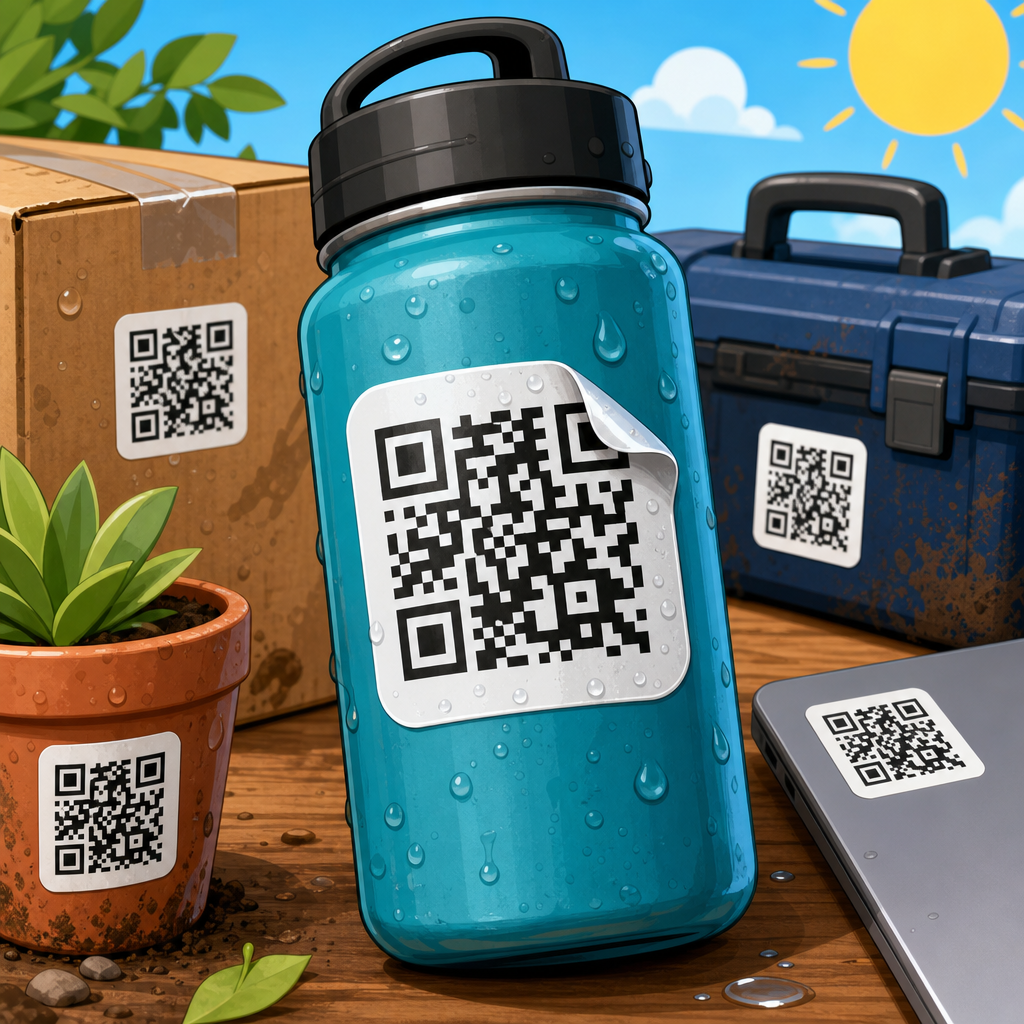
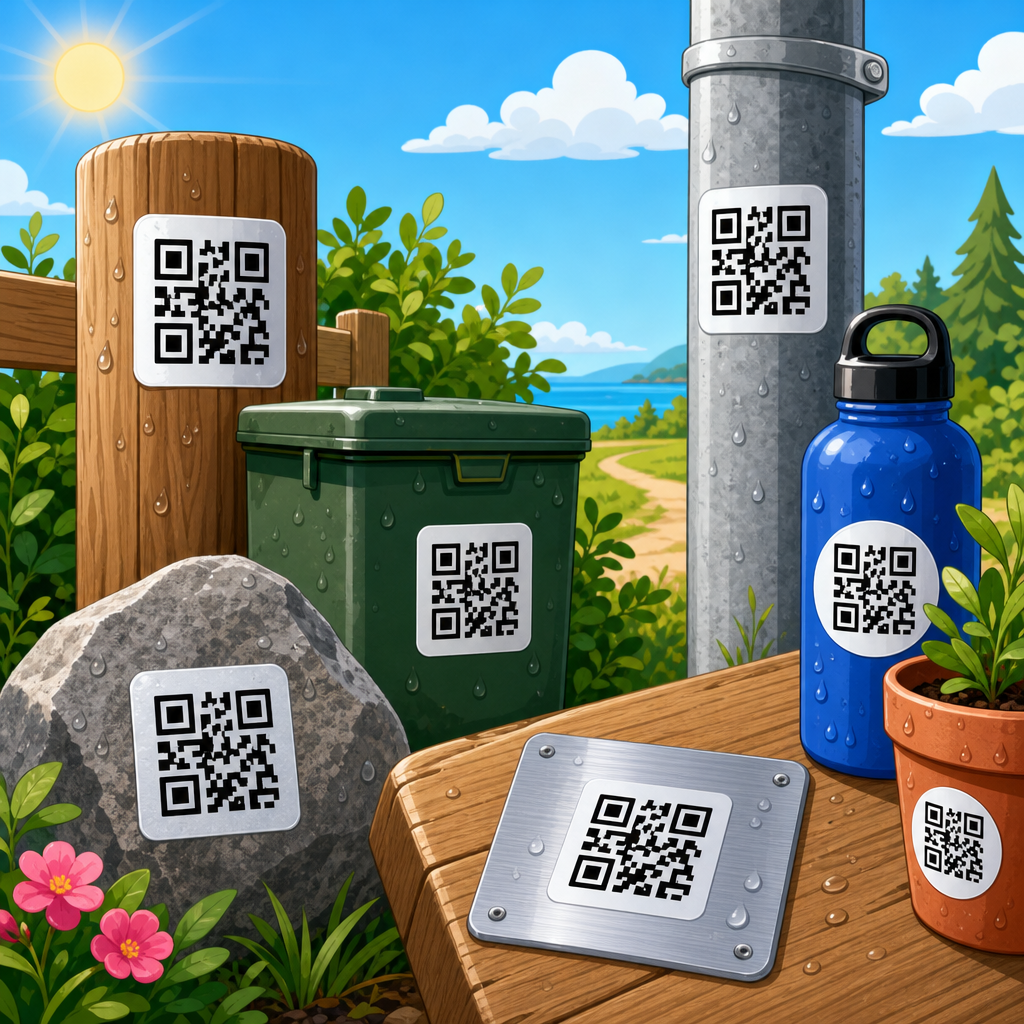
Print quality can make a technically correct QR code unusable. Before approving production, examine how the chosen process reproduces edges, fills, and contrast. Digital printing, offset, flexographic, thermal transfer, screen printing, and large-format inkjet each introduce different risks. Flexo can spread ink and soften edges on porous labels. Thermal printing can produce inconsistent darkness as ribbons age. Large-format prints can pixelate if exported at the wrong resolution. Substrates also matter. Uncoated paper absorbs ink and may blur fine modules. Corrugated board introduces uneven surfaces and shadows. Gloss coatings and lamination create reflections that reduce readability, especially under store lighting. Curved bottles, shrink sleeves, and foil pouches distort the symbol if placement is careless.
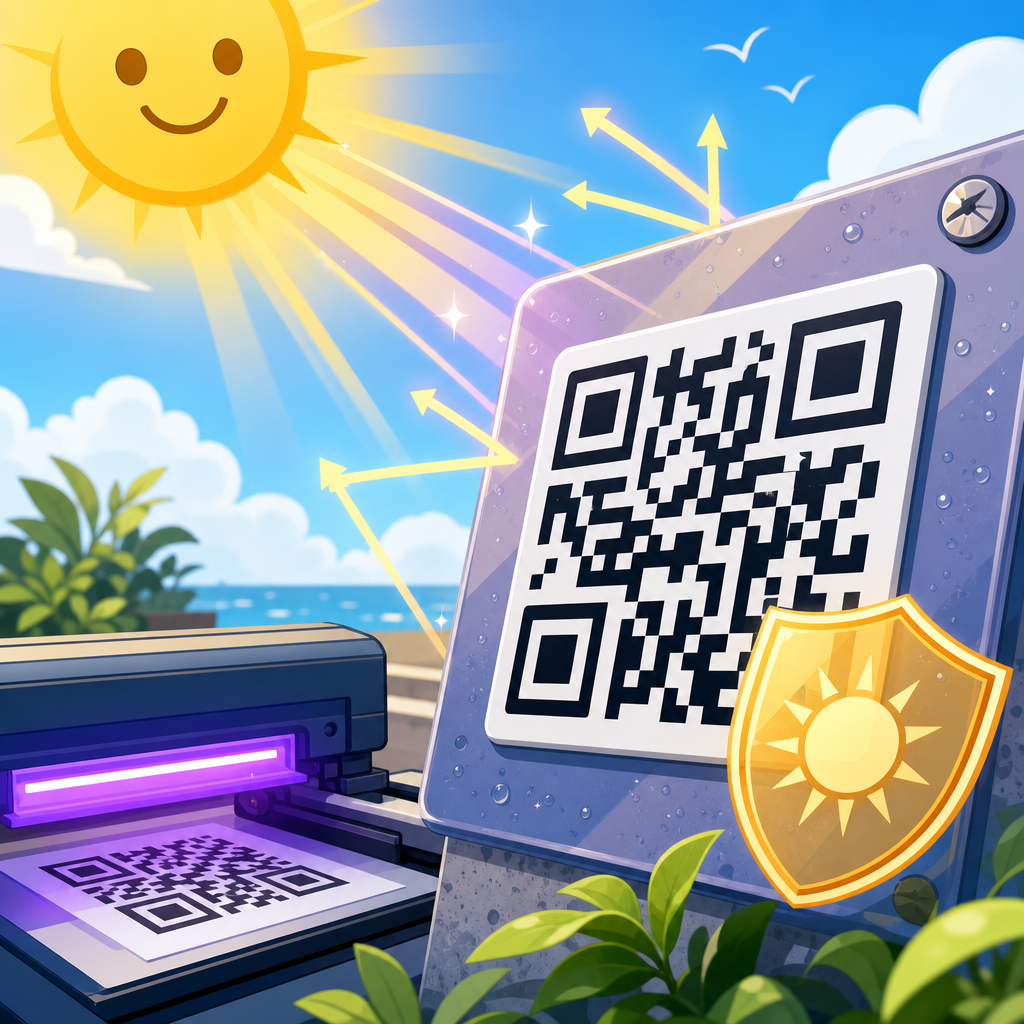
Use hard proofs, not only screen proofs. I always recommend printing the code at final size on the actual substrate or the closest available match, then testing samples from the first article run. If the code appears on packaging, test after finishing steps such as varnish, lamination, embossing, or shrink application. If it appears on outdoor signage, inspect weather resistance and fading. If it appears on apparel tags or wristbands, test abrasion and crease damage. The goal is to qualify the full production stack, not merely the artwork file. A code that scans perfectly before finishing can become unreliable after one coating, one fold, or one seam placement decision.
| Checkpoint | What to verify | Common failure | Recommended fix |
|---|---|---|---|
| Quiet zone | Minimum four-module clear margin on all sides | Text or borders crowd code | Increase whitespace and remove decorative frames |
| Contrast | Dark modules on light background | Low-contrast brand colors or gradients | Use solid high-contrast colors and retest |
| Print size | Readable at intended distance and angle | Dense code printed too small | Shorten URL with dynamic redirect and enlarge symbol |
| Surface finish | Minimal glare under real lighting | Gloss laminate reflects overhead lights | Switch to matte finish or change placement |
| Placement | Flat or gently curved area with clear CTA | Code wraps over seam, fold, or corner | Move to uninterrupted panel |
| Analytics | Redirects, UTMs, and events fire correctly | Broken parameters or duplicate sessions | Validate links and tag setup before release |
Destination testing: links, redirects, mobile UX, and compliance
Once scanability is proven, test what happens after the scan. The destination URL must resolve correctly, load quickly, and match the promise of the call to action. I check every QR destination for HTTPS, redirect count, canonical consistency, and mobile rendering. Too many redirects slow the experience and increase failure risk on weak connections. If you are using a dynamic QR platform, validate the short URL, redirect rule, fallback logic, and expiration settings. A common issue is a code that works internally but fails after a campaign goes live because the final landing page was moved, geofencing was misconfigured, or app deep linking was enabled without a valid fallback page.
Mobile user experience deserves explicit testing because most scans happen on phones. Confirm that the landing page uses responsive layouts, accessible type sizes, compressed images, and a clear above-the-fold action. If the QR code appears on product packaging, the destination should usually answer immediate buyer questions fast: pricing, ingredients, authenticity, instructions, warranty registration, or store locator. If the code supports payments, tickets, healthcare forms, or regulated disclosures, verify legal and privacy requirements. That includes consent flows, cookie banners, accessibility expectations under WCAG, and any sector-specific rules. QR codes do not remove compliance obligations; they move them into a mobile context where friction is even more visible.
Analytics, attribution, and QA for measurement accuracy
Reliable reporting is part of QR code quality assurance. If marketing cannot trust the data, the campaign cannot be optimized or defended. Set up analytics before launch, then test end to end. Scan the code, confirm the redirect resolves with the intended UTM parameters, and verify that analytics platforms record sessions, source dimensions, conversion events, and revenue where applicable. In Google Analytics 4, inspect real-time reports and DebugView. In tag management systems, confirm triggers fire only once and that parameters persist across redirects. In CRM or marketing automation systems, verify lead forms, hidden fields, and campaign IDs map correctly. Broken attribution is common when redirects strip query parameters or when link shorteners conflict with app browser behavior.
Beyond basic traffic, define what success means for each placement. A QR code on shelf talkers may optimize for product page views, while a direct mail code may optimize for completed lead forms. Packaging codes often produce repeat scans after purchase, so separate new-user acquisition from support or retention use cases. Dynamic QR platforms can add scan counts, device summaries, and location approximations, but those numbers should be reconciled with site analytics because methodologies differ. I advise teams to establish a source of truth before launch. If discrepancies appear, document whether the platform counts raw scans, unique devices, or successful redirects. Clear definitions prevent reporting disputes later.
Real-world stress testing for placement, environment, and user behavior
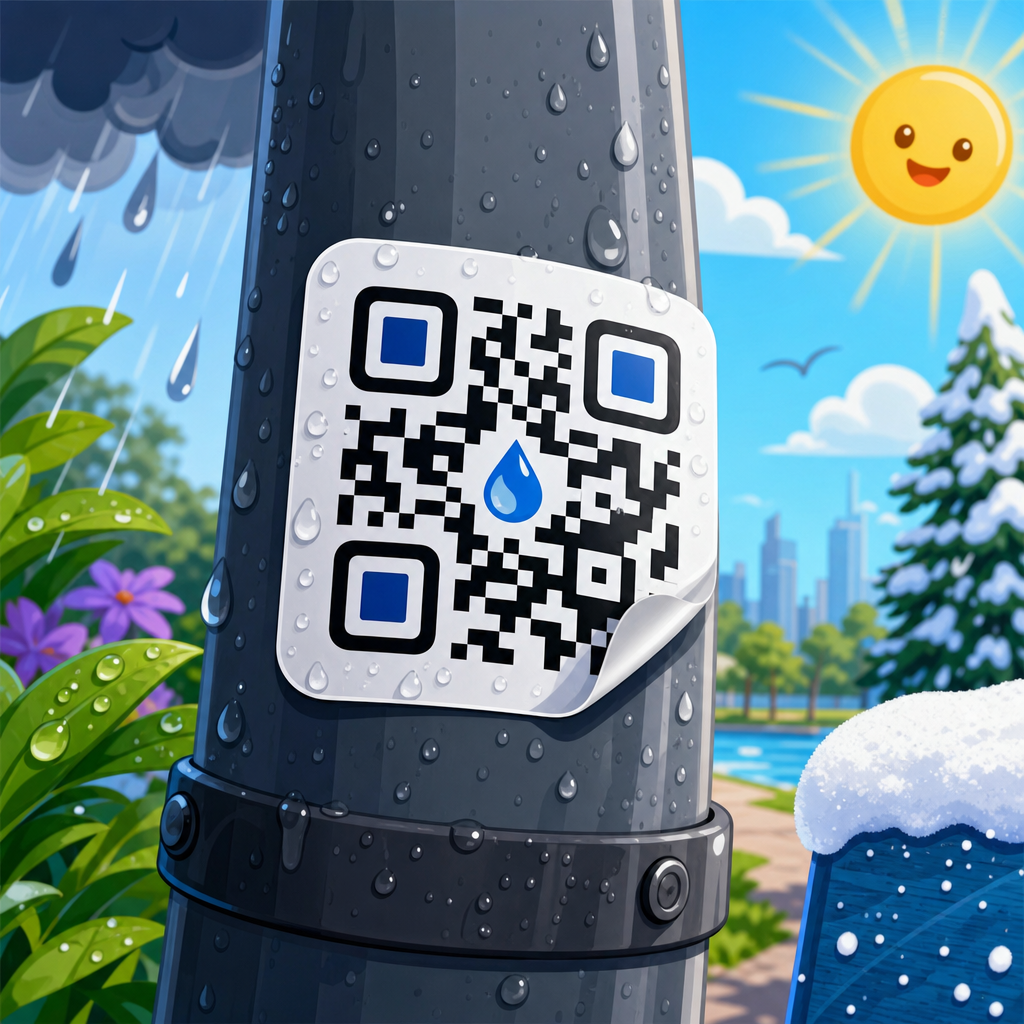
Laboratory checks are not enough. The strongest QR code testing checklist includes real-world stress testing that mirrors actual user behavior. If the code is on a poster in a transit station, test while standing, walking, and approaching from the side. If it is on restaurant tables, test under dim lighting and with overhead reflections. If it is on warehouse labels, test after scuffing, dust exposure, and temperature changes. If it is on vehicles or windows, test through glass, tint, and glare. The point is to expose environmental variables that are easy to ignore during design review but obvious in the field.
User behavior also affects results. Many people scan one-handed, with notifications on screen, weak signal, and little patience. They may be carrying bags, standing in line, or moving quickly past signage. That is why concise calls to action matter. “Scan for setup guide” performs better than vague prompts because it sets an expectation and helps users decide instantly. Placement height matters too. Retail and event teams often mount codes either too low for comfortable scanning or too high for stable framing. During site checks, I watch non-team members attempt scans without instruction. If they hesitate, step back, or ask what happens next, the experience is not ready.
Governance, launch signoff, and ongoing monitoring
A dependable go-live process assigns ownership for every checkpoint. Design owns artwork integrity, production owns print fidelity, web or app teams own destination performance, and marketing operations owns tracking. Create a signoff record with the final encoded value, destination URL, file version, print specification, approved size, placement notes, and test evidence. This documentation matters when campaigns are reprinted months later; without it, teams often regenerate codes, change redirect logic, or alter dimensions and accidentally introduce new failures. Version control is especially important for dynamic codes because the visible symbol may stay the same while the destination changes behind the scenes.
Monitoring should continue after launch. Review scan volume, bounce rate, landing page speed, and conversion metrics in the first days of release. Watch for unusual drops by location or substrate, which can signal a print issue rather than a traffic problem. Keep an inventory of live codes, owners, expiration dates, and destination rules. Retire outdated links deliberately instead of letting them drift into errors. As the hub for QR code testing and quality assurance, this checklist should guide every related workflow: prepress review, packaging approval, signage inspection, redirect validation, analytics QA, and post-launch monitoring. Use it before every release, adapt it to each material and environment, and treat every successful scan as the result of disciplined testing rather than luck.
Frequently Asked Questions
What should be included in a QR code testing checklist before launch?
A strong QR code testing checklist should cover far more than a quick scan on one phone. At minimum, teams should verify that the code resolves to the correct destination URL, loads quickly, and works across multiple devices, operating systems, camera apps, and scanning conditions. The checklist should also confirm that the QR code size is appropriate for the intended viewing distance, the contrast is high enough for reliable detection, and the quiet zone around the code has not been compromised by nearby graphics, borders, or text. If the code is dynamic, the redirect behavior should be tested as well to make sure links can be updated without breaking the user experience.
Beyond scanability, a complete checklist should include print-specific quality checks. That means testing the final exported artwork, not just the original digital proof. Teams should inspect for pixelation, blurring, ink spread, color inversion issues, low-contrast finishes, and placement problems on packaging, signage, mailers, labels, or other materials. It is also important to test the code under realistic conditions, such as different lighting environments, curved surfaces, and expected scanning distances. Finally, analytics and tracking should be validated before launch so the campaign records scans accurately, attributes traffic correctly, and supports reporting once the QR code is live.
How many devices and environments should be used to test a QR code?
There is no single perfect number, but the rule is simple: test broadly enough to reflect how real users will encounter the code. In practice, that usually means checking the QR code on multiple iPhone and Android devices, using both native camera apps and at least one or two third-party scanners if your audience may rely on them. Screen quality, camera performance, autofocus speed, and software behavior can vary meaningfully across devices, so a code that works instantly on one flagship phone may perform poorly on an older or budget model. If your audience spans a wide demographic, broader compatibility testing becomes even more important.
Environment matters just as much as the device mix. A QR code should be tested in bright sunlight, indoor lighting, low-light conditions, and any setting relevant to the campaign, such as retail shelves, vehicle wraps, event signage, or direct mail pieces viewed at home. You should also test from realistic distances and angles. A code on a poster may need to scan from several feet away, while one on product packaging may be scanned at close range but on a curved or glossy surface. The goal is not simply to prove the code can scan under ideal conditions, but to confirm it scans consistently in the real world where customers actually use it.
Why do printed QR codes fail even when the digital version works perfectly?
This is one of the most common and expensive launch mistakes. A QR code can look flawless on a screen yet fail after printing because print introduces variables that digital previews do not reveal. Poor contrast, reduced size, compression artifacts, low-resolution exports, and quiet zone violations are frequent culprits. Even small design changes, such as adding a decorative frame too close to the code or placing it over a textured background, can hurt scan performance. If the file was resized improperly during production, the code may become distorted enough to frustrate scanners even though it technically still resembles the original artwork.
Material and finishing choices also play a major role. Glossy coatings can create glare, dark packaging can reduce contrast, and textured or porous surfaces can soften edges that scanners rely on. On flexible or curved materials, modules can warp visually and reduce readability. In some cases, ink gain during printing causes modules to expand and close up fine details. That is why teams should always test a physical proof or production sample instead of relying solely on a digital mockup. The only meaningful validation for a printed QR campaign is whether the printed version scans quickly and reliably under the same conditions your audience will face.
How do you test QR code analytics and tracking before going live?
Testing analytics starts with confirming that the QR code points to the correct tracked destination and that every redirect behaves exactly as intended. If you are using dynamic QR codes, UTM parameters, campaign IDs, or a QR management platform, scan the code repeatedly and review the analytics dashboard, web analytics platform, and any downstream CRM or attribution tools to ensure visits are being captured consistently. You should verify core data points such as source, medium, campaign name, landing page session, and timestamp. If location, device type, or scan counts are important to reporting, those fields should also be checked during the validation process.
It is equally important to test for edge cases that can distort reporting. For example, make sure internal team scans during QA are filtered or labeled properly so they do not inflate campaign numbers after launch. Confirm that redirects do not strip tracking parameters, that shortened links resolve correctly, and that privacy or cookie consent flows do not prevent basic session attribution where measurement is expected. If different QR codes are being deployed across channels, placements, or versions, each one should have a unique identifier so performance can be compared accurately. Reliable analytics do not happen automatically; they need to be tested with the same discipline as scan performance and print quality.
What are the most important mistakes to avoid before a QR code campaign goes live?
The biggest mistake is assuming that generating the code is the same as validating the experience. Too many teams scan once on a single phone, see the page open, and move straight to production. That shortcut can lead to broken links, poor scan speed, landing pages that are not mobile-friendly, and inaccurate analytics. Other major mistakes include using low contrast colors, making the code too small, crowding the quiet zone, placing the code on reflective or curved surfaces without testing, and exporting the artwork at inadequate resolution. These errors often become expensive only after thousands of pieces are printed or installed.
Another critical mistake is treating the QR code in isolation instead of testing the full user journey. Even if the code scans, the campaign can still fail if the landing page is slow, the offer is unclear, the form is difficult to complete on mobile, or the destination does not match the printed call to action. Teams should also avoid launching without a fallback plan, such as a short URL near the code for users who cannot scan. The safest approach is to run a structured pre-launch checklist that covers scanability, print proofing, destination accuracy, mobile usability, analytics validation, and real-world testing conditions. That process is what protects budget, preserves conversion opportunities, and reduces customer friction before the campaign reaches the public.