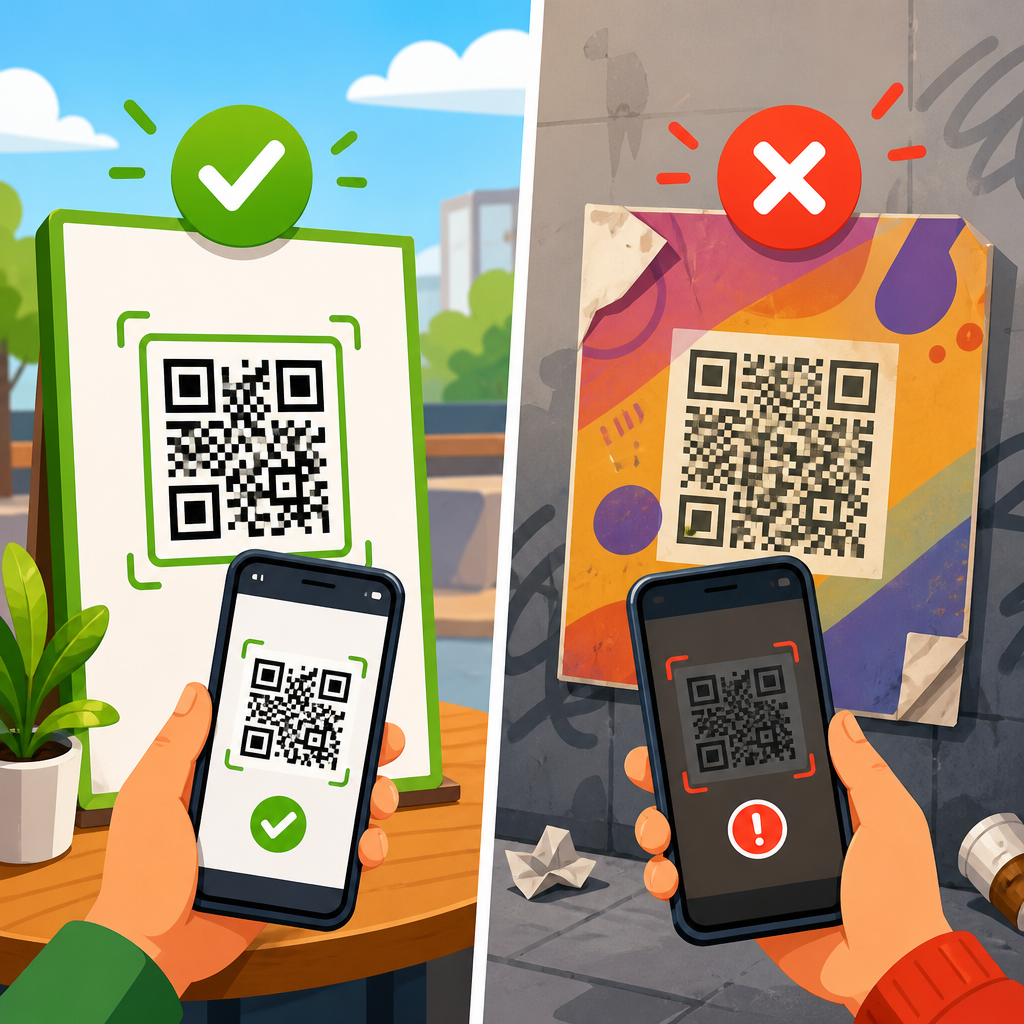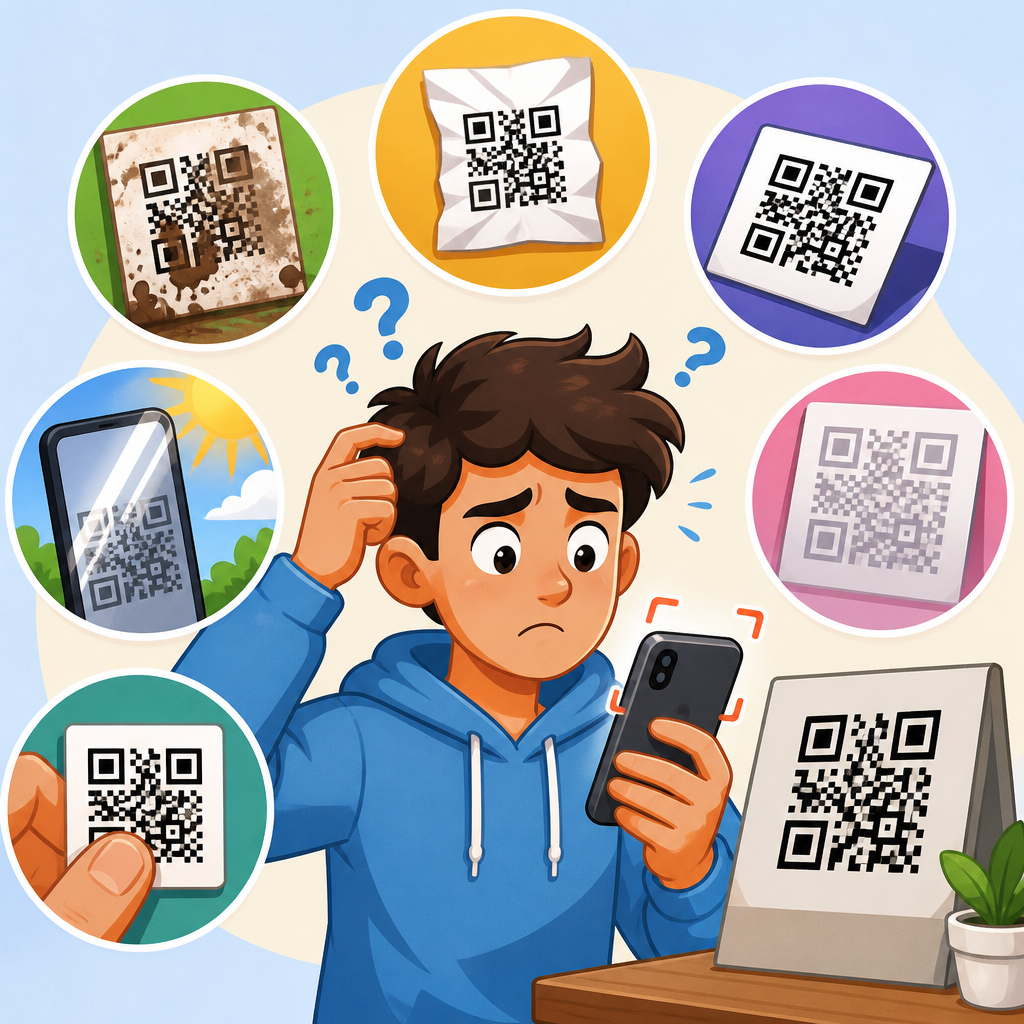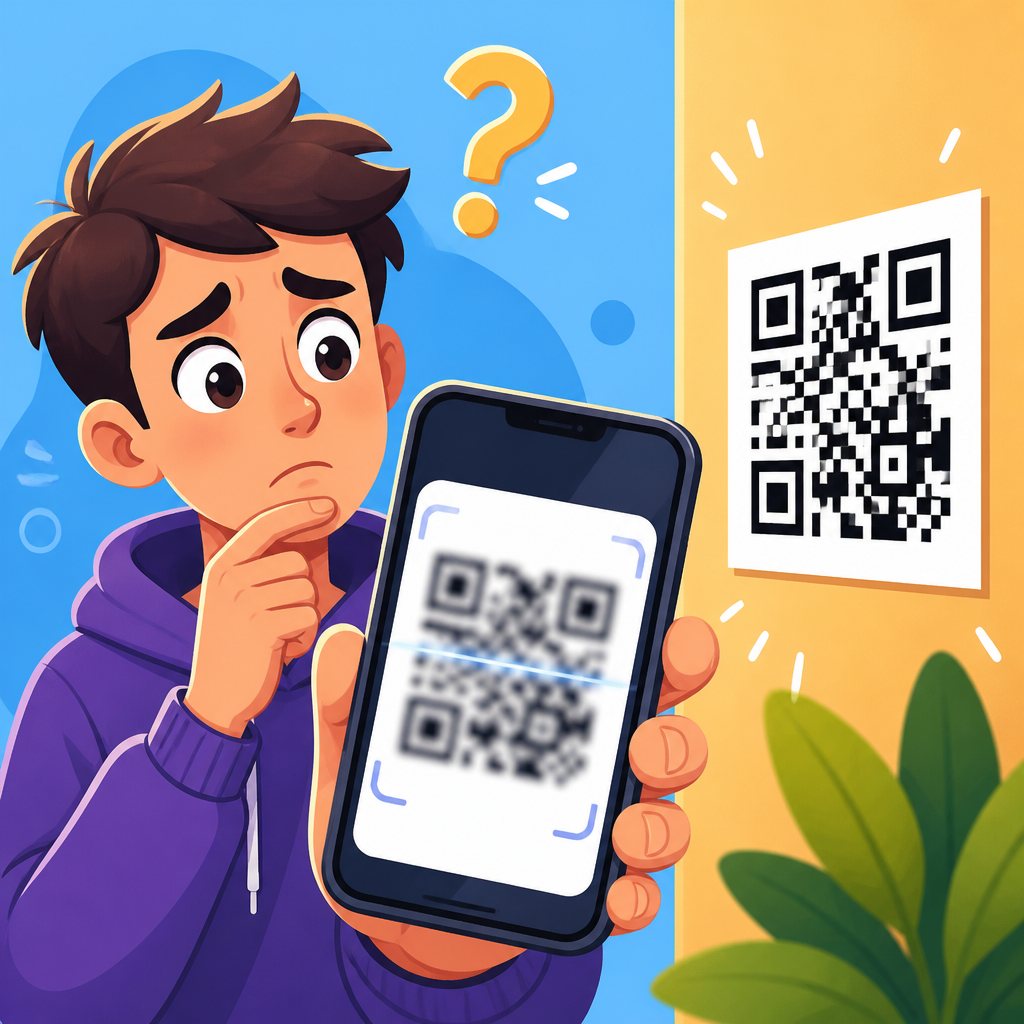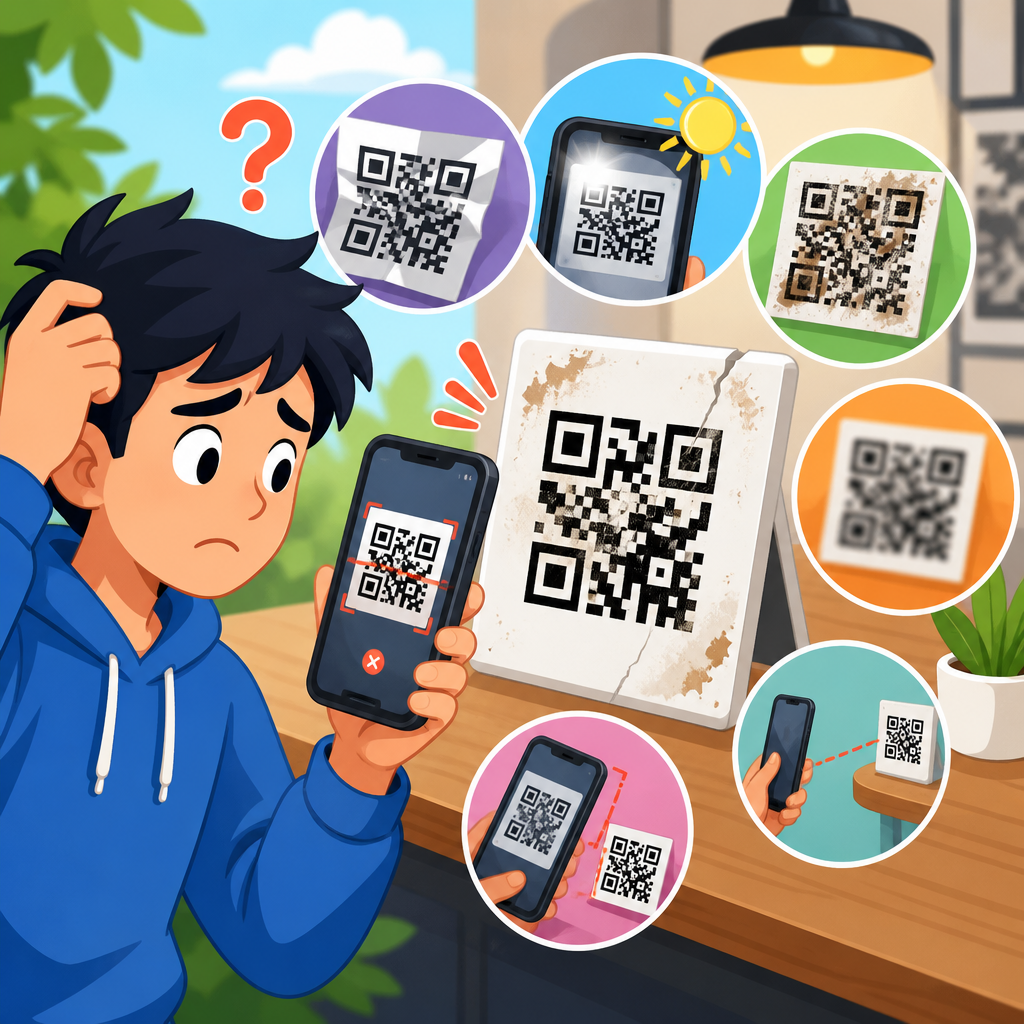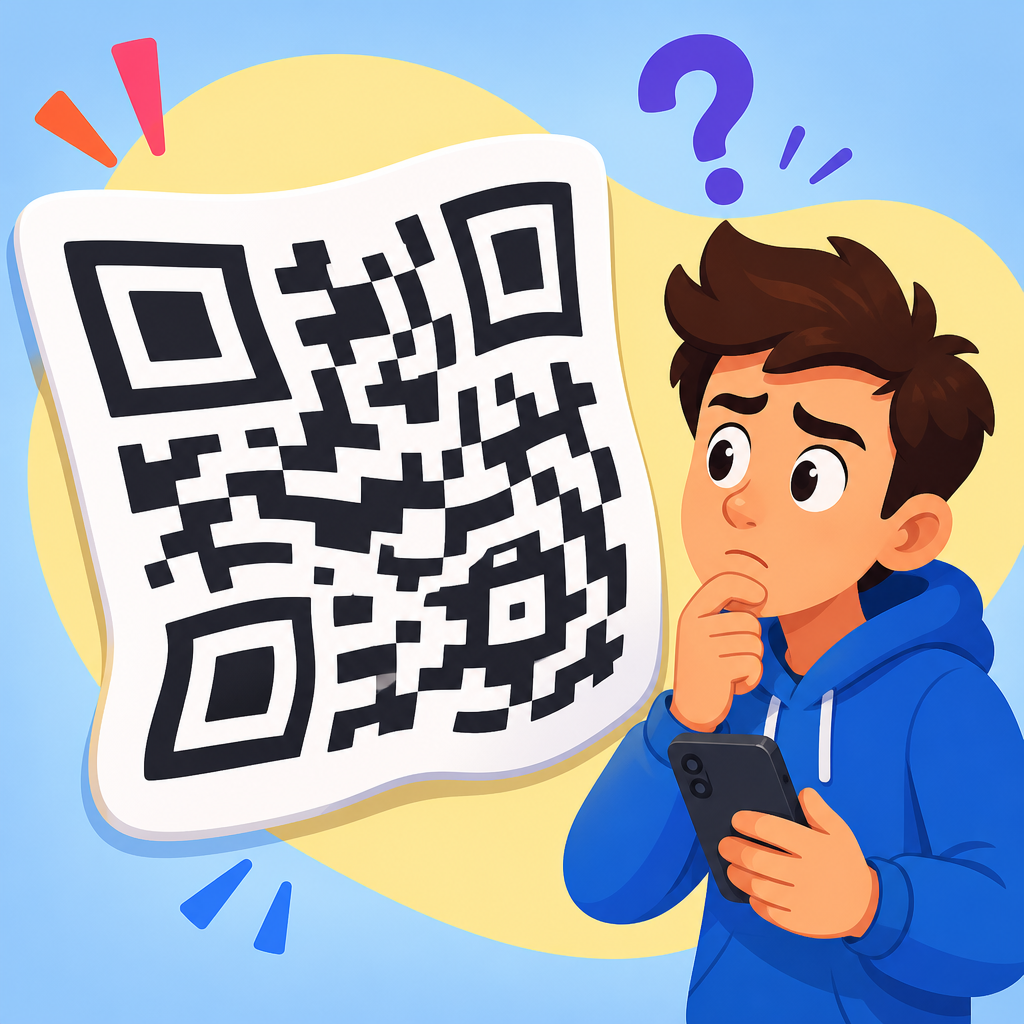
A distorted QR code usually fails for one simple reason: the scanner can no longer separate the code’s data pattern from the background, timing marks, or alignment squares with enough accuracy to rebuild the encoded message. In day-to-day support work, I have seen this happen on restaurant menus, shipping labels, product boxes, event posters, vehicle wraps, and mobile screens, and the root cause is almost never mysterious. It is usually a production, design, sizing, contrast, or surface problem that changed the code after it was generated. Understanding why a QR code is distorted matters because a non-scannable code does more than create inconvenience. It interrupts payments, blocks sign-ins, breaks marketing attribution, reduces trust at the exact moment a user is ready to act, and forces support teams to troubleshoot issues that could have been prevented before printing or publishing.
To diagnose the issue correctly, it helps to define the key terms. A QR code is a two-dimensional matrix barcode made of dark and light modules arranged in a square grid. The three large squares in the corners are finder patterns that help a scanner detect orientation. Smaller alignment patterns help correct perspective, while timing patterns help determine module spacing. Distortion is any change that alters the original geometry, contrast, or readability of those elements. That includes stretching, blurring, pixelation, poor cropping, warping on curved surfaces, glare, low contrast, ink spread, compression artifacts, and damage from wear. Some distorted QR codes still scan because QR error correction can recover part of the missing data, but that feature has limits. Once the scanner cannot reliably map the grid, the code stops working. This hub explains the main reasons QR codes do not work, how distortion happens in real projects, and what to check before you reprint, regenerate, or replace a code.
How distortion breaks QR code scanning
A scanner reads a QR code by locating the finder patterns, estimating the code’s orientation, calculating the module grid, sampling each cell, and then decoding the binary data with error correction. Distortion interferes with one or more of those steps. If the code is stretched horizontally, the module grid becomes uneven and the sampled cells no longer line up with the original data. If it is blurred, adjacent modules bleed together and individual squares become ambiguous. If the code is cropped too tightly, the required quiet zone, the blank margin around the symbol, disappears and the scanner may mistake nearby graphics for part of the code. If a shiny laminate throws glare across one corner, the camera may lose one finder pattern and fail before decoding even begins.
The most important practical point is that scanners do not “read the idea” of a QR code. They read measurable structure. That is why a code can look almost fine to a person and still fail repeatedly on phones. It is also why troubleshooting should start with the symbol itself rather than the destination URL. Before testing links, redirects, or analytics parameters, verify the printed or displayed pattern. In many support cases, the content behind the code is perfectly valid, but the code image was exported at low resolution, resized without preserving proportions, recolored with insufficient contrast, or placed over a textured background. Distortion is often introduced after generation during design handoff, not during QR code creation.
Common types of QR code distortion
Most scan failures fall into a small set of recurring categories. Geometric distortion happens when a code is stretched, squashed, skewed, or wrapped around a curved surface. Optical distortion appears when glare, shadows, reflections, motion blur, or shallow camera angles interfere with capture. Production distortion comes from low-resolution exports, JPEG compression, dot gain in printing, misregistration, over-inking, or substrate texture. Environmental distortion results from scratches, folds, dirt, fading, and weather exposure. Design distortion includes logos that cover too much data area, decorative module shapes that exceed safe limits, missing quiet zones, gradients, and low-contrast color choices. Each category has a different fix, so naming the failure mode matters.
I usually start by asking where the code lives: on paper, packaging, signage, apparel, glass, metal, or a screen. A code on corrugated cardboard fails differently from a code on a phone display. Cardboard absorbs ink and softens edges. A phone screen may moiré under another camera or dim in bright light. A vinyl banner can ripple outdoors. A bottle label curves. A vehicle decal is viewed from a steep angle. The same QR image can perform well in one context and fail in another because scanning is a combination of symbol quality, surface behavior, lighting, distance, and camera capability. Treating every failure as “the QR generator made a bad code” misses the actual cause in most cases.
Design and sizing mistakes that make QR codes unreadable
The fastest way to ruin a QR code is to resize it carelessly. A QR code must remain perfectly square, and each module must stay crisp enough for the scanner to distinguish dark from light. If a designer drags one side of the image independently, the code becomes rectangular and the grid no longer maps correctly. If the file is enlarged from a tiny raster export, the modules become soft or stair-stepped. If the code is reduced too far, the modules become smaller than the camera can resolve at normal scan distance. As a practical baseline, printed codes intended for handheld scanning should usually be at least 2 x 2 centimeters for short URLs in controlled conditions, and often larger for posters or packaging viewed from farther away.
Quiet zone errors are just as common. The blank margin around the code is not optional decoration; it is part of the symbol’s readability. Industry guidance commonly recommends a quiet zone of at least four modules on all sides. I regularly see layouts where the code is pushed against text, boxed inside a border, or placed over an image with no breathing room. That can prevent detection even if the modules themselves are perfect. Another issue is overbranding. Adding a center logo is often safe only when the code has enough redundancy, the logo does not cover finder, timing, or alignment structures, and the final symbol is tested across multiple devices. Visual customization is possible, but every aesthetic change consumes technical tolerance.
| Problem | What happens | Typical result | Best fix |
|---|---|---|---|
| Non-square resizing | Modules lose original proportions | Scanner misreads grid | Scale proportionally from the original file |
| Too small for distance | Camera cannot resolve modules | Slow or failed scans | Increase print size based on viewing distance |
| Missing quiet zone | Background interferes with detection | Code not recognized | Leave at least four modules of clear space |
| Low-contrast colors | Dark and light areas blend | Intermittent scanning | Use dark foreground on light background |
| Low-resolution raster file | Edges blur when scaled | Decoding errors | Use SVG, EPS, or high-resolution PNG |
| Logo too large | Data area blocked beyond recovery | Some devices fail completely | Reduce overlay and retest on multiple phones |
Print, material, and surface issues
Even a technically correct code can fail after it reaches production. Printing introduces physical variables that digital mockups hide. On absorbent stocks, ink spread, often called dot gain, makes dark modules grow into light spaces. On thermal labels, heat settings can produce muddy edges. On glossy laminate, overhead lights create white hotspots that wipe out portions of the symbol. On textured materials like kraft paper, fabric, unfinished wood, or embossed packaging, the camera sees inconsistent edges and shadows. I have also seen black-on-clear labels applied over colored containers, where the background changed the effective contrast enough to break scanning. A proof that works on a desktop printer can fail at scale on a press if the process, substrate, or finishing changes.
Curved and flexible surfaces deserve special attention. A QR code wrapped around a bottle, cup, helmet, or cable spool is no longer flat to the scanner. Perspective correction helps, but only up to a point. Once modules on one side compress while modules on the other side stretch, decoding becomes unreliable. The fix is usually simple: place the code on the flattest available panel, increase its size, and avoid seam lines, folds, or corners. For outdoor signage, fading and abrasion matter too. UV exposure can reduce contrast over time, and dust or scratches can interfere with finder patterns. If the code is mission-critical, use durable inks, protective but non-glare finishes, and a maintenance schedule that includes periodic scan tests in real conditions.
Digital display problems on phones, kiosks, and websites
Not all distorted QR codes are printed. Many fail on screens because of scaling, compression, or display behavior. Website builders sometimes resize a QR image responsively without preserving a sharp pixel grid. Messaging apps and social platforms may compress uploaded graphics aggressively, especially when images are sent as previews rather than files. On kiosks or digital signs, anti-aliasing can soften edges, and low-brightness settings can reduce effective contrast in daylight. Another common support issue appears when users try to scan a QR code shown on one phone using the same phone. Native camera apps usually need a second device unless the operating system offers screenshot-based detection through image recognition in the gallery.
Screen artifacts can be subtle. OLED displays may show excellent contrast but can dim under heat or power-saving modes. Low-end displays may render dark gray instead of true black. If the code is animated into view, motion blur from a handheld camera can prevent lock-on. I also troubleshoot QR codes embedded inside PDFs and slide decks where the code was pasted as a screenshot, then compressed again during export. The final image may be technically visible but no longer clean enough to decode. For digital use, the safest workflow is to generate a vector QR code where possible, export crisp assets at the final display size, avoid repeated screenshotting, and test on both iPhone and Android devices under normal brightness and network conditions.
When the problem is not visual but still looks like distortion
Some QR code failures are blamed on distortion even though the symbol scans correctly. The camera recognizes the code, but the destination fails to load, redirects badly, or triggers a warning. This happens with expired links, malformed URLs, dead landing pages, blocked Wi-Fi portals, geofenced content, app deep links that are not configured correctly, and dynamic QR codes whose redirect rules were changed. In support logs, users often report “the QR code doesn’t work” when the real issue is that the code opens the wrong destination or nothing useful happens after the scan. Distinguishing scan failure from post-scan failure saves time and prevents unnecessary reprints.
Encoding choices can also create avoidable friction. A very long URL produces a denser QR code with more modules, which reduces tolerance at small sizes. Using a short branded domain can materially improve scan reliability because it lowers symbol complexity. Error correction level matters too. Higher error correction can help when part of the code may be obscured, but it also increases density. There is no universal best setting. The right choice depends on expected damage, branding overlays, final size, and scan distance. This is why production teams should not treat QR generation as a one-click afterthought. The data payload, output format, print method, and use environment all influence whether a code remains readable in the field.
How to test and fix a distorted QR code
The most reliable troubleshooting process is systematic. First, verify whether the issue is detection or destination. Test the code with multiple devices and at least two scanning apps or native cameras. If none can recognize it, inspect the symbol for size, contrast, quiet zone, blur, cropping, and physical damage. Compare the printed or displayed code against the original exported asset. If one device scans and another does not, the problem may be marginal quality rather than complete failure. In that case, improving size, contrast, or file quality usually resolves it. I also recommend checking the code with a barcode verifier or at minimum a desktop decoding tool to confirm that the underlying data still parses correctly.
When a replacement is needed, rebuild from the source rather than editing a damaged image. Export vector artwork for print, preserve aspect ratio during layout, and keep the code on a plain, high-contrast background with an adequate quiet zone. For print jobs, request a physical proof on the actual substrate and test it under realistic lighting from expected scanning distances. For digital placements, review the rendered code on target devices instead of relying on a design file. If you use logos, custom eyes, or nonstandard colors, validate them across older phones as well as current flagship models. A QR code is only proven when it scans in the real environment where customers will use it, not when it looks good at 400 percent zoom in a design app.
Distorted QR codes fail because scanners depend on precise geometry, clean contrast, and enough undamaged structure to reconstruct the encoded data. The most common causes are non-square resizing, low resolution, missing quiet zones, poor color contrast, print defects, glare, curvature, environmental wear, and oversized branding elements. In other cases, the code itself scans but the destination behind it fails, which points to link management rather than visual distortion. The practical lesson is that QR code troubleshooting should begin with classification: determine whether the failure is visual, physical, digital, or destination-related, then apply the fix that matches the actual cause.
As the hub for why QR codes do not work, this page should help you narrow the problem quickly and avoid repeating it on future campaigns, labels, signs, or screens. Start with the basics: keep the code square, preserve a proper quiet zone, use dark-on-light contrast, choose the right size for the distance, and test on the final material or device before launch. If a code is customer-facing or operationally critical, build a proofing checklist and rescanning routine into your process. The benefit is straightforward: fewer failed scans, fewer support tickets, and a smoother path from scan to action. Review your current QR codes now, test the weakest ones in real conditions, and replace any code that only works “most of the time.”
Frequently Asked Questions
What causes a QR code to look distorted and stop scanning?
A QR code usually becomes “distorted” when a phone or scanner can no longer clearly separate the code’s dark modules, white spaces, finder patterns, timing patterns, and alignment areas well enough to reconstruct the data. In practical terms, that means the issue is often not the QR code file itself, but what happened to it during design, printing, display, or installation. Common causes include stretching the code out of proportion, printing it too small, placing it on a busy background, reducing contrast, blurring the edges, or wrapping it onto a curved, reflective, or textured surface. Even though QR codes have built-in error correction, that protection only goes so far. Once the scanner loses confidence in the geometry or can no longer distinguish the code from the surrounding visual noise, scan performance drops fast. This is why a code that works perfectly on a computer screen can fail on a menu, label, poster, product package, or vehicle graphic after production changes are introduced.
Can design changes like resizing, recoloring, or adding a logo distort a QR code?
Yes, and this is one of the most common reasons a QR code becomes unreliable. Resizing is especially risky when it is done carelessly. A QR code should always be scaled proportionally; if it is stretched wider, taller, or skewed to fit a layout, the scanner may misread the module grid. Recoloring can also create problems if contrast drops too low. Dark-on-light usually works best, while light-on-dark, metallic inks, gradients, or brand colors that look attractive in design software may perform poorly in real-world scanning conditions. Adding a logo in the center can be safe if it is done within the limits of the code’s error correction capacity, but oversized logos, decorative frames, rounded module styles, or heavy visual effects can interfere with key structural elements. The safest approach is to treat the QR code as a functional machine-readable element first and a branding opportunity second. If design customization is necessary, it should always be tested on multiple devices, from different distances, and in different lighting conditions before publication or print approval.
How do print size, surface material, and placement affect QR code distortion?
They affect it a great deal. A QR code that is technically valid can still fail if it is printed too small for the intended scanning distance, placed on a difficult surface, or installed where glare, wrinkles, and curves interfere with readability. On shipping labels, thermal printing can soften edges or create voids. On product boxes, textured stock or lamination can reduce clarity. On posters and menus, low-resolution artwork or poor print registration can blur module boundaries. On vehicle wraps, body contours and seams can bend the code enough to disrupt scanning. On screens, moiré patterns, low brightness, cracked glass, and reflections can produce similar issues. Placement matters too. If users must scan from far away, while moving, or under uneven lighting, the code needs to be larger, higher contrast, and positioned on a flat, clean background. In many support cases, the QR code itself is structurally fine, but the real problem is that the physical environment prevents the scanner from seeing it accurately and consistently.
How can I tell whether the problem is contrast, resolution, or physical damage?
A quick diagnosis usually starts with visual inspection and controlled testing. If the code looks faded into the background, uses similar colors, sits over a photo, or reflects light strongly, contrast is the likely issue. If the edges of the modules appear soft, fuzzy, pixelated, or jagged, especially in print, then resolution or export quality may be the problem. If parts of the code are scratched, folded, creased, smudged, covered by tape, cut off by trim, or interrupted by packaging seams, then physical damage is the obvious suspect. A practical way to isolate the cause is to test the same QR code under better conditions. View the original digital file at full quality on a clean screen, then compare that result with the printed or installed version. If the digital version scans but the physical one does not, the issue is almost certainly production, material, or placement related. It also helps to test with multiple phones and scanning apps, because some devices are more tolerant than others. If only high-end devices can scan it, the code may still be technically functional but operationally too fragile for real-world use.
What are the best ways to fix a distorted QR code and prevent the problem in future projects?
Start with the fundamentals: use a high-quality source file, keep the QR code perfectly square, maintain strong dark-on-light contrast, and preserve adequate quiet space around all sides of the code. Do not stretch, warp, crop, or place it over complex backgrounds. If the code will be printed, export it at production-ready quality and match its physical size to the expected scanning distance. If it will appear on packaging, signage, menus, labels, or wraps, test it on the actual material, not just on a proof PDF. Avoid reflective finishes, severe curves, deep textures, and placements where folds, seams, or glare can interfere. If branding is important, use modest customization and confirm that finder patterns and module integrity remain clear. In future projects, build testing into the approval process: scan in bright light, dim light, close range, and realistic user conditions with both iPhone and Android devices. Most distorted QR code issues are preventable when the code is treated as a performance asset rather than a decorative graphic. A small amount of production discipline upfront usually saves a great deal of troubleshooting later.