QR code sticker design looks simple until a printed code fails on a package, storefront window, product label, or event badge and customers cannot scan it. A QR code sticker is a printed adhesive label that contains a machine-readable matrix linking to a URL, file, app action, payment prompt, contact card, or other digital destination. Good design is not only about aesthetics; it is about scan reliability, material durability, placement, and message clarity working together in real conditions. I have seen campaigns underperform because a beautiful sticker was printed too small, placed on a curved bottle, or covered with matte laminate that dulled contrast under store lighting. Those are preventable errors.
This topic matters because QR codes often sit at the exact point where physical media meets conversion. A shopper scans from a shelf, a diner scans from a menu, a visitor scans from a poster, or a customer scans from product packaging to verify authenticity. If the code does not scan immediately, friction rises and response rates drop. Effective QR code sticker design requires understanding contrast ratio, quiet zone, module size, print resolution, adhesive behavior, viewing distance, and the context in which people scan. It also requires deciding when to use static or dynamic codes, what call to action belongs near the code, and how to test across devices before production. This hub article explains the most common QR code sticker design mistakes to avoid, why they happen, and how to build stickers that scan consistently, survive handling, and support business goals.
Using the Wrong QR Code Structure for the Job
One of the earliest mistakes happens before design begins: choosing the wrong code type and data load. Teams often embed long destination URLs, tracking parameters, or contact data directly into a static code, then wonder why the pattern becomes dense and hard to scan at small sizes. In practice, dense codes demand larger print dimensions and cleaner reproduction. For sticker applications, especially small labels, dynamic QR codes are usually safer because the encoded string is shorter, the matrix is simpler, and destinations can be changed later without reprinting inventory. That flexibility matters when a campaign URL changes, a landing page breaks, or regional routing needs updating.
Error correction is another misunderstood setting. Higher levels can help when part of the code may be scratched or obscured, but they also increase density. I typically recommend balancing expected wear against print size rather than automatically selecting the highest setting. For a warehouse asset label exposed to abrasion, more redundancy can be justified. For a compact cosmetic jar label, excessive density is often a bigger risk than surface damage. Sticker design starts with the data architecture, not the artwork.
Marketers also make the mistake of using one QR code for every audience. A restaurant may place the same code on takeout bags, table tents, and sidewalk signage even though each context needs a different destination and different analytics. Segmenting by use case improves measurement and user relevance. The best-performing sticker programs treat the QR code as part of the customer journey, not as a generic shortcut pasted onto every surface.
Ignoring Size, Contrast, and Quiet Zone Fundamentals
The most common scanning failure is still basic: the code is too small, low contrast, or missing its quiet zone. The quiet zone is the clear margin around the QR code, typically at least four modules wide, that allows scanners to distinguish the symbol from surrounding graphics. Designers frequently let backgrounds, borders, text, die-cut shapes, or decorative patterns crowd this area. The result is a code that appears fine on screen but scans inconsistently once printed.
Contrast should be strong and predictable. Dark modules on a light background remain the standard because phone cameras and decoding software handle that pairing best. Pastel-on-white, metallic ink, glossy varnish, and transparent substrates often reduce effective contrast, especially under reflections or dim retail lighting. In my experience, black on white still outperforms trendy color treatments almost every time. If brand colors must be used, test them with actual printed samples under the lighting conditions where the sticker will live, not just in the design file.
Size depends on scan distance, device camera quality, and code density. A common rule is to make the code roughly one-tenth the scanning distance, but sticker use cases vary too much for a single formula. A small product label scanned from six to ten inches may work at around 0.8 to 1 inch if the code is simple and well printed. A poster sticker intended for scans from several feet away needs much more. Tiny vanity codes are among the most expensive mistakes because they force reprints after deployment.
| Mistake | Why It Hurts Scanning | Better Practice |
|---|---|---|
| Code printed too small | Camera cannot resolve modules cleanly | Match size to scan distance and data density |
| Low contrast colors | Modules blend into background under varied lighting | Use dark-on-light combinations and print proofs |
| Quiet zone interrupted | Scanner misreads edges of the symbol | Keep clear margin of at least four modules |
| Overdesigned center logo | Removes too much data area | Limit logo size and verify with device testing |
Overdesigning the Code and Sacrificing Function
Custom QR code sticker design can strengthen branding, but decoration has limits. A common mistake is altering module shapes, finder patterns, gradients, or embedded logos so aggressively that the code becomes fragile. Rounded dots, custom eyes, and brand colors are not inherently bad; many work well when the underlying structure stays intact. The problem appears when design software prioritizes style over decoding tolerance. I have reviewed stickers where a centered logo covered too much of the matrix, or where a gradient caused parts of the code to fade into the background near the edges. They looked premium and scanned poorly.
Another error is placing the code inside complex illustrations, product photography, or patterned packaging art. The scanner does not care that the composition is elegant. It needs clear boundaries and uninterrupted module geometry. If the sticker must align with a premium brand system, keep the code itself simple and let branding happen in the surrounding label design. Strong typography, a concise call to action, and thoughtful spacing do more for user confidence than a heavily stylized symbol ever will.
Die-cut sticker shapes create additional risk. A circle, star, or contour-cut label can work, but only if the code sits safely inside a rectangular protected area with full quiet zone preserved. Trimming too close to the code edges is a production mistake I have seen on promotional stickers, especially when cutter registration drifts. The safest approach is to design the sticker around the QR code rather than forcing the QR code to fit a novelty shape.
Choosing Materials and Finishes That Work Against Scanning
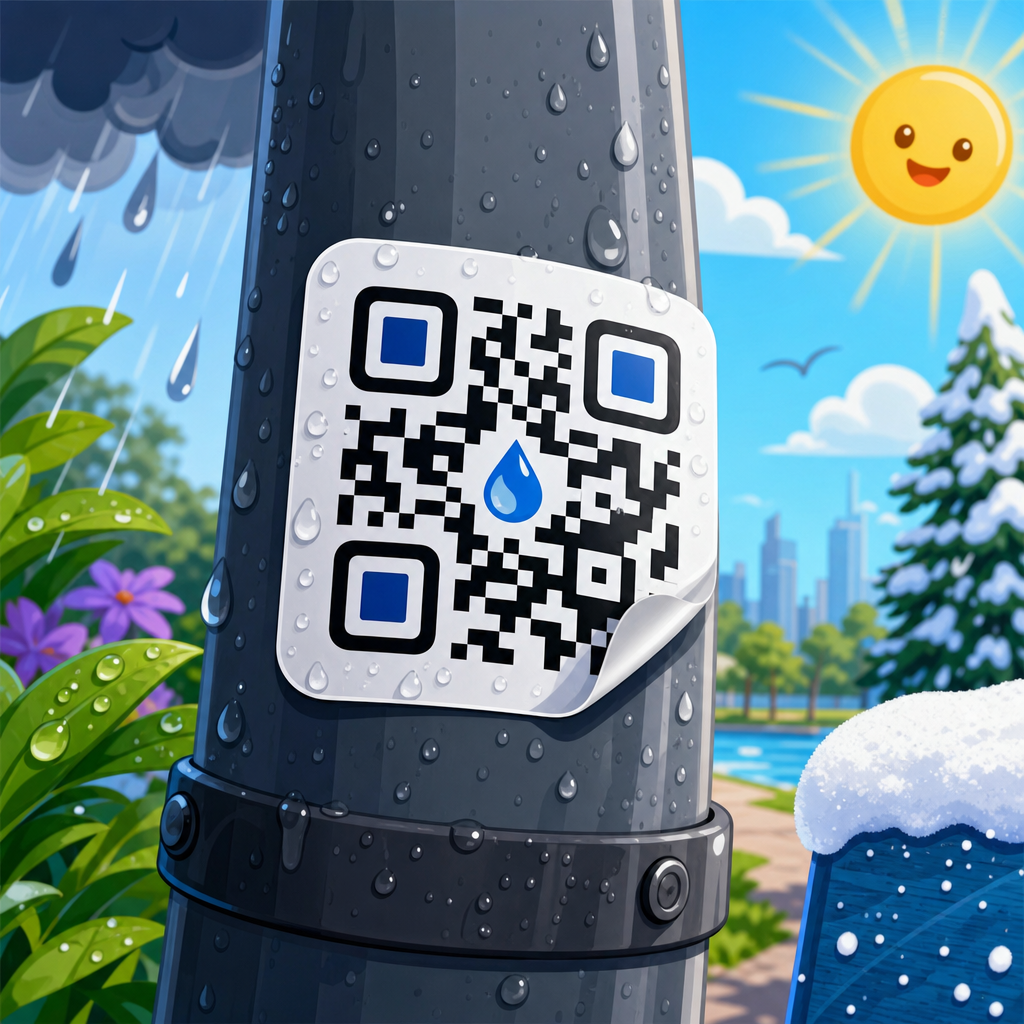
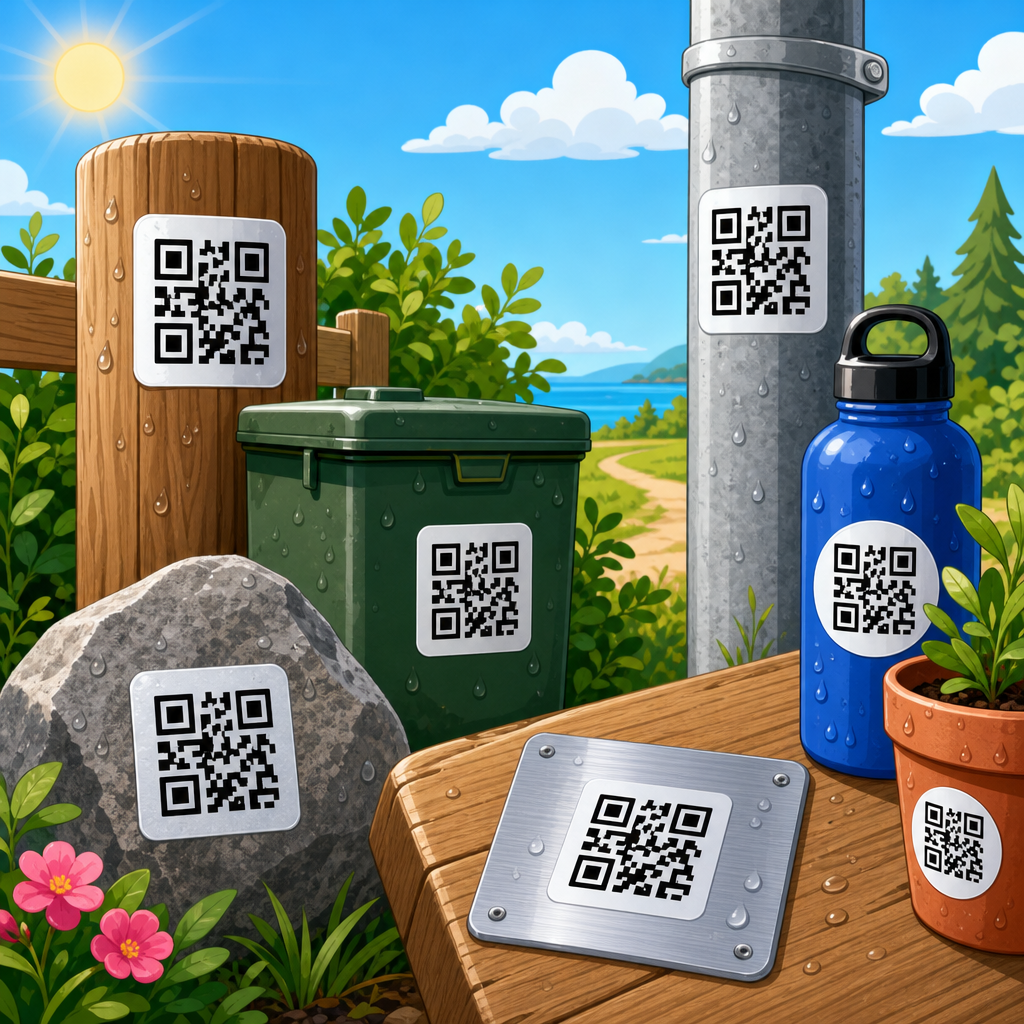
Sticker material affects scan performance as much as graphic design. Paper stocks can be economical for short-term indoor use, but they absorb moisture, scuff easily, and degrade in kitchens, warehouses, refrigerated environments, and outdoor settings. Polypropylene and polyester films usually perform better for durability, while vinyl is common for outdoor exposure and irregular surfaces. The mistake is selecting material based only on price or print appearance without considering abrasion, UV exposure, cleaning chemicals, temperature swings, or condensation.
Finishes matter too. Gloss lamination can make colors pop, but it also creates glare that interferes with scanning under spotlights, sunlight, or overhead retail fixtures. Matte finishes often scan more reliably because they reduce reflections, though some matte coatings can slightly soften edge definition if print quality is marginal. Transparent stickers are another frequent problem. They can look modern on glass or packaging, but unless an opaque white underprint is used behind the code, background colors and shadows can bleed through and destroy contrast.
Adhesive choice is not cosmetic either. On cold-chain packaging, freezers, textured corrugate, reusable containers, or curved bottles, the wrong adhesive can lift at the corners or wrinkle after application. Wrinkles distort module alignment and make scanning unpredictable. Permanent acrylic adhesives generally handle many packaging uses well, while removable adhesives have their place for temporary promotions and windows. Material testing should include actual application surfaces, not only flat lab samples. A QR code sticker that scans perfectly on a sheet can fail once wrapped around a small-radius container.
Poor Placement, Weak Messaging, and No User Context
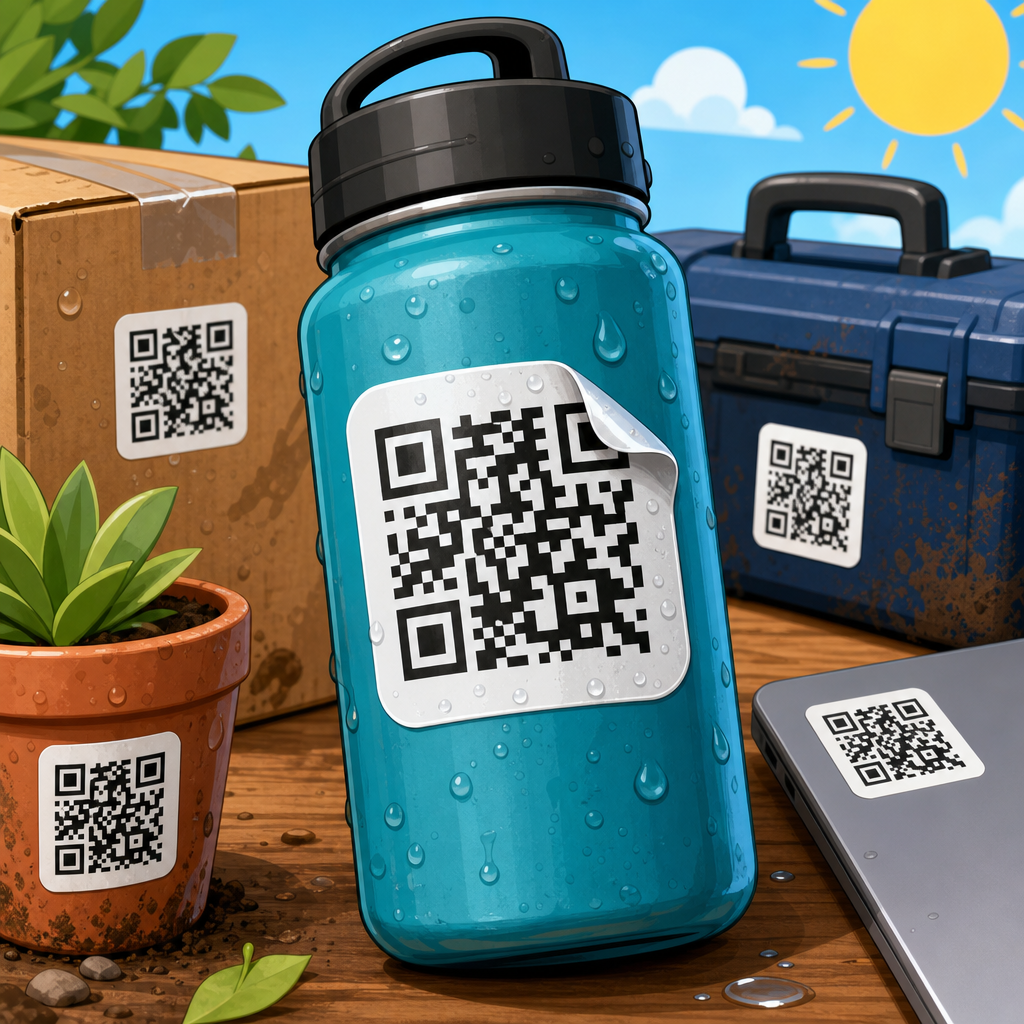
Even a technically sound QR code sticker can underperform if it is placed where people cannot comfortably notice or scan it. Placement mistakes include putting stickers on seams, bottle shoulders, curved corners, reflective metal, low-lit shelves, moving doors, or areas often covered by hands, price tags, or shrink wrap. Good placement preserves line of sight, keeps the code relatively flat, and gives users enough physical space to frame the code with a phone camera. On multi-pack products, the code should remain visible after bundling, not only on the primary unit hidden inside plastic.
The surrounding message matters just as much. Many stickers show only the code, assuming people will scan out of curiosity. In reality, response improves when the label tells users exactly what they will get: “Scan for setup video,” “Scan to verify authenticity,” “Scan for allergen info,” or “Scan to claim warranty.” Specificity reduces hesitation. I have repeatedly seen lift when generic prompts like “Scan me” are replaced with a clear value statement and a small trust cue such as “No app required.”
Accessibility and language deserve attention as well. Tiny supporting text, poor color contrast between label copy and background, or jargon-heavy calls to action can reduce engagement. In multilingual markets, duplicating the core prompt in relevant languages can materially improve scan rates. Context also includes connectivity. If stickers appear in basements, transit areas, factories, or outdoor venues with weak signal, the landing experience must be lightweight and fast. QR code sticker design succeeds when the physical label and digital destination are planned together.
Skipping Print Proofs, Device Testing, and Performance Tracking
The final major mistake is assuming that if a QR code scans once on a designer’s phone, the project is ready for production. Real validation is broader. Print proofs should be tested at final size, on final material, with final finish, under realistic lighting, and on the intended surface. A code on a flat proof sheet may scan well, then fail once applied to a textured carton or a condensation-prone beverage bottle. I always test with both iPhone and Android devices because camera behavior, autofocus, and native scanner interpretation can differ.
Testing should also include distance, angle, and wear. Can the sticker scan after rubbing, folding, light scratching, or several days of sunlight exposure? Does it still work through a retail display case or on a car window at an angle? If logos or custom colors are used, test multiple print runs, because slight press variation can affect performance. Reliable QR code sticker design is a production discipline, not just a file export.
After launch, measurement closes the loop. Dynamic QR platforms, analytics parameters, and event-based tracking show whether stickers are performing by location, product line, or campaign. If one placement gets scans but low conversions, the issue may be the landing page rather than the sticker. If scans are low everywhere, the problem may be visibility, messaging, or print quality. Teams that review scan-through rate, conversion rate, bounce rate, and device breakdown learn quickly and avoid repeating expensive design mistakes.
QR code sticker design works when function leads and branding supports it. The biggest mistakes to avoid are choosing an overly dense code, printing too small, weakening contrast, invading the quiet zone, over-stylizing the symbol, selecting the wrong material or finish, placing the sticker where scanning is awkward, and skipping realistic testing. Each issue is solvable with disciplined design decisions and production checks.
As the hub for QR Code Sticker Design within QR Code Design, Printing & Materials, this page should anchor deeper work on sticker size guidelines, material selection, adhesive types, outdoor durability, print testing, landing page optimization, and dynamic QR analytics. The central lesson is straightforward: a QR sticker is not a decoration with a link attached. It is a conversion tool that depends on readability, durability, and context.
If you are planning stickers for packaging, retail, events, equipment, or direct mail, audit your current codes against the mistakes above before your next print run. A small proofing change now can prevent failed scans, wasted labels, and missed conversions later.
Frequently Asked Questions
What are the most common QR code sticker design mistakes that cause scanning failures?
The most common mistakes are usually practical rather than artistic. A QR code sticker often fails because the code is printed too small, the contrast is too low, the quiet zone is missing, or the sticker is placed on a surface that interferes with scanning. The quiet zone is the blank margin around the code, and without enough space around the pattern, many scanners struggle to detect it correctly. Designers also run into trouble when they reverse the color scheme, use decorative backgrounds, add glossy finishes that create glare, or distort the code to fit a layout. Even if the sticker looks polished, any of these choices can reduce readability.
Another major issue is poor print quality. Blurry edges, ink bleeding, low-resolution artwork, and cheap materials can turn a working digital QR code into a printed code that scans inconsistently. Problems also happen when teams test the code only on a desktop preview and never in real-world conditions such as direct sunlight, low light, curved packaging, refrigerated surfaces, or storefront glass. A reliable QR code sticker needs enough size, strong contrast, proper padding, durable materials, and testing across different phones and angles. In other words, good design is not just making the code look attractive; it is making sure it still works after printing, handling, and everyday use.
How big should a QR code sticker be to scan reliably?
There is no single universal size that works for every application, because scanning distance, code complexity, print surface, and user environment all affect performance. In general, a QR code sticker should be large enough that a phone camera can clearly distinguish the individual modules, which are the small squares that make up the code. A simple rule of thumb is that the farther away people are expected to scan, the larger the code needs to be. A code on a product label viewed from a few inches away can be much smaller than a code on a retail window, poster, trade show display, or wall sign intended to be scanned from several feet away.
Designers often make the mistake of shrinking a dense QR code to fit a tight layout. The more data encoded into the code, the more complex the pattern becomes, and the harder it is to scan at small sizes. That is why using a short URL or dynamic QR code can improve practical performance by reducing visual density. For small stickers, it is especially important to preserve the quiet zone, maintain crisp printing, and avoid any embellishments that alter the module shapes. Before approving production, print the sticker at actual size and test it on multiple devices under realistic conditions. If users need to pause, move closer than expected, or try more than once, the sticker is probably too small for its environment.
Do colors, logos, and decorative styling make QR code stickers harder to scan?
They can, yes. Branded styling can be effective, but it should never compromise basic scanner readability. The safest approach is a dark code on a light background with strong contrast. Problems start when designers use low-contrast combinations such as gray on black, pastel on white, metallic inks, or transparent overlays that reduce edge definition. Gradient fills, textured backgrounds, shadows, and photographic elements behind the code also make detection more difficult. Many scanning apps are forgiving, but not all cameras and lighting conditions are equally forgiving, so what works in one test may fail in the field.
Adding a logo in the center can work if it is done carefully and the QR code has enough error correction, but overdoing it is a common mistake. If the logo covers too much of the pattern, or if design software rounds, stretches, or recolors modules too aggressively, the code may become unreliable. The same is true for highly stylized module shapes and decorative frames that intrude into the quiet zone. If branding matters, keep the customization restrained, preserve high contrast, leave generous blank space around the code, and test across different devices, camera qualities, and lighting scenarios. A QR code sticker should support brand identity, but function has to come first because a beautiful code that does not scan is not serving the brand at all.
How does sticker material and placement affect QR code performance?
Material and placement have a much bigger impact than many people expect. A QR code sticker that scans perfectly on a flat matte proof can become frustrating on a glossy bottle, a curved jar, a freezer-safe package, or a sunlit storefront window. Glossy laminates can create glare that washes out parts of the code. Transparent stickers placed on glass may lose contrast depending on what is visible behind them. Flexible materials applied over seams, corners, ridges, or curved surfaces can warp the code geometry enough to reduce scanning accuracy. Outdoor exposure can also fade inks, scratch surfaces, and weaken adhesives, all of which can make the code harder to read over time.
Placement matters just as much as the material itself. If the sticker is tucked near an edge, wrapped around a corner, placed too low, too high, or in an area that is difficult to approach with a phone camera, scanning becomes inconvenient even if the code is technically valid. A code on a package should not sit where hands cover it during handling. A code on a window should avoid heavy reflections and awkward sightlines. A code on an event badge should remain visible when the badge hangs or bends. The best practice is to match the sticker material and adhesive to the environment, choose a flat and visible placement whenever possible, and test the final application exactly as customers will encounter it.
What information should be included around a QR code sticker to improve usability and results?
One of the most overlooked mistakes is assuming the QR code can explain itself. Even when the code scans correctly, people are more likely to ignore it if they do not know what will happen next. A short call to action dramatically improves clarity and engagement. For example, phrases like “Scan to view the menu,” “Scan to register,” “Scan for setup instructions,” or “Scan to pay” tell users what they are getting and why it is worth the effort. This surrounding message also sets expectations, which helps build trust, especially in public spaces where people may hesitate to scan an unexplained code.
It is also smart to include supporting details that reduce friction. Depending on the use case, that might mean adding a brief benefit statement, a fallback short URL, a brand name, or a note about app requirements, payment security, download size, or language availability. If the sticker appears in a low-connectivity environment, users may need an alternative path. If it appears on packaging or instructions, the CTA should be easy to understand at a glance. The goal is to make the sticker functional not just from a technical scanning perspective, but from a communication perspective as well. A strong QR code sticker combines a reliable code, durable production, thoughtful placement, and clear messaging so people know exactly what to do and feel confident doing it.