Printing a QR code without a final review is one of the fastest ways to waste a production run, confuse customers, and lose measurable conversions. A pre-print QR code checklist is the quality-control process used to verify that a code will scan reliably, land on the right destination, fit the medium, and support campaign tracking before any label, flyer, package, sign, menu, or mailer goes to press. In practice, this checklist sits between design approval and manufacturing approval, and it matters because QR code failures are rarely fixed cheaply once ink, stock, shipping, and distribution are involved.
I have used pre-print checks on restaurant menus, retail shelf talkers, event badges, direct-mail postcards, and corrugated packaging, and the pattern is always the same: most QR problems are preventable. The common causes are not mysterious. They include low contrast, tiny module size, overdesigned artwork, broken URLs, redirect chains, wrong destinations by market, inadequate quiet zones, and testing only on one phone under ideal office lighting. A structured checklist solves these issues by forcing the team to validate function, print readiness, analytics, and compliance in a repeatable order.
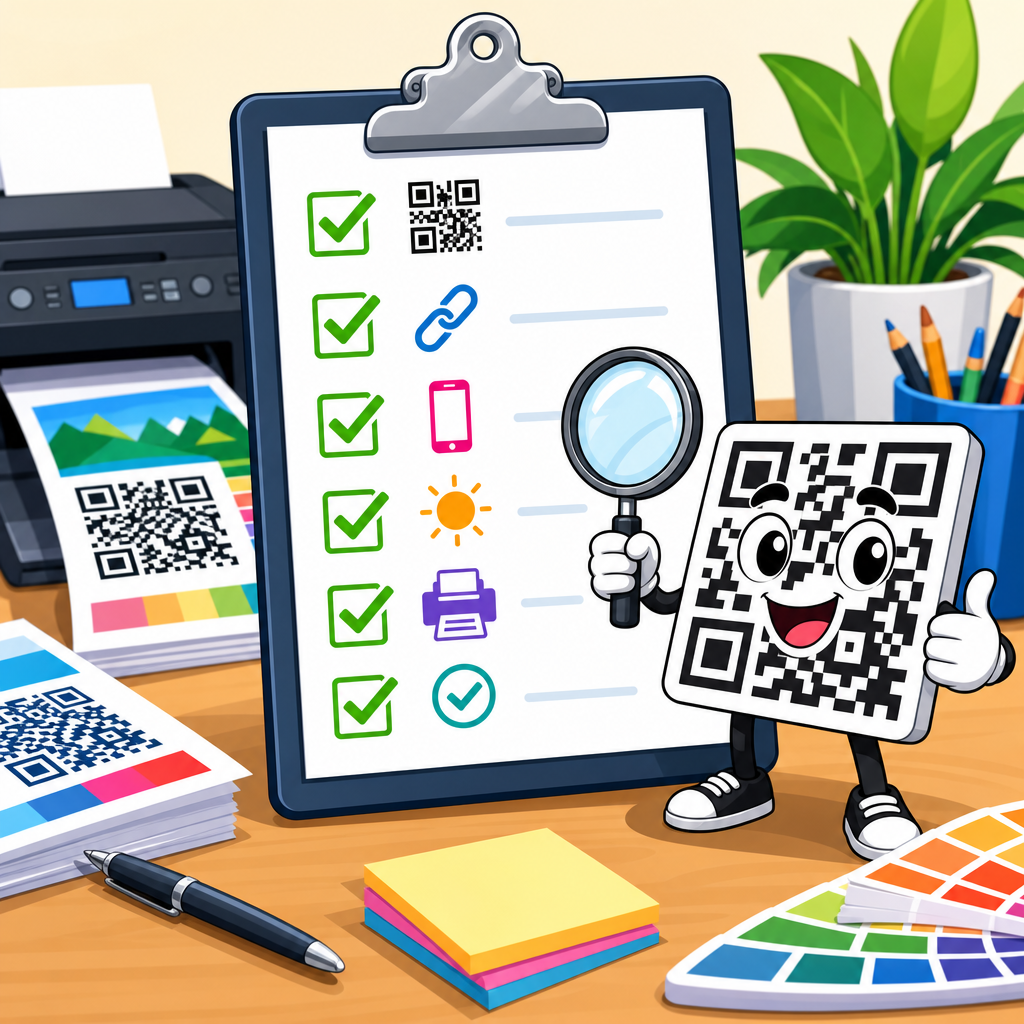
For this hub page, QR code checklists means the full set of review steps that support successful printing and deployment. It includes destination checks, code generation choices, sizing rules, material-specific print considerations, cross-device testing, tracking setup, and sign-off workflow. As the hub within QR Code Resources, Templates & Tools, this article gives you the master framework. Supporting articles can then go deeper into specialized topics such as packaging QR codes, restaurant menu codes, direct-mail testing, and variable-data printing. If you need one page to standardize your process before sending artwork to a printer, this is that page.
The reason this topic deserves a dedicated hub is simple: QR code performance is operational, not just visual. A code can look correct in a layout and still fail in the real world. Printers work in dots, substrates, finishes, tolerances, and color profiles. Marketers work in destinations, redirects, attribution, and campaign windows. Designers work in spacing, hierarchy, and brand fit. The checklist aligns all three. When teams adopt a documented pre-print QR code checklist, scan rates improve, reprint risk drops, and campaign measurement becomes more trustworthy.
Start with the destination, redirect, and ownership checks
The first checkpoint is the destination itself. Before you evaluate the image, verify where the scan should go, who controls that destination, and whether it will remain available for the life of the printed piece. If the code points to a temporary landing page, a staging URL, or a campaign microsite with a short hosting contract, the print asset may outlive the page. I have seen seasonal packaging in stores months after a promotion ended, still sending users to a 404 page. The fix is to use a controlled final URL or, better, a managed dynamic QR code with a permanent redirect path that your team owns.
Test the full redirect chain before print. Every extra hop adds latency and another point of failure. A clean chain might be QR code to branded short URL to landing page. A risky chain goes through several trackers, consent tools, and geo-routing services before the page loads. On weaker mobile connections, that can feel broken even when technically functional. Confirm HTTPS, mobile responsiveness, page speed, and the final canonical destination. If a market requires different destinations by country, language, or product variant, document the routing logic and test each branch on cellular data, not only office Wi-Fi.
Ownership and governance matter as much as the URL. Record which team manages the code, landing page, analytics property, and expiration policy. If an agency generated the code in a third-party account, your company may not control edits later. That creates avoidable risk for evergreen print pieces like brochures, packaging, and in-store signage. A reliable pre-print QR code checklist always asks three direct questions: Who owns the destination? Who can update it? How long will it stay live?
Choose the right QR code type and lock the data correctly
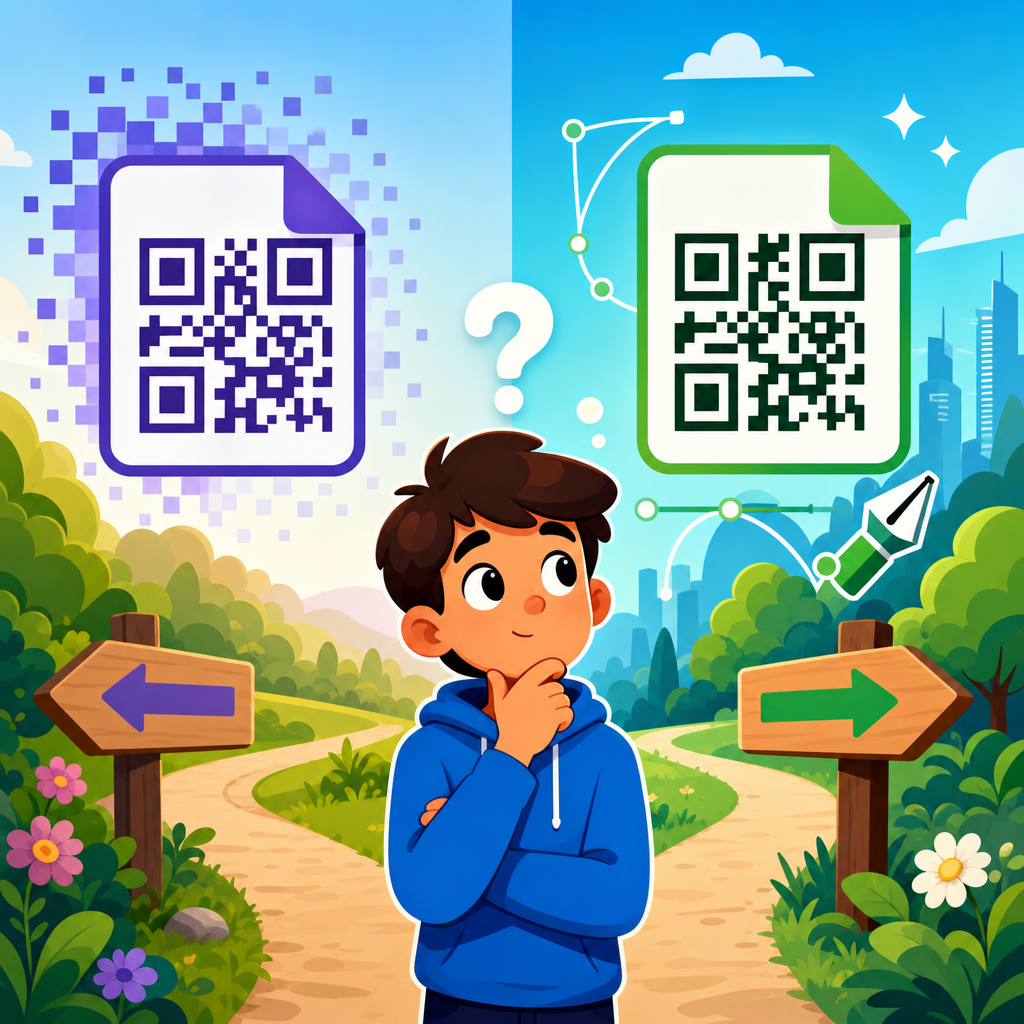
Not every QR code should be static. A static code directly encodes the final data, usually a URL, phone number, text string, or Wi-Fi credential. It is simple, durable, and often appropriate for permanent applications with stable destinations. A dynamic code stores a short redirect URL that can be edited later, which is valuable for campaigns, A/B testing, and long-lived printed materials. The tradeoff is dependency on a QR management platform. For print, the best choice usually comes down to expected lifespan, need for analytics, and tolerance for future changes.
Data accuracy is nonnegotiable. Confirm uppercase and lowercase where relevant, remove accidental spaces, and avoid overly long URLs when using static codes because denser symbol patterns can become harder to scan at smaller printed sizes. If using UTM parameters, standardize naming conventions before generation. I recommend validating source, medium, campaign, content, and term values against your analytics taxonomy so reports remain usable. A code that scans perfectly but pollutes attribution data still fails the checklist.
Version control is another overlooked item. Save the approved code asset with a naming structure that includes campaign, market, version, date, and destination ID. Archive the exact encoded value in a spreadsheet or project management tool. This protects against the common scenario where a designer exports a similar but outdated code from an earlier round. The code image and the underlying data must be treated as controlled production assets, not casual graphics.
Verify size, contrast, quiet zone, and error correction
Most print scan failures trace back to four technical design variables: physical size, contrast, quiet zone, and error correction. The physical size must match viewing distance and camera capability. For close-range applications such as product labels or tabletop displays, many teams use around 0.8 by 0.8 inches as a practical starting point, then test upward based on density and substrate. For posters, windows, and transit placements, the code must scale with expected scanning distance. A useful field rule is roughly one inch of code size for every ten inches of scan distance, then validate with real devices.
Contrast should be high, with dark modules on a light background. Black on white remains the benchmark because it is the easiest condition for phone cameras and decoding software. Reverse codes, low-contrast brand colors, metallic inks, transparent overlays, and busy photographic backgrounds create avoidable risk. The quiet zone, the blank margin around the code, should remain unobstructed on all sides. Many generators default correctly, but artwork adjustments often violate it late in layout. Once logos, borders, burst shapes, or nearby text intrude, scan reliability drops sharply.
Error correction can help, but it is not permission to overdesign. QR codes support four commonly referenced levels: L, M, Q, and H, with increasing redundancy. Higher correction can preserve scannability when part of the code is obscured, such as by a small center logo, but it also increases complexity and density. That means the code may need to print larger to remain readable. In production, the safe approach is to use only as much styling as the campaign truly needs and then test the printed proof, not just the digital mockup.
| Checkpoint | What to verify before print | Typical risk if skipped |
|---|---|---|
| Size | Printed dimensions match scan distance and data density | Users cannot scan without moving too close |
| Contrast | Dark code on light background with no reflective interference | Camera fails to distinguish modules |
| Quiet zone | Clear margin is preserved on all four sides | Decoder reads surrounding design as noise |
| Error correction | Level fits logo use and final printed size | Styled code becomes too dense to scan |
| Destination | URL, redirect, and mobile page all work on live networks | Scans lead to delays, errors, or dead pages |
Check print production variables the designer cannot see on screen
Screen-perfect artwork can still fail after printing because presses, materials, and finishing processes change edge definition and contrast. On uncoated stock, dot gain can slightly spread ink and soften module edges. On corrugated packaging, ridges and absorbency can distort small details. On curved labels applied to bottles, the code can warp around the container. Gloss laminate, foil, and plastic wraps can create glare that hides the pattern under retail lighting. A pre-print QR code checklist must therefore include substrate, finish, and placement review, not just digital design approval.
Ask your printer for a hard proof or press proof whenever the application is high volume, high value, or hard to rework. Scan that proof with both iPhone and Android devices, using native camera apps and at least one common third-party scanner if your audience may rely on older devices. Test under daylight, warm indoor light, and the likely point-of-use environment. For example, restaurant table tents are often scanned in dim lighting, while storefront decals may be scanned through glass reflections. These are not edge cases; they are ordinary conditions that should shape your approval process.
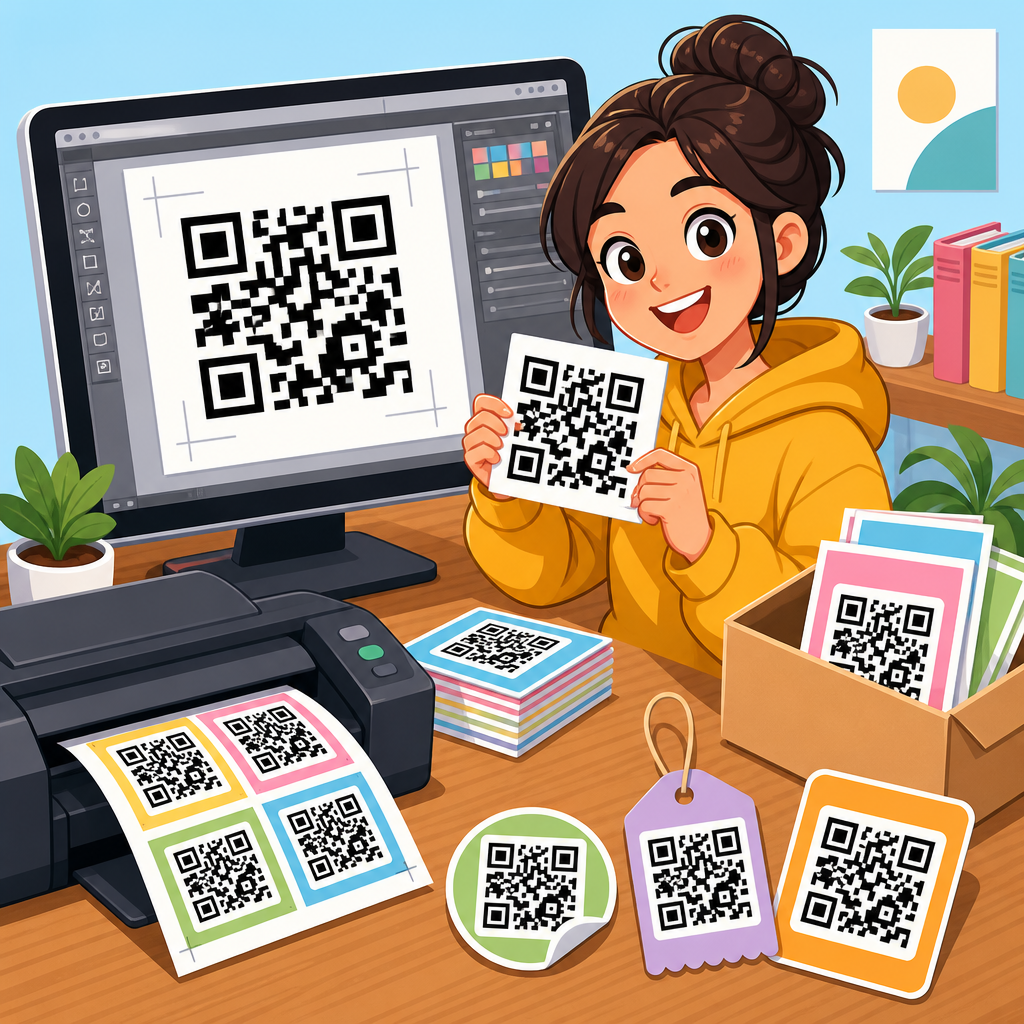
Resolution and export settings also deserve attention. Vector formats such as SVG, EPS, or PDF are generally preferable for print because they preserve sharp edges at any size. If raster output is required, keep resolution high and avoid resampling inside layout software. Never stretch a low-resolution QR code pulled from a slide deck or screenshot. I have traced multiple scan failures to assets copied from email approvals rather than exported from the source generator. Your checklist should explicitly ban screenshots and require source-file verification.
Test across devices, scenarios, and user behavior
A code that scans on the marketing manager’s phone from six inches away is not fully tested. Real users approach at odd angles, with cracked screens, older cameras, reduced patience, and inconsistent connectivity. Your pre-print testing should include several current and older phone models, both major mobile operating systems, and at least one low-end device if the audience is broad. Confirm that the camera recognizes the code quickly, the call-to-action is clear, and the landing page completes the intended action without pinch-zooming, blocked pop-ups, or heavy forms.
Distance, speed, and context all matter. Event attendees may scan while walking. Shoppers may scan from a cart. Drivers should never be expected to scan, which is why roadside placements demand special caution and compliance review. If the code appears on packaging, test it after the package is assembled, filled, and shrink-wrapped. If it appears on direct mail, test after folding, trimming, and addressing. The object people scan is the finished piece, not the flat artwork file, and the checklist must reflect that reality.
Include a plain-language call-to-action next to the code unless the use case is obvious. “Scan for assembly video,” “Scan to see ingredients,” or “Scan to claim your offer” consistently outperforms unlabeled codes because users understand the value before they act. This is both a usability and conversion issue. A technically valid QR code with weak context may scan, but it still underperforms.
Confirm analytics, compliance, and sign-off workflow
The final section of a strong pre-print QR code checklist covers measurement and governance. If the code supports campaign reporting, verify that analytics events fire correctly, UTM parameters map to the right property, and consent tools do not block critical measurement unexpectedly. Dynamic QR platforms often provide scan counts, timestamps, device data, and location estimates, but these numbers should be reconciled with web analytics, not treated as interchangeable. Agree in advance on the source of truth for performance reporting.
Compliance checks vary by industry and region. Healthcare, finance, alcohol, and regulated consumer products may require approved disclaimers, age gates, privacy notices, accessibility review, or country-specific legal text near the code. Promotions may also need terms and conditions that remain available for the full redemption window. If the destination collects personal data, confirm privacy policy links and data handling requirements before print approval. A checklist is valuable because it prevents these items from surfacing only after production files are released.
Then formalize sign-off. I recommend one owner each from marketing, design, and production, plus legal or compliance when needed. The approval record should state the encoded destination, final asset filename, printed size, substrate, proof date, test devices used, and approval date. That level of documentation may feel rigorous for a small card or sticker, but it becomes essential when you are managing hundreds of SKUs, multiple markets, or recurring campaigns. Good QR code execution is not luck. It is process.
A dependable pre-print QR code checklist protects budget, user experience, and campaign data at the same time. Start with the destination and ownership, choose the right code type, validate size and contrast, test on real printed materials, and lock in analytics and approvals before press. Those steps prevent the failures teams see most often: unscannable artwork, dead links, weak attribution, and costly reprints.
As the hub for QR Code Checklists within QR Code Resources, Templates & Tools, this page gives you the master sequence to follow on every project. Use it to create your internal standard, adapt it for packaging, menus, signage, and mailers, and link it to your design and print workflows. The benefit is straightforward: better scan performance with fewer surprises after production. Before your next job goes to print, run the checklist line by line and require documented sign-off.
Frequently Asked Questions
1. What is a pre-print QR code checklist, and why is it so important before anything goes to press?
A pre-print QR code checklist is the final quality-control review used to confirm that a QR code is actually ready for production before it appears on a label, package, flyer, direct mail piece, poster, menu, sign, or any other printed item. Its purpose is simple but critical: verify that the code scans consistently, points to the correct destination, works on the intended medium, and supports the tracking goals of the campaign. This review typically happens after the design is approved but before manufacturing approval, which makes it one of the last opportunities to catch expensive mistakes.
That matters because once printed materials are produced, QR code errors are not easy to fix. A wrong URL, a code printed too small, poor contrast, quiet-zone violations, or a destination page that fails on mobile can turn a marketing asset into a missed conversion point. In high-volume printing, even a minor oversight can affect thousands of units. Instead of improving engagement, the printed code can frustrate users, damage trust, and create wasted spend across design, printing, fulfillment, and distribution.
A strong checklist protects both functionality and business performance. It confirms technical scan reliability, but it also checks practical details such as placement, environment, readability, and campaign analytics. In other words, it is not just about whether the code technically exists on the artwork. It is about whether real people, using real phones, in real-world conditions, can scan it successfully and complete the intended action. That is why a pre-print QR code checklist should be treated as a standard production control, not an optional last-minute review.
2. What should be included in a thorough pre-print QR code checklist?
A thorough pre-print QR code checklist should cover four core areas: destination accuracy, scan performance, print design suitability, and measurement readiness. Start with the destination itself. Confirm that the QR code resolves to the correct URL or digital experience, that there are no typos or redirect issues, and that the landing page is active, secure, and mobile-friendly. If the code is dynamic, verify the redirect settings and ensure the final destination can still be updated after printing if needed. If the code is static, double-check that the destination is final, because it cannot be changed once distributed.
Next, review scan performance. Test the QR code on multiple devices and camera apps, including both iPhone and Android, and scan it under different lighting conditions and at realistic distances. Make sure it reads quickly without requiring users to reposition their phones repeatedly. Verify that the code is not over-stylized to the point that readability suffers. If a branded design, logo overlay, custom colors, or shape modifications are used, those elements should be tested carefully because visual customization can reduce scan reliability if pushed too far.
The print-specific portion of the checklist is equally important. Confirm that the code size matches the use case and expected scanning distance, that the contrast between foreground and background is strong, and that the required quiet zone around the code is preserved. Review placement on the artwork to ensure the code is not too close to folds, seams, edges, curves, perforations, glossy reflections, or other design elements that could interfere with scanning. Packaging applications deserve extra attention because codes placed on rounded containers, flexible pouches, or textured materials may behave differently than they do in a flat digital proof.
Finally, confirm tracking and campaign setup. If analytics matter, make sure UTM parameters, campaign naming conventions, and reporting destinations are correct before print approval. Test that scans appear in your analytics platform as expected. Also confirm that the call to action near the code clearly explains what users will get by scanning. A technically valid QR code performs much better when paired with clear user guidance. The most effective checklist is the one that combines technical review, production review, and marketing review into a single sign-off process.
3. How do you make sure a QR code will scan reliably after it is printed?
The best way to ensure reliable post-print scanning is to test the QR code in the same conditions in which people will actually use it. Digital approval alone is not enough. A QR code that scans perfectly on a monitor may fail when reduced in size, printed on a difficult substrate, placed on curved packaging, or exposed to glare. That is why physical proofing is so valuable. Whenever possible, print a production-accurate sample and test it using multiple phones, from expected scanning distances, in both strong and low light. This reveals issues that are often missed during screen-based reviews.
Several design variables directly affect scannability. Size is one of the biggest. If the code is too small for the medium or viewing distance, users may struggle to scan it quickly. Contrast is another major factor. Dark code elements on a light background generally perform best, while low-contrast or color-on-color combinations increase failure risk. The quiet zone, which is the blank space surrounding the QR code, must remain unobstructed. If text, borders, patterns, or background graphics crowd this area, scanners may not recognize the code properly.
You should also be cautious with customization. Branded QR codes can look excellent, but every modification introduces potential scan risk. Logo overlays, unusual module shapes, gradients, and inverted color schemes should always be tested extensively. Error correction can help the code remain readable when a portion is obscured or stylized, but it is not a guarantee that any design treatment will work. A good rule is to favor function first and branding second. If the code does not scan effortlessly, the visual treatment is not worth it.
Real-world placement matters just as much as code design. Avoid positioning codes on folds, bottle curves, sealing areas, glossy hotspots, or textured surfaces that may distort the image. Think about user behavior too. A code on a store poster may be scanned from several feet away, while a code on packaging may be scanned in a shopper’s hand. The final reliability check should mirror those use cases as closely as possible. If a QR code can be scanned quickly by different people on different devices without instruction or repeated attempts, it is much more likely to perform well once the full production run is released.
4. What are the most common pre-print QR code mistakes that lead to wasted production runs or poor campaign performance?
The most common mistake is assuming that generating a QR code is the same as validating it. Many teams place a code into the artwork, scan it once, and move on. That shortcut often misses the issues that matter most in production: incorrect destinations, inconsistent mobile behavior, weak contrast, inadequate size, missing quiet zones, and placement problems that only appear after printing. A single successful scan during design review does not prove that the code will perform well at scale in real-world use.
Another frequent issue is linking to the wrong destination or failing to verify the post-scan experience. The code may technically work but still lead to a broken page, an outdated offer, a desktop-only landing page, or content that loads too slowly on mobile. That hurts conversions even if the scan itself succeeds. From a user’s perspective, a poor landing experience is just as damaging as an unscannable code. The checklist should therefore treat landing-page performance as part of QR quality assurance, not as a separate concern.
Design-related mistakes are also common. Teams often shrink QR codes to preserve layout aesthetics, use low-contrast brand colors, add decorative effects that interfere with readability, or place codes over busy backgrounds. On packaging, codes may be positioned near crimped edges, corners, or curved surfaces where distortion becomes a problem. On signage and posters, they may be too small for the expected viewing distance. These are not minor design preferences; they directly affect whether someone can complete the scan in a moment of interest.
Finally, many campaigns lose value because tracking was not set up correctly before printing. Missing or inconsistent UTM parameters, unclear naming conventions, or untested analytics flows make it difficult to measure performance accurately. Once a printed asset is in circulation, those errors can limit reporting for the life of the campaign. That is why the final review should include both technical and marketing validation. A successful QR code is not just scannable. It is correct, usable, measurable, and aligned with the campaign’s purpose.
5. Who should own the QR code approval process, and when should the checklist be completed?
The QR code approval process should be shared across the teams that influence functionality, print quality, and campaign outcomes. In most organizations, that means design, marketing, production or packaging, and whoever manages the landing page or analytics environment. No single stakeholder sees every possible failure point. A designer may confirm visual placement, but not campaign tracking. A marketer may verify the destination, but not print constraints. A production lead may catch substrate or sizing issues, but not mobile experience problems. The strongest process assigns clear responsibility while still requiring cross-functional sign-off.
In terms of timing, the checklist should be completed after design approval but before manufacturing approval. That is the ideal point because the artwork is close enough to final for meaningful testing, yet production has not started, so issues can still be corrected without major cost. If possible, the review should happen before final prepress release and again at the proof stage when a physical sample or production-accurate output is available. This two-step validation approach dramatically reduces risk, especially