QR codes fail most often not because the data is wrong, but because the printed symbol is physically too small for the camera, the scanning distance, or the printing method. In practical terms, a QR code printed too small has modules, the tiny square cells that make up the pattern, below the size a printer can reproduce cleanly or a phone camera can resolve reliably. That matters because even a perfectly generated code becomes useless if customers have to move their phone back and forth, guess where to focus, or give up entirely. I have diagnosed this issue on packaging runs, countertop displays, labels, and event badges, and the pattern is consistent: small print magnifies every weakness in design, substrate, ink spread, glare, and camera autofocus. This guide explains how to fix QR codes printed too small, how to choose the right size before a job goes to press, and how this topic connects to wider printing mistakes across a QR code troubleshooting and support workflow.
The core principle is simple: QR code size must match use distance, print process, and error tolerance. A code that scans instantly on a designer’s monitor may fail once reduced onto a medicine label, a retail tag, or flexible film packaging. Key terms matter here. Module size is the width of one square in the code. Quiet zone is the blank margin around the symbol, typically four modules minimum on every side under ISO/IEC 18004 guidance. Error correction is the built in redundancy, commonly Levels L, M, Q, and H, that allows partial damage while increasing density. Dense codes need larger physical dimensions to remain readable. Understanding those variables is the foundation for fixing undersized printed QR codes instead of guessing.
This issue matters because scan friction directly affects campaign performance, customer support volume, and operational accuracy. In retail, a small shelf tag code can reduce coupon redemptions. In logistics, a tiny asset label can slow receiving and inventory counts. In hospitality, restaurant table tents with undersized codes frustrate guests and staff. Printing mistakes also compound one another. A code that is technically just large enough can still fail when low contrast, glossy varnish, curved placement, or ink gain are added. That is why this article serves as the hub for printing mistakes within QR code troubleshooting and support: size is rarely an isolated variable, and fixing it well means checking the full print environment from file setup through real world scanning tests.
Why small printed QR codes stop scanning
A QR code printed too small usually fails for three practical reasons. First, the modules become smaller than the printer can render sharply. Thermal transfer, desktop laser, inkjet, flexographic, offset, and digital presses all have different effective resolution and dot behavior. Second, the smartphone camera cannot separate adjacent modules at the expected scan distance. Third, autofocus and image processing struggle when the code occupies too few pixels in the frame, especially under dim light or glare. When those conditions overlap, users see inconsistent behavior: one premium phone scans, another does not, and support teams wrongly assume the problem is random.
In production, I treat minimum module size as the first checkpoint because it predicts success better than overall width alone. A compact code with too much data may be physically wide enough at first glance but still fail because each module is tiny. As a working baseline, many print teams aim for modules around 0.4 millimeters for general consumer scanning, then increase from there for difficult surfaces, lower end printers, or longer scan distances. Tiny labels may go lower only after controlled testing. If the code must be scanned from arm’s length or farther, total symbol size usually needs to grow quickly. The common rule of thumb is about one unit of code width for every ten units of scan distance, then adjusted for lighting and camera quality.
How to tell whether size is the real problem
Diagnosing an undersized code starts with direct measurement, not visual guesswork. Measure total symbol width, module count, module size, and quiet zone. A version 3 QR code has 29 by 29 modules before counting the required blank border; if the printed symbol is 11.6 millimeters wide, each module is about 0.4 millimeters. If the same data is encoded at a larger version because of a long URL with tracking parameters, the module size may drop below a safe threshold even though the outside dimensions remain unchanged. That is why data length and error correction level always belong in the diagnosis.
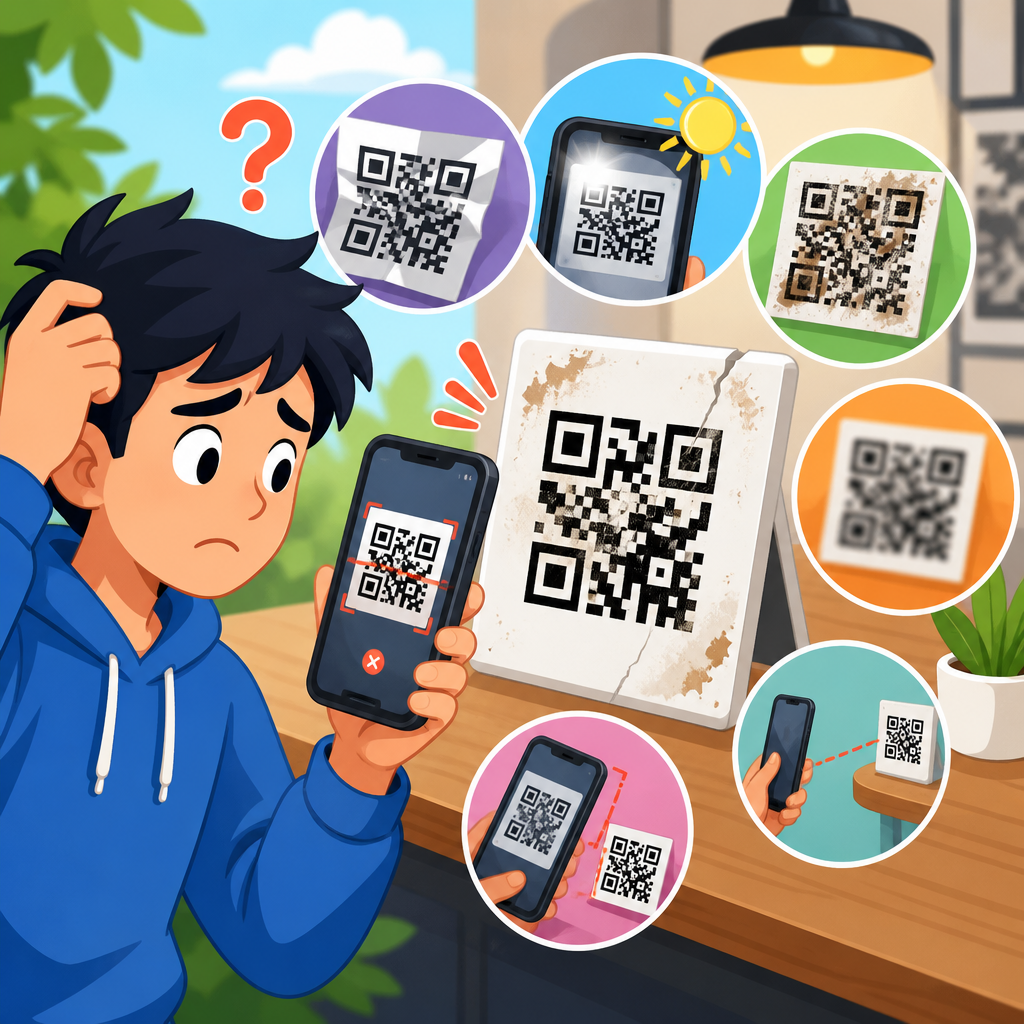
The fastest field test is to scan with multiple phones under normal usage conditions, not in a perfect studio setup. Test both iPhone and Android models, recent and older devices, at the intended distance and angle. If users must bring the camera unusually close, wait for focus, or retry several times, size is likely contributing. Also inspect whether the code is placed on a curve, near folds, over dark artwork, or under laminate. Those factors can mimic a size problem or turn a marginal size into a failure. A loupe or phone macro lens helps reveal filled in corners, fuzzy edges, and broken quiet zones that confirm the printed modules are not surviving the process cleanly.
Minimum size guidelines by use case
There is no single universal minimum size, but there are reliable starting points. For business cards, product inserts, and flyers scanned at close range, many teams use at least 15 to 20 millimeters square for simple URLs. For posters scanned from a few feet away, 30 to 50 millimeters is more realistic. On packaging viewed on shelf, 18 to 25 millimeters often performs better than the tiny 10 to 12 millimeter codes designers sometimes request. For industrial labels or warehouse locations, larger is safer because speed matters and lighting is inconsistent. When in doubt, increase size before increasing error correction, because denser symbols can work against readability.
| Use case | Typical scan distance | Recommended starting size | Notes |
|---|---|---|---|
| Business card or handout | 6 to 12 inches | 15 to 20 mm | Short URL, matte stock preferred |
| Product packaging | 8 to 18 inches | 18 to 25 mm | Avoid seams, curves, and glossy glare |
| Counter display or menu | 12 to 24 inches | 25 to 35 mm | Test under indoor lighting |
| Poster or sign | 2 to 6 feet | 30 to 50 mm | Scale size with expected distance |
| Warehouse or asset label | 1 to 3 feet | 25 to 40 mm | Prioritize fast scanning over aesthetics |
These are starting points, not guarantees. A short dynamic URL produced by a reputable generator will usually allow a smaller, cleaner symbol than a long static URL packed with UTM parameters. If branding adds a logo in the center, the code may need to be enlarged. If the substrate is corrugated cardboard or textured plastic, enlarge it again. The most reliable teams create a print specification sheet that lists final size, module size, quiet zone, color values, substrate, finish, and approved scan distance so the code is treated as a functional element rather than decoration.
How to fix a QR code that was already printed too small
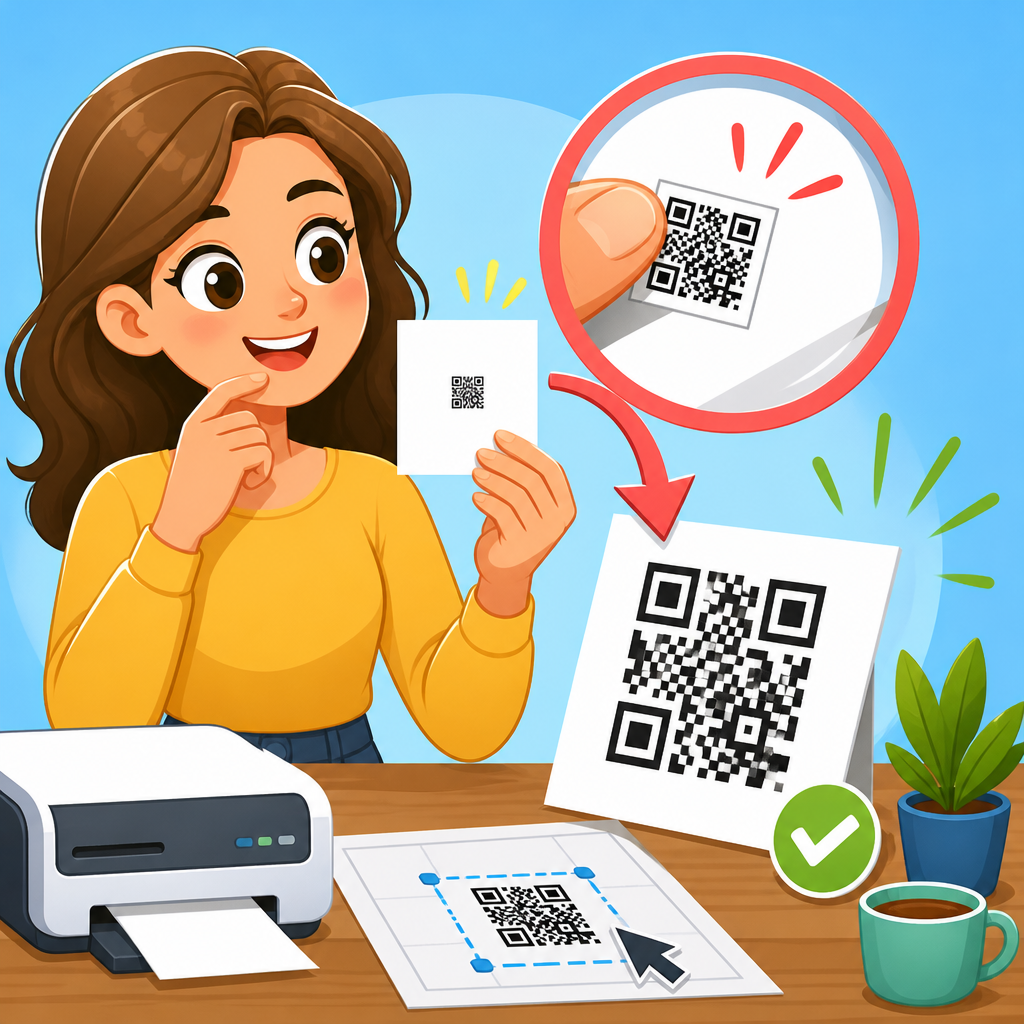
If printed pieces already exist, the best fix depends on volume and context. For low quantities, reprint labels or stickers at a larger size and apply them over the original code. This is common on packaging sleeves, event badges, and tabletop signage. For medium runs, adding a larger duplicate code nearby can preserve the original design while restoring usability. In stores, a shelf talker or small tent card often solves the problem faster than repackaging inventory. For permanent assets, replace the label entirely instead of expecting staff to tolerate slow scans. The cost of rescanning and support time usually exceeds the cost of correction.
If redesign is possible before the next run, reduce data density first. Switch from a long static destination to a short dynamic URL managed through a QR code platform. Lower the error correction level when conditions allow, because unnecessary redundancy increases module count. Remove decorative frames that steal space from the quiet zone. Export vector artwork such as SVG, EPS, or PDF instead of raster images that blur when scaled. Then enlarge the symbol and retest on the actual production stock. In my experience, teams often solve the issue by making the code only a few millimeters larger, but only after shortening the payload and preserving the quiet zone.
Printing mistakes that make small QR codes worse
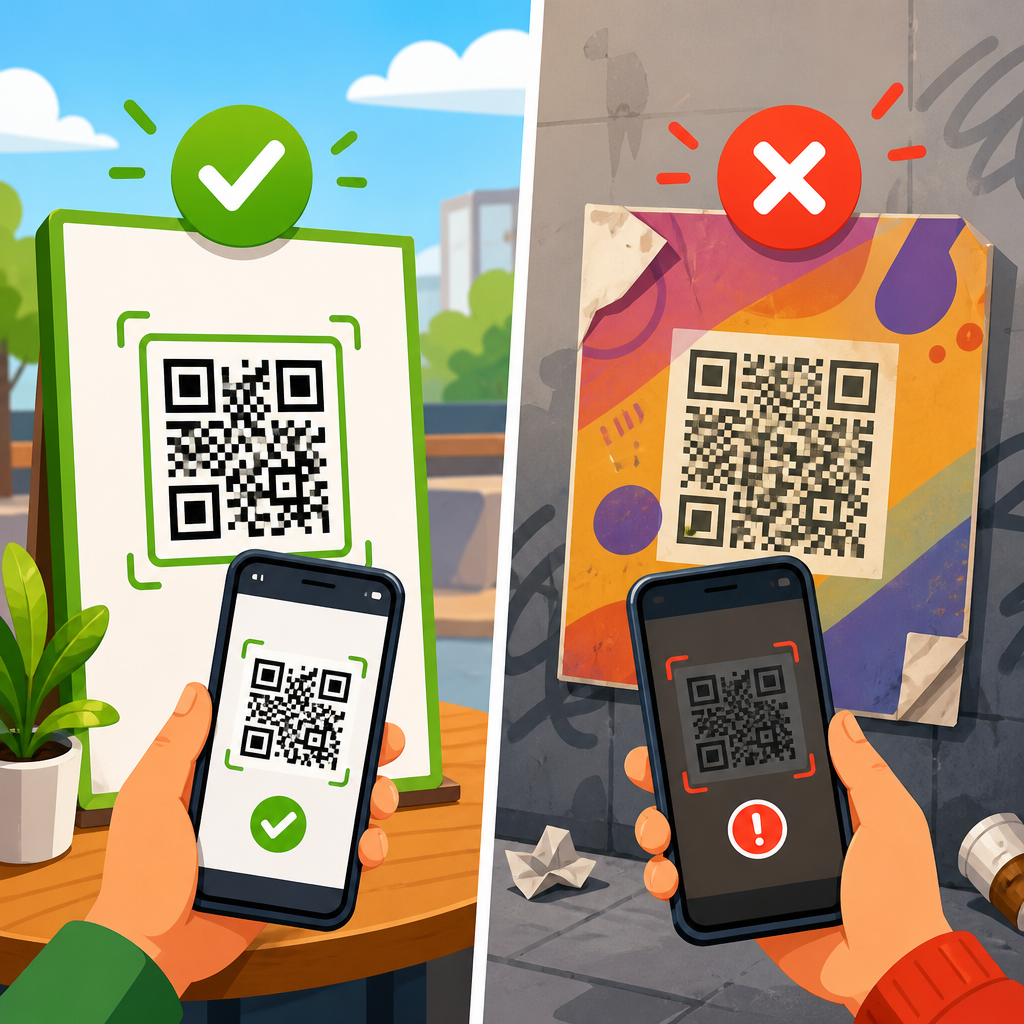
Undersized codes are frequently paired with other print errors. The most common is inadequate quiet zone, especially when a code is dropped onto a busy package panel or placed inside a decorative border. Scanners need that empty perimeter to separate the symbol from surrounding graphics. Another frequent problem is low contrast, such as dark gray on black, metallic ink, or reverse white codes on colored backgrounds. While some devices can scan reversed designs, standard dark on light combinations remain the most reliable. Gloss coatings and lamination create specular highlights that wash out modules, especially when the code is already tiny.
Production method matters too. Flexographic printing can spread ink into small gaps, reducing contrast between adjacent modules. Thermal printers may produce streaking or soft edges if the printhead is worn or the speed and heat settings are wrong. On porous paper, ink can feather. On shrink sleeves or flexible pouches, distortion changes square modules into rectangles. Even registration drift in multi color jobs can affect small codes if a dark symbol is built from process colors instead of solid black. The practical fix is to print QR codes as single color vector art, keep them off folds and curves, specify a matte area where possible, and proof them at final size on the actual press.
Design and prepress best practices that prevent size failures
The most effective prevention happens before anyone approves art. Start by defining the user action: who scans, from what distance, in what lighting, and on what surface. That determines size more accurately than any generic template. Use short URLs, preferably dynamic, to keep module count down. Maintain at least a four module quiet zone, and more if nearby graphics are aggressive. Create the code in vector format and place it at 100 percent scale in the layout instead of repeatedly resizing bitmap exports. In Adobe Illustrator, InDesign, or similar tools, lock the final dimensions and note them in the file package so last minute edits do not shrink the code accidentally.
Prepress should include a functional proof checklist. Verify output resolution if any raster elements remain. Confirm the code is not overprinted unexpectedly, knocked out incorrectly, or trapped in a way that alters edge sharpness. Check line screens, substrate behavior, and finishing steps including varnish, foil, embossing, and lamination. Then perform scan testing on contract proofs and production samples, not just digital PDFs. I always recommend documenting pass criteria: number of successful scans, device mix, acceptable scan time, and test distance. Those records help settle disputes between design, print, and marketing because the decision is tied to measurable performance rather than preference.
When to reprint, relabel, or redirect users another way
Not every undersized QR code justifies a full reprint, but every failed code needs a business decision. Reprint when the code is central to product activation, payments, compliance, or customer support, because friction affects revenue and trust. Relabel when inventory is limited, packaging is expensive, or a temporary fix can be applied cleanly. Redirect users another way when the code is secondary and there is a visible fallback, such as a short URL or NFC tap option. A fallback should never be hidden in fine print; if the code struggles, the alternative must be obvious enough to save the interaction.
As the hub for printing mistakes in QR code troubleshooting and support, this topic connects naturally to related issues: blurry QR codes, low contrast QR codes, distorted codes on curved surfaces, missing quiet zones, glossy glare, print resolution failures, and long URL density problems. Teams that investigate those articles together usually resolve scan failures faster because they stop treating symptoms one by one. The central lesson is straightforward: make the code large enough, keep the payload lean, preserve contrast and quiet zone, and test on the real substrate with real devices before committing to a run. Audit your current printed QR codes today, measure them, and fix any that ask users to work harder than they should.
Frequently Asked Questions
Why do QR codes stop working when they are printed too small?
QR codes usually fail at small sizes because the issue is physical readability, not digital accuracy. A QR code is made of tiny squares called modules, and each module must be printed sharply enough for a camera to distinguish it from the surrounding modules. When the overall code is reduced too much, those squares become smaller than the printer can reproduce cleanly or smaller than a phone camera can resolve at a normal scanning distance. The result is blurred edges, merged squares, broken alignment patterns, and loss of contrast between dark and light areas.
In real-world use, this means a code can be technically valid but still frustrating or impossible to scan. People often assume the file is corrupt, but the actual problem is that the printed symbol no longer has enough physical clarity. Smartphone cameras also introduce practical limits: autofocus needs enough detail to lock onto, and users rarely hold the phone at the exact ideal distance. If the code is tiny, the customer has to move the phone unnaturally close, then back away, often several times, just to get a reading. That friction reduces scan rates and creates a poor user experience even if the code eventually works.
Small QR codes are especially vulnerable when they contain a lot of data, because more data creates more modules. The more modules packed into the same printed area, the smaller each module becomes. Add ordinary printing variables such as ink spread, textured paper, low-resolution printing, or glossy glare, and scan reliability drops even further. That is why size is one of the most important practical factors in QR code performance.
What is the best way to fix a QR code that was printed too small?
The most reliable fix is to increase the printed size of the QR code so that each module is physically large enough to print cleanly and scan easily. In many cases, simply making the code bigger solves the problem immediately. If you are updating packaging, labels, flyers, menus, or signs, start by enlarging the code itself rather than trying to compensate with design tricks. A code that scans instantly at a comfortable distance will almost always outperform a smaller code with clever styling.
If space is limited, the next best fix is to reduce the amount of encoded data. A long URL, tracking parameters, or unnecessary text increases the complexity of the symbol, which means more modules have to fit into the same area. Shortening the destination link, using a redirect, or switching to a dynamic QR code can reduce the density of the pattern and make the printed code more forgiving. This is often one of the easiest ways to improve scanning without dramatically changing the layout.
You should also review print quality and surrounding design choices. Use high contrast, ideally a dark code on a plain light background, and preserve a clean quiet zone around the symbol so cameras can isolate it properly. Avoid shrinking the code inside a cluttered design, placing it on reflective surfaces, or printing it with low-resolution methods that soften edges. Most importantly, test the revised version on multiple phones, under realistic lighting, and from the expected scanning distance before approving final production. Practical testing is what confirms that the size is truly fixed.
How large should a printed QR code be for reliable scanning?
There is no single universal size that fits every situation, because the right dimensions depend on scan distance, data density, camera quality, and print method. That said, a good rule is that the farther away people will scan, the larger the QR code needs to be. A code on business cards or product labels may work well at a small size because users can hold the phone close. A code on a wall poster, storefront window, event banner, or outdoor sign must be substantially larger because the phone camera has to recognize the pattern from farther away.
Another key factor is the number of modules. Two QR codes printed at the same physical size can perform very differently if one contains much more data. A simple short URL produces a less dense pattern with larger modules, while a long encoded string produces a tighter pattern with smaller modules. That is why designers should think in terms of module size, not just overall width and height. A larger overall code does not automatically guarantee success if the encoded content is too dense for the available space.
The smartest approach is to choose a target size based on where and how people will scan it, then verify with print samples. Test from the expected user distance, on common smartphone models, in both ideal and ordinary lighting. If users need to pause, refocus, or reposition repeatedly, the code is still too small or too dense. Reliable QR design is less about hitting a theoretical minimum and more about creating a code that scans quickly and comfortably in real conditions.
Can print quality and materials make a small QR code even harder to scan?
Yes, absolutely. Small QR codes become much more sensitive to printing limitations and material choices because there is less physical margin for error. When modules are already tiny, even slight ink gain, dot spread, toner softness, or misregistration can distort the pattern enough to interfere with scanning. A code that looks acceptable at a glance may still contain muddy corners, filled gaps, or uneven module shapes that cameras struggle to interpret.
The surface matters too. Glossy coatings can create glare, curved packaging can warp the visible shape, textured materials can break up clean edges, and low-contrast backgrounds can weaken the distinction between dark and light modules. Small codes printed on dark, patterned, metallic, or transparent surfaces often become unreliable because the camera cannot clearly isolate the symbol. Likewise, if the quiet zone around the code is reduced or interrupted by graphics, text, or borders, the scanner may fail to detect where the code begins and ends.
To improve results, use a high-resolution print process, strong contrast, and a flat, non-reflective area whenever possible. Keep the code in solid black or another very dark color on a plain light background, and protect the quiet zone on all sides. If the application requires specialty materials or unusual finishes, print physical proofs and test them before full production. This is especially important for labels, retail packaging, menus, and promotional pieces where even a small drop in scan performance can affect conversions and customer experience.
Is it better to redesign the QR code or just enlarge it?
In most cases, enlarging the QR code is the best first step because it directly addresses the root problem: modules that are too small to print or scan reliably. If the code is currently failing because customers have to hunt for the right angle or distance, making it larger usually delivers the fastest and most dependable improvement. A bigger code gives the camera more visual information, helps autofocus, and creates a more forgiving experience across different phones and lighting conditions.
Redesigning can help, but it should support readability rather than try to compensate for inadequate size. For example, simplifying the encoded data, restoring a proper quiet zone, improving contrast, and removing distracting background elements can all improve performance. Those changes are valuable, especially when space is constrained. However, decorative customization such as altered colors, embedded logos, stylized module shapes, or heavy branding treatments should be approached carefully. These elements can reduce scan tolerance, and if the code is already too small, they often make the problem worse rather than better.
The best strategy is usually a combination of practical adjustments: enlarge the code, keep the design simple, reduce data density, and test under realistic conditions. If you must keep a small footprint, prioritize function over appearance and verify that the printed output scans instantly on multiple devices. A QR code is a utility first. If it looks polished but causes hesitation, retries, or abandonment, it is not doing its job well enough.