Printing a QR code without testing it first is one of the easiest ways to waste a production run, frustrate customers, and create a tracking problem that cannot be fixed once ink hits paper. In practical terms, testing a QR code before printing means verifying that the encoded destination is correct, the symbol scans across realistic conditions, the design meets technical tolerances, and the printed output remains readable on the actual material, size, and finish you plan to use. This matters because QR codes are not just graphics; they are machine-readable data containers governed by error correction, contrast, module geometry, and environmental factors such as glare, viewing distance, and camera quality.
I have seen teams approve a code after one successful phone scan on a designer’s monitor, only to discover that the final mailer failed under warehouse lighting or that a glossy laminate caused reflections severe enough to block decoding. Good QR Code Testing & Quality Assurance prevents those failures. It combines preflight checks, device testing, print proofs, and post-print validation into a repeatable workflow. As the hub page for this subtopic, this article explains the full process: what to test, how to test it, what standards and tools to use, and where common failures happen. If you print QR codes on packaging, posters, menus, labels, direct mail, or point-of-sale materials, a disciplined test routine protects scan rate, attribution accuracy, and campaign results.
Start with destination accuracy, code generation, and data integrity
The first step in how to test a QR code before printing is confirming that the encoded data is exactly what you intend to publish. That sounds basic, but it is where many expensive mistakes begin. A URL may contain a typo, a misplaced UTM parameter, a staging-domain link, or an expired campaign path. If you use dynamic QR codes through platforms such as Bitly, QR Code Generator Pro, Beaconstac, or Flowcode, confirm the redirect target, SSL status, analytics settings, and any geo- or device-based rules. If you use a static QR code, decode the raw content with more than one scanner app and compare it character by character against the source. For vCard, SMS, Wi-Fi, or app deep-link payloads, validate field structure as well as visible destination behavior.
I recommend a simple preflight checklist before anyone evaluates design. Open the destination in desktop and mobile browsers, confirm the HTTP status returns 200 where expected, and verify redirects resolve quickly without loops. Test campaign parameters in analytics tools so marketing does not lose attribution after launch. If the code leads to a landing page, make sure the page itself is mobile friendly, loads quickly on cellular data, and does not block users with geofencing, age gates, or cookie overlays that make the scan feel broken. A QR code can decode perfectly and still fail the user if the destination experience is poor. In production, I treat destination validation as part of QR Code Testing & Quality Assurance because the scan is only successful when the user reaches the intended action.
Check symbol structure, size, quiet zone, and contrast before any print proof
Once the destination is confirmed, inspect the QR symbol itself. A working QR code depends on clear modules, sufficient contrast, a correct quiet zone, and dimensions appropriate for the expected scanning distance. The quiet zone is the blank margin around the code, typically at least four modules wide on all sides. Designers often violate it by placing borders, text, or background graphics too close to the symbol. That can prevent scanners from detecting the finder patterns. In Adobe Illustrator, InDesign, or Canva exports, zoom in and make sure the edges are crisp and square, not anti-aliased or softened by effects. Always keep the code in vector format such as SVG, EPS, or PDF until final output; rasterized PNG files can degrade when resized or recompressed.
Size is equally important. A practical rule used in print is a minimum QR code size of about 2 x 2 centimeters for close-range scans, though that is not universally sufficient. The more data you encode, the denser the module pattern becomes, which may require a larger printed size to remain scannable. Error correction level also affects density. Level M is a common balance, while higher levels like Q or H improve damage tolerance but increase complexity. Contrast should be strong: dark modules on a light background remain the safest choice. Reversed codes, metallic inks, pastel tones, transparent substrates, and patterned backgrounds can work, but only after rigorous proof testing. ISO/IEC 18004 defines QR Code symbology requirements, and following those fundamentals reduces avoidable failures before physical samples are made.
Test across real devices, real lighting, and real user behavior
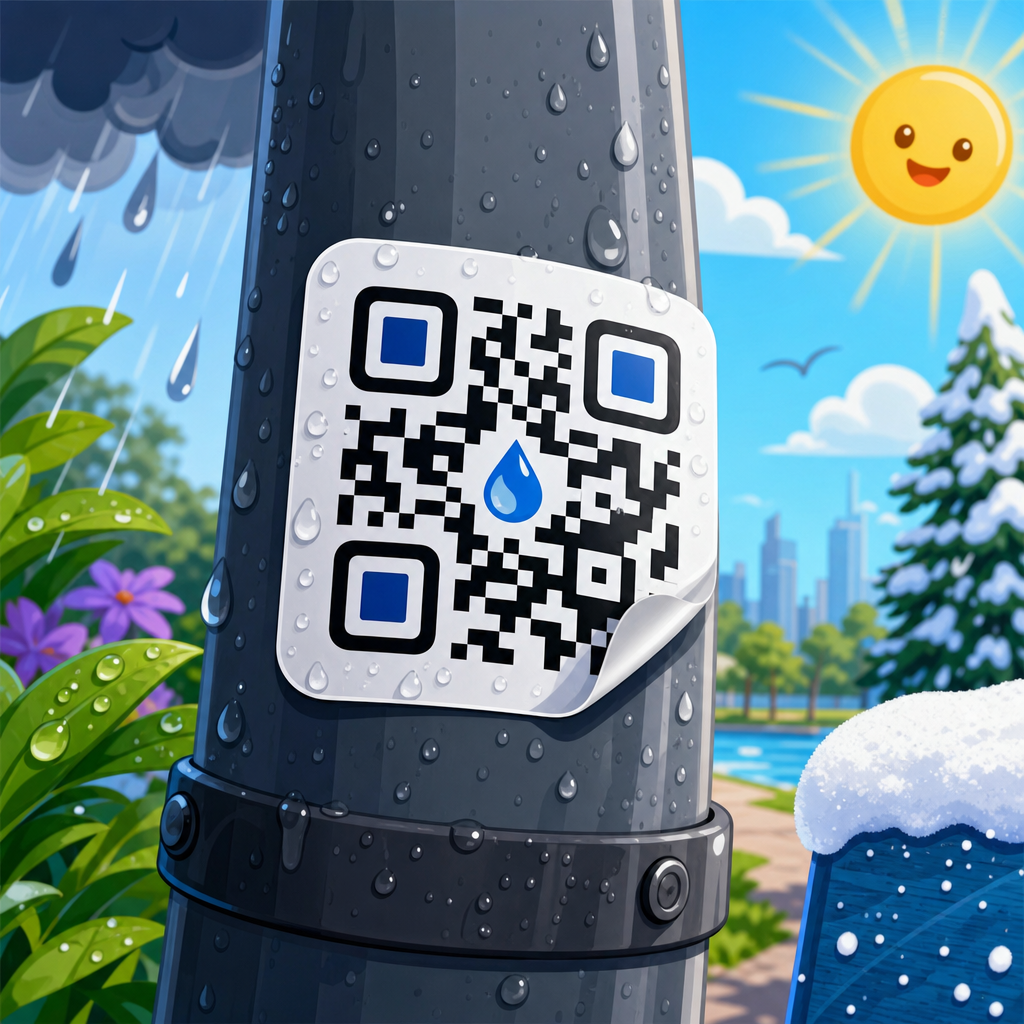
A QR code that scans on one flagship phone in an office is not fully tested. Before printing, evaluate the code on multiple devices, operating systems, camera apps, and scanning conditions. At minimum, test recent iPhone and Android models, plus one older budget device with a weaker camera. Built-in camera scanners behave differently from Google Lens, native OEM scanners, and third-party apps. I also test under daylight, fluorescent light, and low indoor light because autofocus and contrast detection change noticeably between environments. If the code will appear on a poster, test it at the actual expected distance and angle. If it will appear on curved packaging, tape a proof to a bottle or tube and scan it in hand, not just on a flat desk.
User behavior matters as much as device capability. People do not center their camera perfectly, hold still, or always have fast bandwidth. They scan while walking through stores, standing in queues, or glancing at a package under shelf glare. Build those realities into your QA process. Ask a few uninvolved colleagues to scan the proof without coaching and observe whether they hesitate, move closer than expected, or need several attempts. Time to first successful scan is a useful practical metric. A code that technically works after five seconds of hunting is still underperforming. For campaign-critical pieces, I document scan success rate by device type, distance, and lighting condition, then approve only when the code performs consistently under the same circumstances where customers will use it.
Use a structured print-proof workflow and record pass or fail criteria
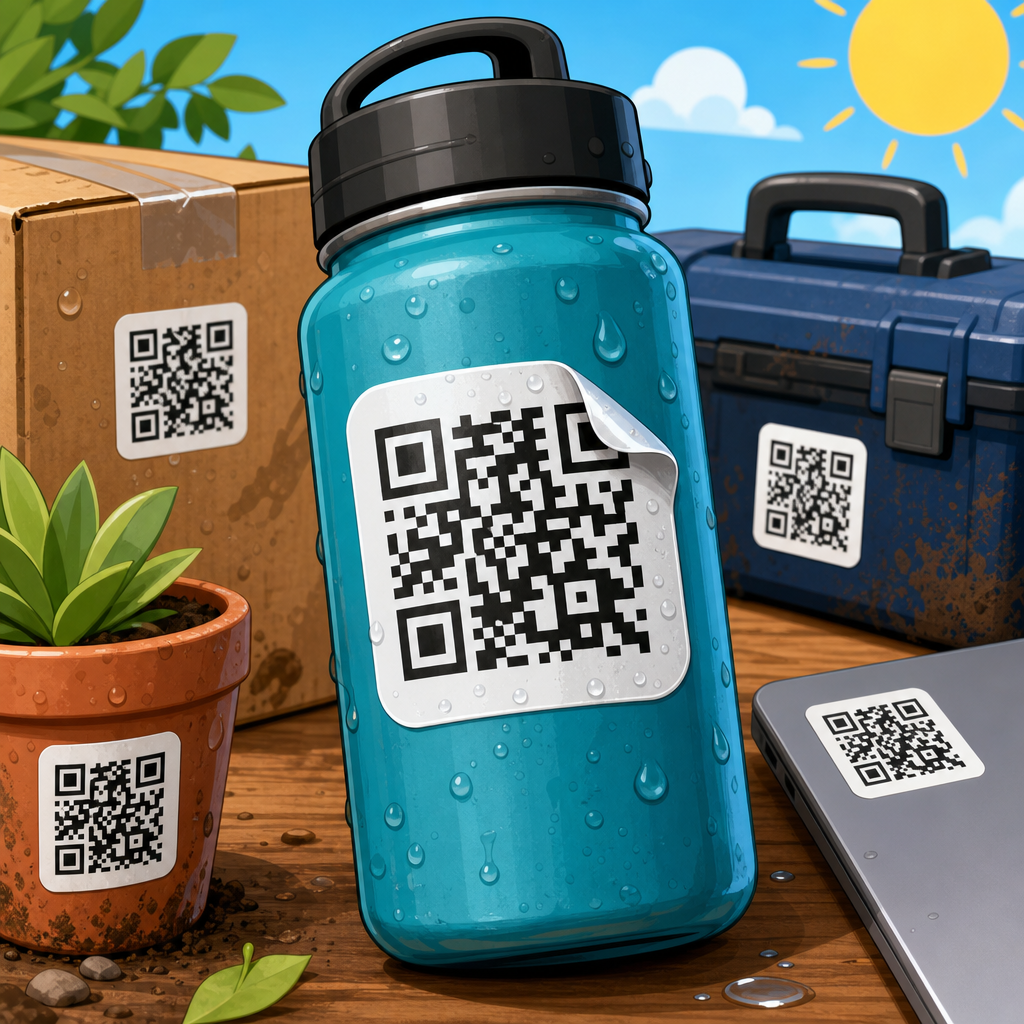
Physical proofing is where digital assumptions meet production reality. Before approving a full print run, create test prints on the actual printer if possible, or at least on a device that closely matches the final process. Inkjet, laser, offset, flexographic, thermal transfer, and digital press output can all affect edge definition, spread, and contrast. The stock also changes performance. Uncoated paper absorbs ink and can soften module edges; glossy coated stocks can introduce glare; corrugated packaging can distort small codes; textured materials reduce clean contrast. I always request a press proof or production-grade sample when the code is business-critical, especially for packaging, labels, or outdoor signage.
| QA checkpoint | What to verify | Typical pass standard | Common failure |
|---|---|---|---|
| Destination check | Encoded URL or payload matches approved source | Correct destination on all tested devices | Typo, broken redirect, staging link |
| Symbol design | Quiet zone, module clarity, error correction, format | Clean edges with four-module quiet zone | Decorative elements intrude into code area |
| Print proof | Actual size, substrate, ink, finish, placement | Scans first time in target conditions | Glare, dot gain, shrinkage, low contrast |
| Device testing | iPhone, Android, older camera, native apps | Reliable decode across representative devices | Only newer phones can scan quickly |
| Post-print audit | Random sample checks from batch or run | Consistent scan success across samples | Variation between sheets, labels, or lots |
Pass or fail criteria should be written down before proof review starts. For example, define the minimum code size, approved color values, acceptable placement tolerance, supported devices, and the maximum number of scanning attempts allowed. If you manage packaging QA in a regulated or high-volume environment, add version control and signoff records so everyone knows which asset was tested and approved. This is where many teams benefit from internal documentation linked from broader resources on QR code size, QR code color contrast, print finishes, packaging placement, and dynamic versus static QR codes. A hub article like this should anchor those topics because testing depends on all of them. The point is consistency: every new code should move through the same documented checklist rather than relying on individual judgment.
Watch for print-production risks such as material, finish, curvature, and damage
Even a well-generated code can fail after printing because production conditions alter the symbol. One common issue is dot gain, where printed ink spreads slightly and closes the gaps between modules. This is especially relevant in flexography, newsprint-like stocks, and small label formats. Another issue is insufficient opacity on transparent or metallic substrates, where the background behind the code changes the effective contrast. Lamination can create glare, while embossing, varnish, foil stamping, and textured coatings can break the clean boundaries scanners expect. If your print vendor plans to substitute stock or change finishing steps, you need another proof. QR code readability is sensitive enough that “close enough” production changes can create real scan loss.
Placement creates additional risk. Codes printed near folds, seams, perforations, bottle shoulders, can edges, or tear strips often become partially hidden or distorted. On curved surfaces, the effective module shape changes when viewed from off angle, making dense codes harder to decode. For shipping labels and warehouse applications, abrasion, smudging, and thermal fading are major concerns. In retail, shelf scuffing and condensation matter more. The right response is not guessing; it is simulation. Bend the proof around the package radius, chill it if it will be refrigerated, expose it to bright store lighting, and test after handling. When labels are applied automatically, inspect final applied samples, not just flat labels on a release liner. Print QA has to evaluate the code in its final use state.
Use verification tools, standards, and batch auditing for dependable quality
For higher-volume programs, smartphone testing should be supplemented with formal verification. Industrial barcode verifiers from brands such as Zebra, Cognex, and Axicon measure parameters like symbol contrast, modulation, fixed pattern damage, axial non-uniformity, and decode performance. Depending on your environment, standards such as ISO/IEC 15415 for two-dimensional symbol print quality may apply alongside QR-specific symbology requirements. Not every marketing team needs a verifier on day one, but operations, manufacturing, logistics, and regulated product teams benefit from objective grading instead of subjective “my phone scanned it.” Verification becomes especially important when codes are tiny, printed at high speed, or used for traceability and compliance rather than simple promotions.
After approval, batch auditing closes the loop. Pull random samples from different sheets, rolls, or production times and test them before the full shipment leaves the plant. If your codes are dynamic, monitor analytics immediately after launch to spot unusual scan drop-offs that may indicate a print or redirect issue. I also recommend keeping a retained control sample from each run with the final approved art, print settings, substrate details, and test notes. That archive makes troubleshooting far faster when a campaign underperforms or a customer reports a scanning problem months later. Effective QR Code Testing & Quality Assurance is not one scan before print; it is a system of prevention, verification, and documentation that protects every printed piece you put into the market.
Testing a QR code before printing is ultimately about reducing risk at every stage, from data entry to press output to real-world use. The reliable process is straightforward: verify the destination, inspect the symbol, preserve correct size and quiet zone, test on multiple devices, proof on the actual material, and audit the finished run. When teams skip any of those steps, they usually discover the problem only after distribution, when the fix is expensive or impossible. When they follow them, scan performance is more consistent, customer friction drops, and campaign measurement remains trustworthy.
The main benefit is confidence. A tested QR code does more than scan once in ideal conditions; it works for ordinary people using ordinary phones in ordinary environments. That is the standard worth designing for. As you build out your broader QR Code Design, Printing & Materials workflow, use this page as the hub for your testing practices and connect it to your guidance on sizing, contrast, substrates, placement, and print finishes. Then turn the advice into a checklist your team uses on every job. The next time a QR code goes to print, test it like a production asset, not a decorative element.
Frequently Asked Questions
How do you properly test a QR code before printing?
The most reliable way to test a QR code before printing is to treat it as both a digital asset and a physical product. Start by confirming that the encoded destination is correct. Scan the code from the original file and make sure it opens the intended URL, landing page, app link, PDF, vCard, coupon, or tracking destination without redirects, typos, or broken parameters. If you are using campaign tracking, verify that UTM tags, short links, and analytics settings are all working exactly as expected.
Next, evaluate scan performance on-screen before you ever send the file to press. Test the QR code with multiple devices, including iPhone and Android phones, and use more than one scanning app or the native camera app. Check how quickly it scans, how far away the camera can be, and whether the code still works under average indoor lighting instead of only ideal conditions. A code that scans only when perfectly centered and brightly lit is already a warning sign.
After that, print a physical proof at the exact size, material, and finish you intend to use in production. This is critical because a QR code that works on a monitor can fail once it is printed too small, placed on glossy stock, distorted by packaging curves, or reduced in contrast by certain color choices. Test the printed sample from different angles, distances, and lighting environments. If customers will scan the code on a shelf, outdoors, in a restaurant, or from a poster across a room, simulate those real conditions. A proper test confirms the destination, print quality, contrast, placement, quiet zone, and usability in the environment where the code will actually be scanned.
What are the most common reasons a printed QR code fails to scan?
Printed QR codes usually fail for a handful of avoidable reasons. One of the biggest is incorrect sizing. If the code is too small for the expected scanning distance, smartphone cameras may struggle to resolve the modules clearly. Another common issue is low contrast. Dark code elements on a light background typically perform best, while light-on-light combinations, metallic inks, gradients, patterned backgrounds, or brand-driven color experiments can make the code difficult or impossible to read.
Another frequent problem is a missing or insufficient quiet zone, which is the blank margin around the QR code. Scanners rely on that clear space to identify the symbol correctly. If text, borders, images, or design elements crowd the code, scan reliability drops. Distortion is also a major culprit. Stretching a QR code, compressing it, adding excessive logo overlays, or exporting it poorly can alter the module grid and reduce readability.
Printing conditions matter just as much as file preparation. Ink spread, low-resolution output, poor registration, reflective coatings, textured materials, folds, seams, and curved surfaces can all interfere with scanning. Even the environment can cause failures. A code placed where glare hits it, where users cannot get close enough, or where the angle is awkward may technically be readable but practically unusable. In many cases, the code itself is not “broken”; it just was not tested under realistic production and user conditions.
What should you check on a QR code proof before approving it for a full print run?
Before approving a QR code proof, start with the encoded content. Scan the proof and confirm that it leads to the right destination every single time. Check for HTTPS errors, redirect loops, expired short links, mobile usability issues, and any analytics or campaign parameters you expect to capture. If the code points to a landing page, make sure that page loads quickly and displays properly on both iOS and Android devices. Testing the symbol is only half the job; the destination experience matters too.
Then inspect the physical characteristics of the proof. Verify that the code is printed at the intended size and that the edges of the modules appear clean, not muddy or broken. Make sure there is strong contrast between foreground and background and that the quiet zone is preserved on all sides. Look at placement in context. Is the code too close to a fold, corner, perforation, seam, or product curve? Is it likely to be partially covered by packaging, shrink wrap, labels, or retail fixtures? Can someone comfortably scan it where it appears?
Finally, run practical scan tests. Use multiple phones, test in normal lighting, and try scanning from the likely user distance. If the proof will be used on posters, test from farther away. If it will appear on a small label, test at arm’s length. If it will be placed outdoors or under store lighting, simulate glare and reflections. A proof should not be approved simply because one phone scans it once. It should be approved only when scanning is fast, repeatable, and easy across realistic scenarios. That standard helps prevent costly reprints and poor customer experiences.
Does the material, finish, or print size affect how well a QR code scans?
Yes, all three can have a major impact on scan performance. Material affects how sharply the code prints and how the surface interacts with light. For example, textured paper, corrugated packaging, fabric labels, and curved bottles can reduce edge clarity or warp the code’s geometry. Finish is equally important. Glossy coatings, laminates, foils, and reflective surfaces can introduce glare, making it difficult for phone cameras to detect the code cleanly. In contrast, matte finishes generally provide a more forgiving scanning experience because they reduce reflections.
Print size is one of the most important technical factors. A QR code must be large enough for the intended scanning distance and the amount of data encoded. Codes with more data become more complex, with denser module patterns, which often means they need to be printed larger to remain readable. A small code on a business card may work fine at close range, while a poster or window sign viewed from several feet away needs a much larger symbol. There is no universal one-size-fits-all dimension because context matters.
This is why test printing on the actual substrate is so important. A code that works beautifully on matte office paper may fail on glossy packaging or embossed stock. Likewise, a size that scans at a designer’s desk may not work on a production piece viewed in motion or under retail lighting. The safest approach is to print samples using the real material and finish, then test them exactly as end users will encounter them. That is how you validate not just the graphic, but the full printed application.
Should you use a static or dynamic QR code when testing before print?
For most print applications, a dynamic QR code is the safer and more flexible choice, especially when testing before a large production run. A static QR code contains the final destination directly in the symbol, which means once it is printed, the destination cannot be changed without reprinting the code. If the URL changes, a page breaks, or tracking needs to be updated, the printed piece becomes a problem. A dynamic QR code, by contrast, points to a managed short URL or redirect service, allowing you to change the final destination later without changing the printed symbol itself.
From a testing perspective, dynamic QR codes offer several advantages. They let you verify scan performance on the actual printed piece while preserving the ability to adjust the destination after approval. They also support analytics, so you can measure scans by time, campaign, device, or location depending on the platform you use. That makes dynamic codes especially useful for marketing, packaging, events, menus, direct mail, and any campaign where tracking matters.
That said, dynamic does not eliminate the need for proper testing. You still need to confirm that the redirect works, the final destination loads correctly, and the code scans reliably after printing. You should also evaluate the stability of the QR code provider, because if the service fails, the code may stop working even though the print remains in circulation. Static QR codes can still make sense for simple, permanent uses where the destination will never change and no analytics are needed. But in many real-world print workflows, dynamic QR codes provide a valuable safety net that reduces risk after ink is already on the page.