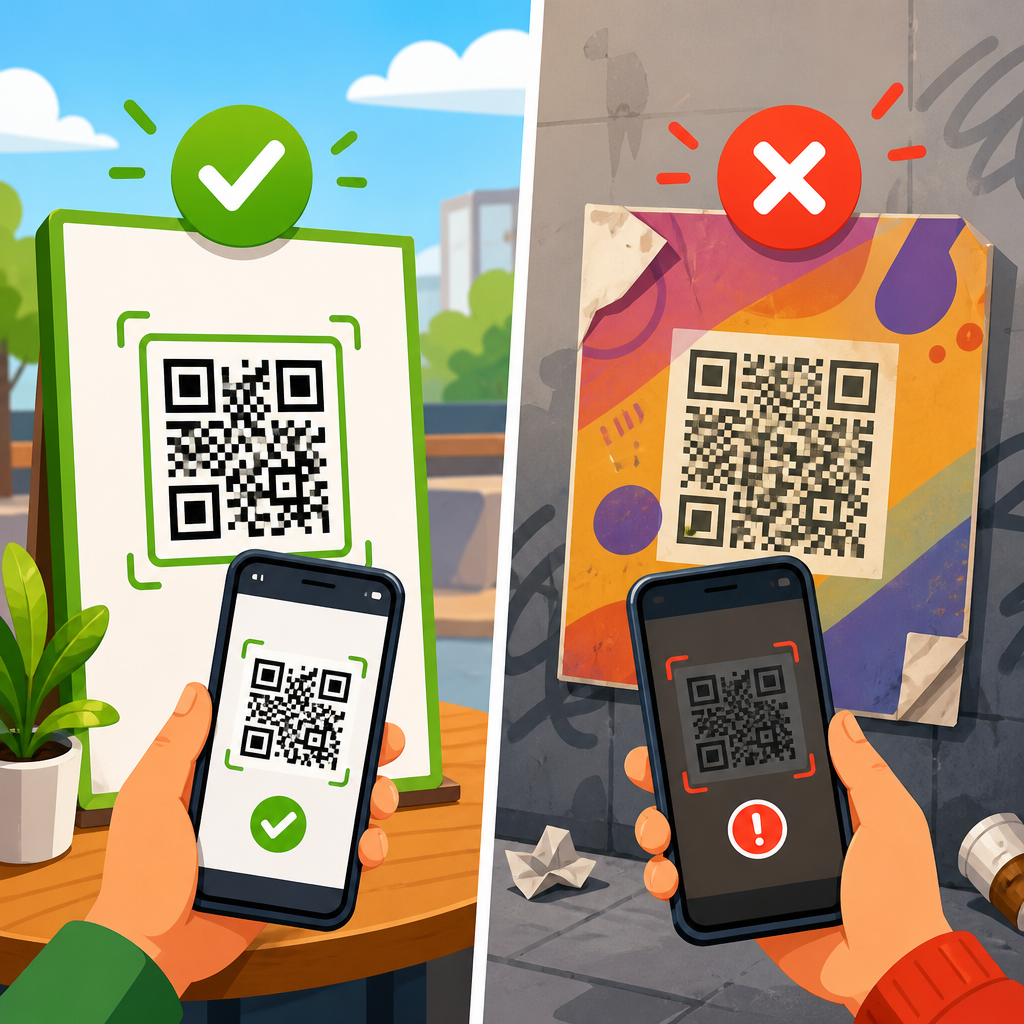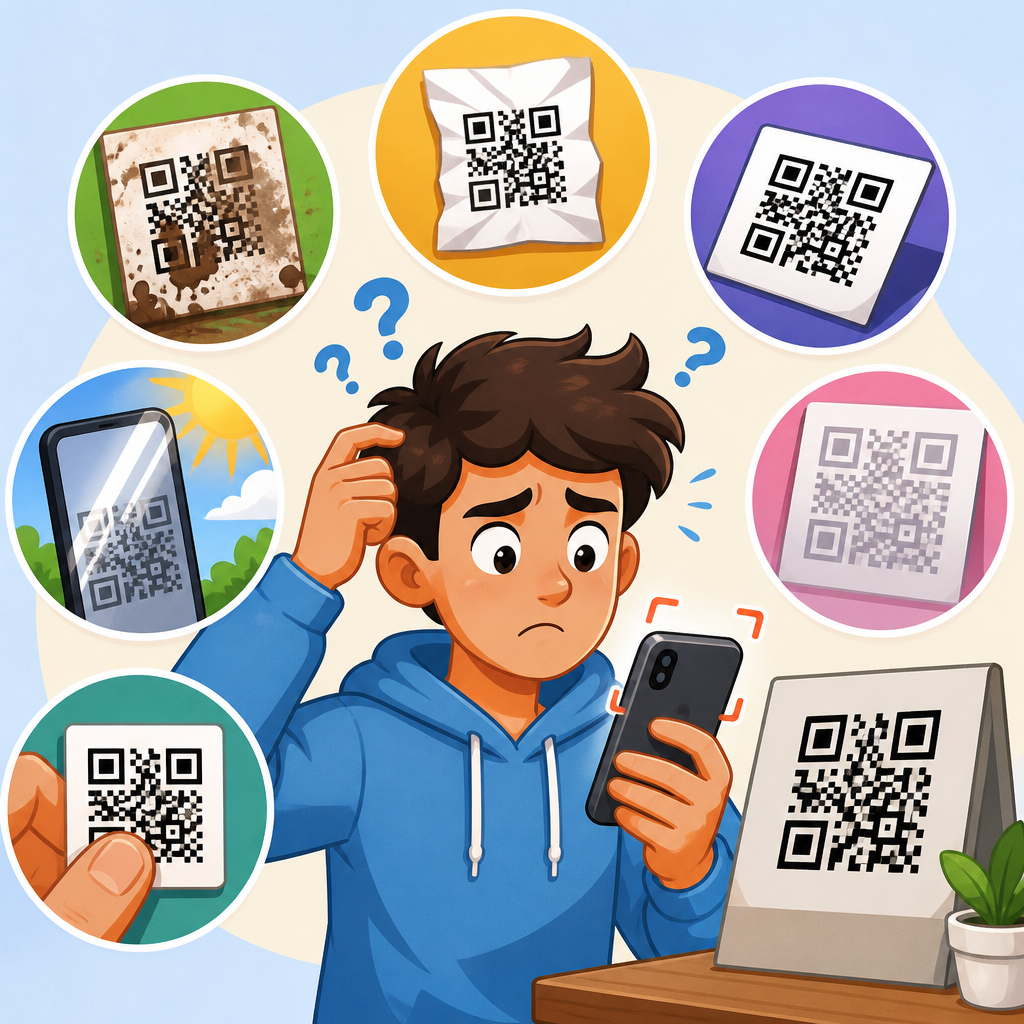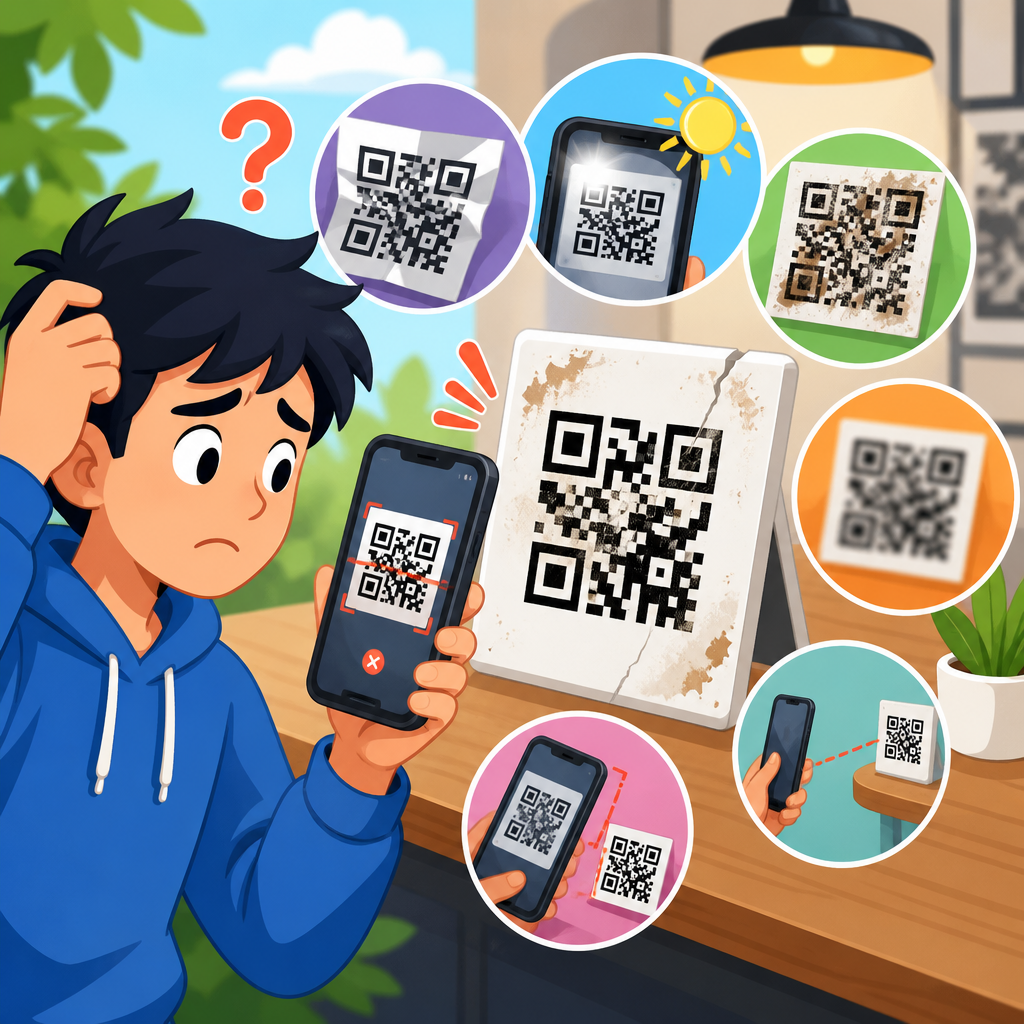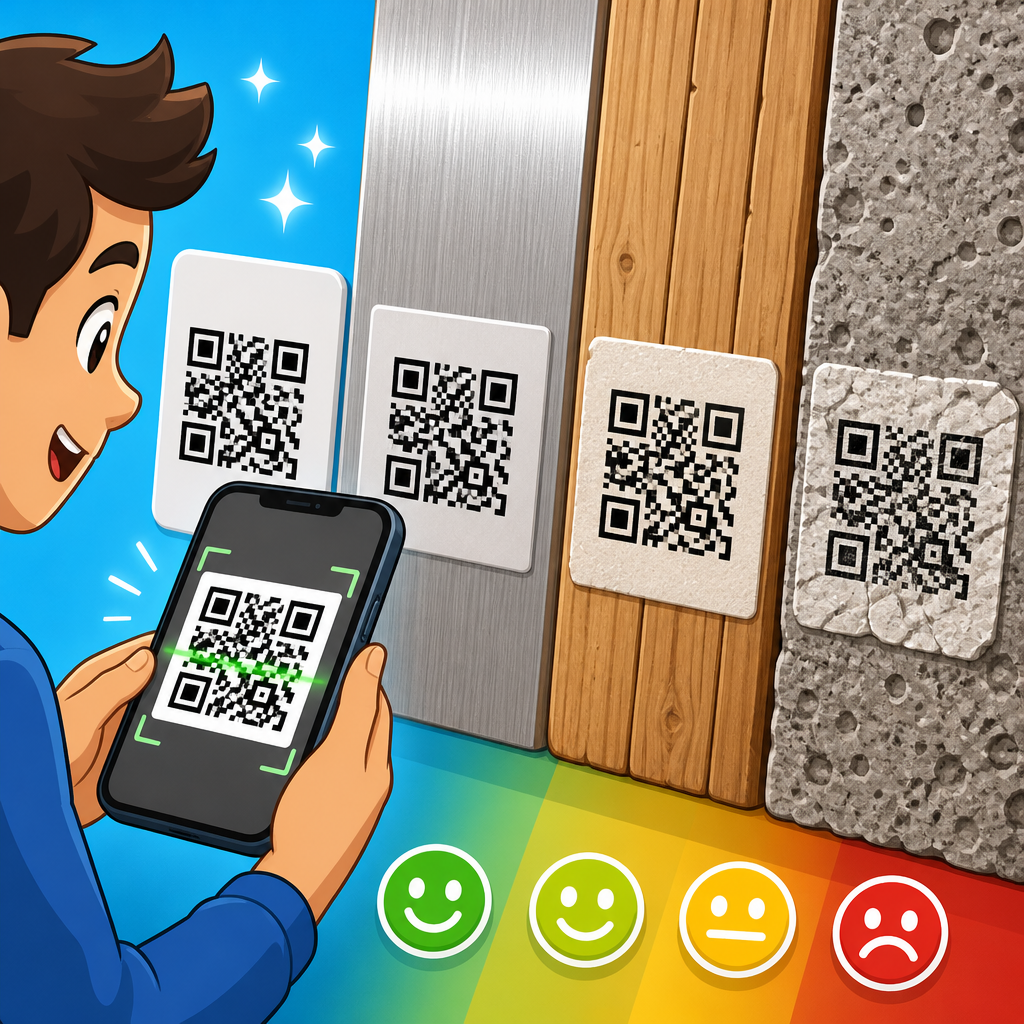
Surface texture is one of the most overlooked causes of QR code scanning failure, yet in print production it influences contrast, edge definition, glare, ink spread, durability, and the smartphone camera’s ability to separate modules from the background. In QR code troubleshooting, surface texture refers to the physical character of the printed material—smooth, glossy, matte, porous, fibrous, embossed, coated, curved, or irregular—and each of those traits changes how a code is printed and how light reflects back during a scan. I have seen perfectly generated QR codes fail in the field simply because they were placed on kraft paper, shrink sleeves, brushed metal labels, or heavily varnished packaging without adjusting print settings. That is why surface texture belongs at the center of any discussion about printing mistakes. If the goal is reliable scanning across phones, lighting conditions, and user angles, the substrate matters as much as code size or error correction. This article explains how surface texture affects QR code scanning, what printing mistakes appear on different materials, and how to troubleshoot them before codes reach customers. As the hub page for printing mistakes within QR Code Troubleshooting & Support, it also frames the key issues that connect to ink choice, finish selection, label stock, packaging design, and print quality control.
Why surface texture changes scan performance
A QR code scanner does not read meaning from the printed object itself; it detects a grid of dark and light modules, locates finder patterns, corrects perspective distortion, and decodes data after the camera captures a usable image. Surface texture interferes with that process in three main ways. First, it changes reflectance. Glossy coatings and laminated finishes create specular highlights, which appear as bright hotspots that wash out dark modules. Second, it changes dot gain and edge fidelity. On porous or fibrous substrates, ink wicks outward, turning crisp squares into softened shapes that blend together. Third, it changes local contrast. Rough textures produce micro-shadows and uneven color density, especially under directional lighting.
In practical terms, a code printed on smooth uncoated white stock usually scans faster than the same code printed at the same size on corrugated cardboard. The digital file may be identical, but the physical output is not. Most smartphone cameras now use computational photography to improve exposure and sharpness, yet they still struggle when module boundaries are low contrast or reflective. This is why designers sometimes blame “bad QR generators” when the actual problem is the substrate. In troubleshooting, always separate data issues from print issues. If the code scans on screen but fails on the product, surface texture is a prime suspect.
Common surface textures that cause QR code printing mistakes
Not all difficult surfaces fail for the same reason. Glossy labels usually fail because glare obscures the code at common viewing angles. Textured papers, including recycled stock and kraft paper, often fail because fibers interrupt clean edges and reduce contrast. Corrugated board adds another complication: flute structure can distort small modules if the code crosses ridges or valleys. Flexible packaging films can wrinkle, causing geometric distortion that makes finder patterns appear bent or stretched. Metallic foils and holographic finishes reflect light unevenly and may create false boundaries inside the symbol.
Embossed, debossed, or linen-textured materials introduce topography. Even when the print itself is dark enough, the raised pattern breaks the visual continuity of modules. I have also seen UV spot coatings cause selective glare only over parts of the symbol, which is especially damaging because the camera reads inconsistent contrast within the same code. Transparent labels on glass create a different class of printing mistake: the code may technically exist, but the background behind the bottle changes visually depending on product color, liquid level, and shelf lighting. A dark beverage behind a transparent code area can invert expected contrast and kill scan reliability.
Curved surfaces deserve special attention. A code wrapped around a bottle neck or a narrow tube may be mathematically intact yet optically compressed at the edges. When that curved surface is also glossy, the scanner has to overcome distortion and reflection at once. This is one reason packaging standards teams often require a flat placement panel for machine-readable symbols.
How specific printing mistakes interact with texture
Surface texture rarely acts alone. It amplifies classic printing mistakes that already threaten QR code readability. The most common is insufficient quiet zone, the clear margin around the code. On rough or busy surfaces, a missing quiet zone is even more harmful because surrounding texture visually competes with the edge of the symbol. Another frequent mistake is printing too small. Fine modules that might survive on coated stock will fill in on absorbent paper or break apart on uneven materials.
Color choice also becomes riskier on textured substrates. Dark gray on brown kraft may look stylish on a monitor but often fails in stores because the substrate lowers effective contrast. Reverse codes—light modules knocked out of a dark field—are particularly vulnerable on materials with inconsistent ink laydown. Registration error is another issue. In flexographic or screen environments, slight movement can create halos or blurred edges, and those defects are magnified when the substrate has a visible grain.
Finishing mistakes matter too. Lamination can add glare, varnish can pool, and overprint on recycled stock can produce mottling. Even adhesive labels create risk if trapped air bubbles sit under the symbol. On direct part marking or industrial labels, rough metal, powder coating, or molded plastic textures may require larger module sizes to maintain scannability. The lesson is straightforward: every print variable should be evaluated in relation to the actual surface, not in isolation.
Material-by-material troubleshooting guide
The fastest way to improve scanning is to match the print approach to the material. The table below summarizes how common surfaces behave and what usually fixes them.
| Surface type | Main scanning risk | Typical print mistake | Practical fix |
|---|---|---|---|
| Glossy coated paper | Glare and hotspot reflection | Dense black under laminate | Use matte finish, test under store lighting, keep code on flat panel |
| Kraft or recycled paper | Low contrast and ink spread | Small code with thin modules | Increase size, use rich dark ink, avoid low-contrast color palettes |
| Corrugated cardboard | Ridges distort module edges | Code placed across flute direction | Print larger, place on smoother label area, avoid seams and folds |
| Flexible plastic film | Wrinkles and shape distortion | Code near crimp or curved seal | Move to stable zone, increase quiet zone, verify after filling |
| Foil or metallic label | Specular reflection and visual noise | Printing directly on reflective base | Add solid matte white underlay, then print black code on top |
| Glass with clear label | Background interference | Transparent code area over product contents | Use opaque white patch behind code, test with full and partial fill levels |
This kind of substrate-specific troubleshooting prevents teams from using the same QR code artwork everywhere and expecting the same result. In production, that assumption is expensive.
Best practices for design, prepress, and press checks
Reliable QR code printing starts before the press run. First, generate the code at an appropriate error correction level, usually M or Q for most packaging applications. Higher error correction can help when minor damage occurs, but it is not a substitute for poor printing. Second, size the code for the expected scan distance and the substrate. If the material is rough or reflective, go larger than the theoretical minimum. Third, preserve a clean quiet zone of at least four modules on all sides; on noisy backgrounds, more is often better.
In prepress, convert the symbol into a high-resolution vector or production-safe raster file, and avoid accidental scaling that introduces anti-aliasing. Confirm that black is truly dark enough for the print process being used. For offset and digital printing, edge sharpness is usually predictable; for flexography, screen printing, thermal transfer, and inkjet on packaging lines, compensations may be needed to account for gain, spread, or substrate absorption. Standards organizations such as ISO/IEC 18004 define QR code structure, while print verification practice commonly relies on graded testing rather than visual approval alone.
At press check, inspect actual samples under the lighting conditions where scanning will happen. Retail fluorescent lighting, warehouse LEDs, daylight through a storefront window, and restaurant pendant lighting can produce very different results. Test with multiple phones, both iPhone and Android, because autofocus behavior and exposure handling vary. I typically ask teams to test from normal user angles rather than perfectly aligned lab positions. If users need to tilt the item repeatedly to avoid glare, the finish is wrong even if the code eventually scans.
How to test and verify QR codes on textured surfaces
The best troubleshooting workflow is simple: scan early, scan often, and scan finished samples rather than digital proofs. Start with a known-good code and print controlled variations across candidate materials. Change one variable at a time—size, color, finish, substrate, or placement—so the cause of failure is clear. Use a verification app or barcode verifier if available, but do not rely only on machine grades. Real users scan with consumer phones in imperfect environments.
A strong field test includes angled light, low light, overhead glare, fingerprints, minor abrasion, and distance changes. If the product is refrigerated, test for condensation. If it is shipped, test after rubbing and compression. If it is outdoors, test after UV exposure and moisture. Surface texture can become more problematic over time; matte labels collect dirt, glossy coatings scratch, and porous paper darkens from handling. A code that scans on day one but fails after two weeks on a shelf is still a printing failure.
Documentation matters. Record substrate name, coating, printer, press settings, ink system, finish, code size, and pass or fail observations. Over multiple jobs, patterns emerge quickly. Teams usually discover that a small set of substrate rules prevents most failures.
Related printing mistakes every support hub should address
Because this page serves as the hub for printing mistakes, surface texture should be understood alongside several linked issues. QR code size is the first. Tiny symbols are unforgiving on any textured material. Contrast is the second. Stylish brand colors often underperform compared with black on white. Quiet zone mistakes are third, especially when packaging art crowds the code. Placement errors follow close behind: seams, folds, bottle curves, and corners all create scan friction.
Ink and finish choices deserve their own troubleshooting articles because varnishes, laminates, metallic inks, and transparent stocks repeatedly cause support tickets. So do low-resolution files, compression artifacts, and accidental raster scaling in design software. Another common issue is printing dynamic QR codes with tracking parameters but failing to confirm that the final destination still works after print approval. Support teams should also address environmental wear, because abrasion, moisture, oils, and sunlight affect textured materials differently.
When these topics are organized under one troubleshooting framework, diagnosis becomes much faster. Instead of asking only whether the QR code itself is valid, teams ask whether the printed symbol can still be captured by a phone camera on the real-world surface where it lives. That shift solves problems earlier.
Surface texture affects QR code scanning because it changes reflectivity, contrast, geometry, and print sharpness at the exact point where a camera must distinguish dark and light modules. Smooth matte surfaces are usually easiest to scan. Gloss, fibers, ridges, transparency, curves, and metallic finishes create predictable failure modes, especially when combined with other printing mistakes such as low contrast, undersized codes, weak quiet zones, and poor placement. The practical response is not guesswork. Match the code design to the material, test finished samples under real lighting, and document what each substrate requires.
For teams responsible for packaging, labels, menus, mailers, or industrial marking, this is the central lesson of QR Code Troubleshooting & Support: a QR code is only as scannable as the surface that carries it. If you are building or auditing a print program, review every code by substrate category, create approval rules for finishes and minimum sizes, and test with multiple devices before production. Start there, and most printing-related scan failures can be prevented long before a customer ever points a phone at the code.
Frequently Asked Questions
Why does surface texture make a QR code harder or easier to scan?
Surface texture directly affects how clearly a QR code can be printed and how accurately a phone camera can read it. A QR code works because the scanner can quickly distinguish dark modules from light background areas and detect clean, geometric edges. When the material underneath the code is too glossy, too rough, too porous, fibrous, embossed, curved, or otherwise irregular, that visual separation becomes less reliable. Glare can wash out dark areas or create bright hotspots. Rough or fibrous stock can break up edges and introduce visual noise. Porous surfaces can cause ink to spread beyond intended boundaries, softening the square modules that scanners rely on. Curved or uneven materials can also distort the code’s shape in the camera frame, making alignment and decoding more difficult.
In print production, this matters because scan performance is not determined by artwork alone. A perfectly generated QR code can still fail if the substrate interferes with contrast, edge sharpness, or consistency across the symbol. Surface texture also affects durability over time. On some materials, repeated handling, moisture, abrasion, or UV exposure can degrade printed modules and reduce readability. In practical terms, texture influences both how the code is produced and how it appears to a scanner under real-world lighting conditions, which is why it is one of the most commonly missed variables in QR code troubleshooting.
Are glossy surfaces bad for QR codes?
Glossy surfaces are not automatically bad, but they do introduce one of the most common scanning problems: reflected light. On a glossy label, laminated card, coated package, or polished sign, overhead lighting or sunlight can create glare across the code. To a smartphone camera, that glare may obscure module boundaries, reduce perceived contrast, or make parts of the QR code appear blown out. Even if the print quality is excellent, the camera may struggle because it is reading reflections from the surface instead of the printed pattern itself. This is especially noticeable when users scan at an angle, indoors under bright retail lighting, or outdoors in direct sun.
That said, glossy materials can still work very well if the code is designed and placed carefully. A high-contrast code with ample quiet zone, sufficient size, and sharp printing can remain scannable on gloss stock, particularly if the finish is controlled and the code is positioned away from heavy reflections, folds, or curved sections. Matte or low-glare coatings are often safer when scan reliability is the top priority, because they reduce specular reflection and give cameras a cleaner view of the symbol. If a glossy finish is required for branding or packaging reasons, test the QR code under multiple lighting conditions and viewing angles before production. That step is far more important than assuming a code that looks good on screen will perform well on a reflective surface.
How do rough, porous, or fibrous materials affect QR code print quality?
Rough, porous, and fibrous materials tend to reduce the precision of printed QR codes. On porous stocks such as uncoated paper, cardboard, kraft materials, and some natural-fiber labels, ink can spread into the substrate rather than staying tightly defined on the surface. This gain in dot or line width may seem minor to the eye, but in a QR code it can make modules appear larger, closer together, or less square than intended. The result is reduced edge definition, lower effective contrast, and a greater chance that the scanner will misread the pattern or fail to decode it altogether.
Fibrous and textured surfaces also introduce inconsistency. Tiny surface variations can create broken edges, patchy fill, and visual noise inside the code area. Embossed or heavily textured materials are even more challenging because the raised and recessed areas can distort printed shapes and produce uneven shadows. These issues become more serious as the QR code gets smaller. A code that might scan acceptably at a larger size on textured packaging could fail entirely when reduced for a label, business card, or product tag. The best approach on difficult materials is to increase the code size, preserve a strong light-dark contrast, use a print process suited to the substrate, and run physical scan tests on the exact stock and finish being used.
What surfaces are best for reliable QR code scanning?
In general, the best surfaces for reliable QR code scanning are smooth, flat, matte, and dimensionally stable materials that allow sharp printing and minimize glare. These surfaces help preserve strong contrast between the dark modules and the light background, while also giving smartphone cameras a clear, undistorted view. Matte-coated paper, smooth labels, well-produced packaging panels, and other low-reflection substrates often perform better than highly glossy, heavily textured, or irregular materials because they reduce both optical interference and print distortion.
Just as important, the surface should support the chosen printing method without excessive ink spread, smearing, or edge breakup. A stable substrate helps maintain module geometry and keeps the quiet zone clean around the code. Flat placement also matters. Even a well-printed QR code becomes harder to scan if it is wrapped tightly around a bottle, applied over seams, placed on a corrugated area, or positioned across folds and creases. The most scan-friendly setup is a code printed at an adequate size on a flat section of material with good lighting behavior and consistent print reproduction. If there is any doubt, compare scan performance across candidate materials rather than selecting a substrate based on appearance alone.
How can I improve QR code scanning on difficult or textured surfaces?
Start by treating the material as part of the QR code system, not just the background. If the surface is glossy, reduce glare with a matte or satin finish when possible, or move the code to an area less likely to catch direct reflections. If the surface is rough, porous, or fibrous, increase the code size so each module has more physical space and is less vulnerable to ink spread or edge breakup. Use maximum contrast, typically dark modules on a clean light background, and avoid decorative treatments that further reduce clarity. Keep the quiet zone generous and free from surrounding graphics, because busy layouts become even more problematic when the substrate already adds visual noise.
It also helps to match the print process and material carefully. Some surfaces require different inks, coatings, curing methods, or label constructions to hold edge definition. On curved or irregular objects, place the code on the flattest available area and avoid wrapping it across sharp contours, seams, or embossed details. Most importantly, test the final printed piece in real conditions: different phones, lighting environments, distances, and user angles. Many QR code failures happen because teams validate the file but never validate the finished object. If a surface is inherently challenging, the best fix is often a combination of larger symbol size, improved placement, reduced reflectivity, and a substrate or finish that preserves crisp, high-contrast module boundaries.