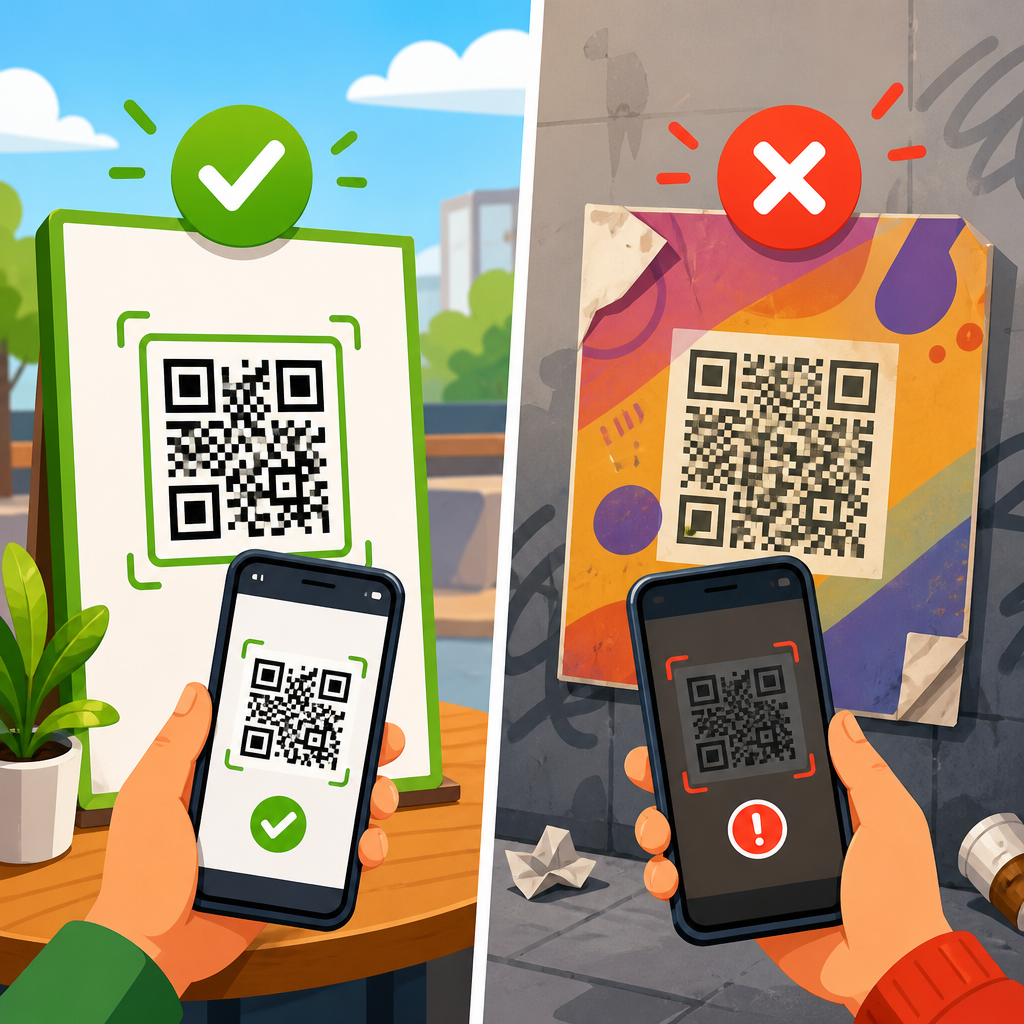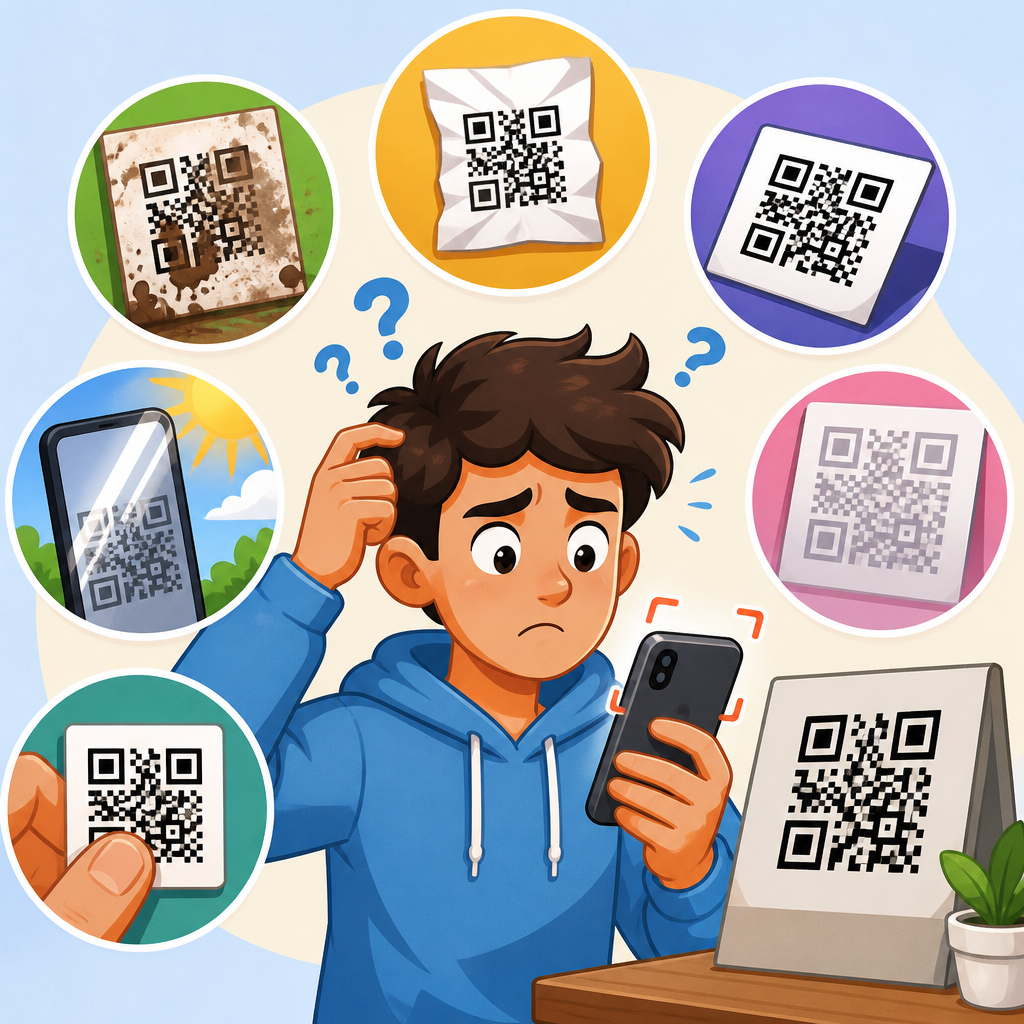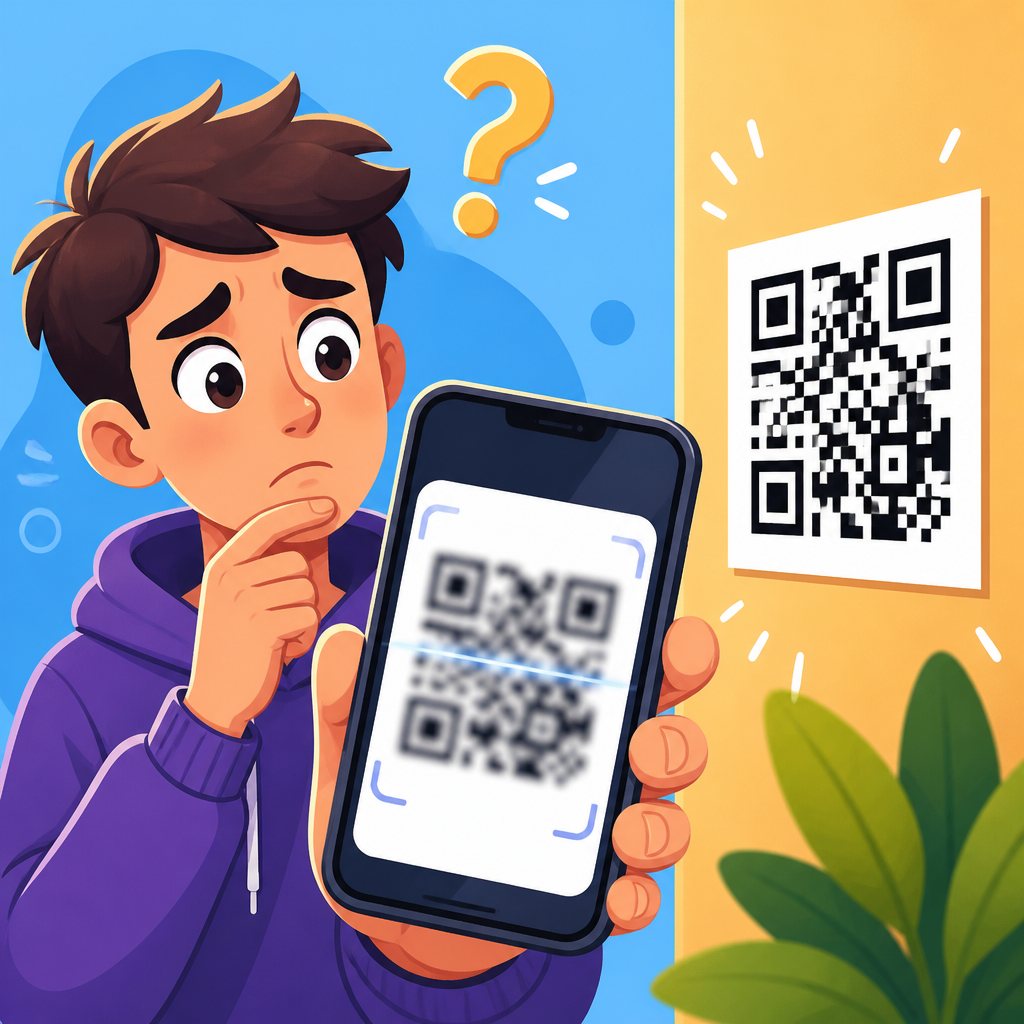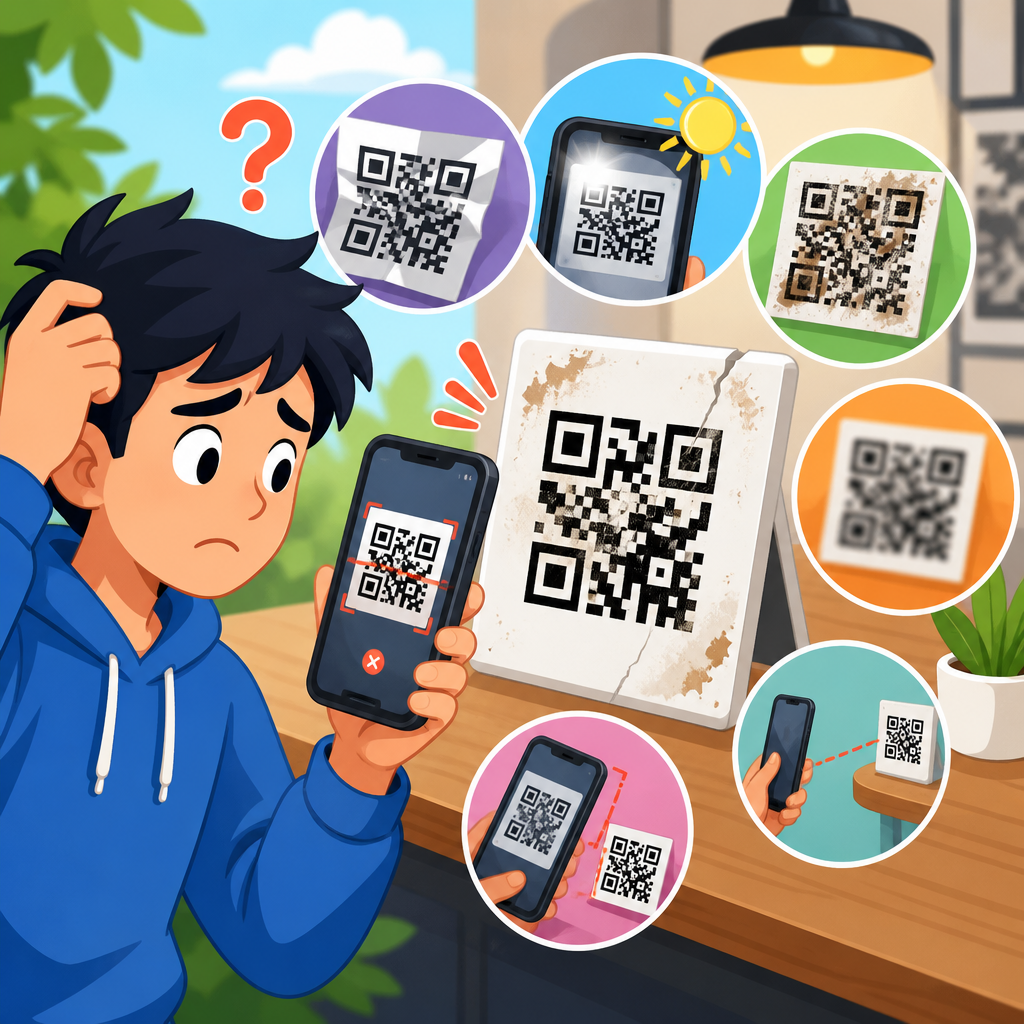
QR codes fail for a small set of predictable reasons, and size is one of the most common. When a code is printed too small, displayed at the wrong scale, or surrounded by clutter, scanners struggle to detect its modules, alignment patterns, and quiet zone. In practical terms, “QR code size issues” means the symbol’s physical dimensions do not match the viewing distance, print method, error correction level, or amount of encoded data. I have had to fix this problem on packaging, menus, event signage, vehicle decals, retail shelf talkers, and mobile screens, and the pattern is always the same: the code was generated correctly, then made unusable by design or production decisions.
A QR code is a matrix barcode made from square modules arranged in a grid. Scanners do not read the overall square as one image; they interpret contrast, finder patterns in three corners, timing patterns, and the exact position of hundreds of individual modules. As more data is encoded, the grid grows denser. That means each module becomes smaller unless the overall code size increases. This is why a short URL can scan well at 20 millimeters wide, while a long vCard or Wi-Fi payload may need a much larger symbol. “Broken QR codes” are often not broken at all. They are undersized, overcompressed, poorly printed, or stripped of the empty margin that scanners rely on.
This matters because scan friction directly reduces response rates. A customer will usually try once or twice. If the code does not scan immediately, they move on. On printed campaigns, that means wasted media spend. On operations materials, it means support tickets, delayed check-ins, or failed payments. A code that technically works in ideal conditions but fails on average phones under normal lighting is still a failed code. The goal of this guide is to fix QR code size issues systematically, explain why they happen, and give you a reliable framework for fixing broken QR codes across print and digital formats.
As the hub page for QR Code Troubleshooting & Support, this article also connects the major causes behind scan failure: incorrect dimensions, low contrast, image compression, damaged print, reflective surfaces, crowded layouts, and unsuitable data density. If you need one working rule before the deeper detail, use this: increase the physical size of the QR code until each module is clearly rendered, preserve a four-module quiet zone on every side, and test with multiple devices at the actual viewing distance. Most “mystery” failures disappear when those three steps are handled correctly.
Why QR code size causes scan failures
Size problems break scanning because the scanner needs enough pixels or printed detail to separate one module from the next. If modules blur together, the camera cannot decode the pattern. A common mistake is judging size by the square’s visual presence in a layout instead of by module dimensions. A 25 millimeter code with a low-data short link might work well. The same 25 millimeter code carrying a long tracking URL with UTM parameters can become too dense to scan reliably because each module shrinks.
Distance matters just as much as dimensions. A practical rule used in signage is a scanning distance ratio of about 10:1, meaning for every 10 units of viewing distance, provide 1 unit of code width. A code scanned from 50 centimeters should often be around 5 centimeters wide. On posters viewed from two meters away, a 2 centimeter code is unrealistic; users must step too close, and phone cameras lose module detail. On product packaging, where the phone is close, smaller codes can work, but print quality becomes more critical.
The quiet zone is another overlooked factor. This is the empty border around the QR code, usually at least four modules wide on all sides. Designers often place the code on a colored box, too close to text, or inside a busy collage. Even if the code itself is large enough, the missing margin makes edge detection unreliable. I have seen restaurant table tents fail simply because the code was framed by a decorative border that intruded into the quiet zone by two modules.
Error correction also changes size behavior. QR codes can recover from some damage using levels L, M, Q, or H. Higher correction is helpful for codes with logos or harsh environments, but it increases symbol complexity. If you raise error correction and keep the same physical size, module size goes down, and the code may scan worse, not better. Fixing broken QR codes therefore requires balancing payload length, correction level, and final dimensions rather than changing one variable in isolation.
How to diagnose a broken QR code before resizing it
Start by confirming that the encoded destination works. Dynamic QR codes can break because the redirect target changed, expired, or was blocked. Static codes can point to mistyped URLs, unsupported deep links, or pages that fail on mobile. Before blaming size, scan the source file from a desktop monitor at a comfortable size with two or three phones. If it decodes instantly there but not in print, the issue is usually production, scaling, or surface conditions.
Next, inspect the file format and export process. Vector formats such as SVG, EPS, and PDF preserve module edges at any size. Raster files such as PNG and JPG can work, but only when exported at sufficient resolution and not repeatedly resaved. JPEG is especially risky because compression creates artifacts around sharp edges. I regularly replace blurry JPG codes embedded in design files with clean SVG assets, and scan rates improve without changing the underlying data at all.
Then check whether the code was resized non-proportionally or transformed inside design software. Stretching a QR code vertically, adding rounded warps, or applying effects can disturb the module geometry. Some layout teams also place a low-resolution screenshot of a code rather than the original asset. In Adobe InDesign, Illustrator, Canva, PowerPoint, and Figma, verify the placed asset is the generator export, not a copied preview image. On websites, inspect responsive CSS to ensure the code is not being rendered smaller than intended on mobile breakpoints.
| Symptom | Likely cause | Fix |
|---|---|---|
| Scans on screen, fails in print | Undersized print, ink spread, low contrast | Increase print size, use vector art, print pure black on matte white |
| Some phones scan, others do not | Modules too small for weaker cameras or low light | Increase code dimensions and simplify payload |
| Fails after adding logo | Reduced readable area or insufficient error correction | Shrink logo, raise correction carefully, enlarge overall code |
| Looks sharp but still fails | Quiet zone missing or background too busy | Restore four-module margin and clean background |
| Works close up only | Code too small for intended scanning distance | Scale using the distance rule and retest in real conditions |
Finally, test under real use conditions. I never approve a code based only on one office scan. Test iPhone and Android devices, older midrange cameras, indoor and outdoor lighting, and the final mounted angle. A glossy window decal may pass on a desk and fail on-site because reflections wash out contrast. Diagnostic discipline prevents unnecessary redesigns and reveals when the true problem is size, contrast, substrate, or destination behavior.
How to choose the right QR code size for print and screens
For print, the safest baseline for marketing uses is 2 x 2 centimeters, roughly 0.8 x 0.8 inches, but that is only a baseline for short URLs with clean contrast and close scanning distance. In production, I treat 3 centimeters as a more forgiving minimum for general use and increase from there based on content density and viewing distance. Product labels, business cards, and coupons can sometimes go smaller, but only after live testing. Posters, trade show graphics, and storefront signage should be substantially larger because users scan from farther away and often while moving.
A practical formula is to start with the intended scan distance, divide by 10, and use that number as the approximate code width. For example, at one meter, start near 10 centimeters wide. At 30 centimeters, start near 3 centimeters. This is not a rigid engineering standard, but it is a dependable field rule. If the payload is long, the surface is curved, or the finish is glossy, add more size. If the environment is controlled and the payload is short, you may get away with less, but conservative sizing usually costs very little and prevents expensive reprints.
On screens, code size depends on display resolution, scaling behavior, and glare. A QR code shown in an email footer may appear large on desktop and tiny on mobile. For on-screen presentation, preserve crisp rendering and avoid anti-aliasing blur. SVG is ideal for web interfaces because it scales cleanly. If you use PNG, generate it at a high native pixel dimension and display it at an integer-based size where possible. Avoid placing the code over video, gradients, or motion effects that interfere with edge detection.
Do not forget the relationship between size and payload. If you are encoding a long destination, shorten it first. Use a branded short domain or a dynamic QR platform so the symbol can stay less dense. This single step often fixes broken QR codes without enlarging them dramatically. A clean short URL plus appropriate dimensions beats a long static URL forced into a tiny square every time.
Design and production fixes that prevent recurring QR code failures
Use high contrast as a default: dark modules on a light background. Black on white remains the most reliable option because it maximizes scanner confidence. Reversed white-on-black codes can work, but they fail more often in poor lighting and low-end camera apps. Color is acceptable when contrast remains strong; dark navy on pale cream may scan well, while mid-gray on muted green often does not. If a brand team insists on custom colors, verify contrast with real devices rather than trusting appearance on a calibrated monitor.
Protect the quiet zone aggressively. Leave at least four modules of empty space around the code, and more if nearby elements are bold. Do not place icons, borders, callouts, die lines, or crop marks into that area. On packaging, watch for seams, folds, and curved bottles that distort the square. On apparel or textured materials, embroidery and fabric weave can destroy module definition. In those cases, use a larger code and a simpler payload, or move the code to a hang tag or printed insert where the surface is stable.
Choose production methods that preserve sharp edges. Offset, laser, and high-quality digital printing generally reproduce QR codes well when resolution is adequate. Problems often arise with thermal transfer, low-end inkjet, porous stock, or small flexographic jobs where ink gain thickens modules and closes gaps. Ask your printer for a proof at final size, not a scaled mockup. Measure the printed code, inspect edges with a loupe if needed, and test after finishing processes such as lamination, varnish, or foil, which can alter reflectivity and contrast.
When logos are added, keep them modest and centered, and compensate with size rather than decoration. Many generators advertise heavy customization, but production reality is less forgiving. I usually keep logo coverage conservative, use error correction level Q or H only when justified, and expand the overall code so module size remains healthy. A branded code that scans instantly is successful branding. A heavily styled code that looks impressive but fails on half the phones is just a broken QR code with marketing polish.
Building a durable troubleshooting workflow for QR code support
The most effective support teams treat QR code issues as a repeatable quality-control process, not a one-off design debate. Document the payload type, generator used, error correction level, file format, final dimensions, substrate, viewing distance, and test devices. This makes recurring failures easier to trace. In my workflow, every code gets checked at source, in layout, as a production proof, and in final placement. That sequence catches nearly every issue before launch.
Create linked support content around the common failure modes this hub introduces: quiet zone errors, low-contrast QR codes, damaged or scratched labels, smartphone camera permissions, dynamic redirect problems, and logo customization mistakes. Teams using platforms such as Bitly, QR Code Generator Pro, Beaconstac, Scanova, Uniqode, Adobe Express, or Canva should maintain platform-specific checklists because export settings and default correction levels vary. The hub works best when each related article solves one failure mode in depth while this page helps readers identify which branch applies to them.
For organizations at scale, build a test matrix. Include recent iPhones, midrange Samsung and Motorola devices, at least one older Android with a weaker camera, and both native camera apps and Google Lens. Test in daylight, office light, and low light. Record pass or fail at intended distance and at slight off-angle positions. That evidence quickly answers whether a QR code needs to be larger, simpler, darker, or moved to a different material.
Most importantly, make resizing the last visible step, not the first assumption. A larger code often solves the problem, but the durable fix comes from matching size to data density, preserving quiet space, exporting correctly, and validating in context. When those controls are in place, QR code support becomes predictable, and broken QR codes become rare instead of recurring.
Fixing QR code size issues starts with one core principle: scanners read modules, not marketing intent. If the modules are too small, blurred, crowded, distorted, or overwhelmed by reflection, the code fails no matter how attractive the design looks. The fastest path to reliability is to simplify the payload, preserve the quiet zone, use a high-contrast vector file, and scale the code to the real scanning distance. Those steps address the majority of broken QR code cases across packaging, signage, menus, labels, and on-screen experiences.
As the central guide within QR Code Troubleshooting & Support, this article gives you the decision framework behind every related fix. Start by confirming the destination works. Then inspect export quality, print method, contrast, surrounding space, and final dimensions. If the code contains a long URL, shorten it. If it includes a logo, enlarge the symbol. If users scan from farther away, size up aggressively. Reliable QR performance is rarely about one magic number; it is about fitting the code’s density and environment to the way real people actually scan.
The benefit of getting this right is simple: fewer failed scans, fewer support requests, and better conversion from every printed or digital touchpoint. Review your current QR codes, test them under real conditions, and update any code that is too small, too dense, or too crowded to scan instantly.
Frequently Asked Questions
What causes QR code size issues in the first place?
QR code size problems usually happen when the final symbol is too small for the real-world conditions in which people need to scan it. A QR code is not just a simple square image. It is made up of tiny modules, alignment patterns, finder patterns, and a required quiet zone around the outside. If those elements become too small in print or on screen, phone cameras and scanning apps have a harder time separating the code from the background and reading the data correctly.
In practice, this often happens for a few predictable reasons. One is trying to fit too much data into a small space. The more text, parameters, or tracking information you encode, the denser the QR code becomes, which means each module gets smaller unless you increase the overall size. Another common issue is scaling the code improperly during design or production. A QR code might look sharp on a large monitor, but once it is reduced on packaging, menus, event signage, labels, or flyers, it may fall below a reliable scanning threshold.
Print method matters too. Ink spread, low-resolution printing, textured surfaces, glossy finishes, and poor contrast can all make a borderline-small QR code fail. Digital display introduces its own problems, such as low brightness, screen glare, compression artifacts, or responsive layouts that shrink the code too aggressively on mobile devices. Even when the code itself is technically large enough, surrounding it with clutter, borders, graphics, or text too close to the edges can interfere with the quiet zone and make it much harder to detect.
The core issue is that QR code size is never just about width and height alone. It has to match viewing distance, output medium, lighting conditions, camera quality, encoded data volume, and error correction settings. When those factors are out of balance, the result is a code that looks fine to the human eye but performs poorly in actual scanning situations.
How big should a QR code be for reliable scanning?
There is no single perfect size for every QR code, but there are strong practical guidelines. A widely used rule of thumb is that the scanning distance should be about ten times the width of the code. For example, if someone will scan from 10 inches away, the QR code should be at least about 1 inch wide. If it will be scanned from several feet away, such as on a poster or event sign, it needs to be much larger so the camera can still distinguish the module pattern clearly.
For close-range printed materials like business cards, product inserts, menus, and small packaging, many professionals treat around 0.8 to 1.2 inches square as a practical minimum, assuming the code is not overly dense and is printed cleanly with good contrast. On larger applications such as window signage, trade show graphics, retail displays, and wall posters, the size should scale with the expected scanning distance rather than with the available empty space in the layout. That is a common mistake: designers often size the QR code based on aesthetics instead of usability.
Encoded data density has a major impact on the minimum workable size. A short URL typically produces a cleaner, less complex code that can scan at smaller dimensions. A long URL, vCard, Wi-Fi credential set, or other data-heavy payload creates more modules and therefore requires more physical space to remain readable. Error correction level matters as well. Higher error correction improves resilience if the code is partially damaged or printed on a challenging surface, but it also increases complexity and may require a larger final size.
The safest approach is to start with a short destination, generate the least dense code possible, keep a proper quiet zone, and then test the code at the exact size it will appear in production. If there is any doubt, enlarge it. In most real-world cases, making a QR code slightly bigger solves more problems than trying to optimize an undersized code that is already operating at the edge of scan reliability.
Why do some small QR codes scan on screen but fail when printed?
A QR code that works on screen but fails in print is usually running into differences between digital display quality and physical reproduction. On screen, the code may be rendered with crisp pixel edges, bright contrast, and ideal viewing conditions. When that same code is printed, several variables can reduce its scannability. Ink can spread, edges can soften, contrast can drop, and tiny modules can merge together or become uneven. What looked sharp digitally may become muddy on paper, cardboard, plastic, fabric, or other packaging materials.
Print resolution is one of the biggest factors. A low-resolution printer or a poor export setting can blur fine detail, especially if the QR code was inserted as a raster image and then scaled down. Vector formats are usually much safer because they preserve clean edges at different sizes. Material and finish also matter. Glossy coatings can create glare, textured stock can break up the module pattern, and dark or colored substrates can weaken contrast if the code is not printed in a strong dark-on-light combination.
The quiet zone often gets lost in print layouts as well. Designers may place the code too close to borders, folds, logos, dielines, or background graphics. On screen, that may not seem like a problem, but once printed and viewed through a phone camera, the scanner may struggle to isolate the symbol. Packaging adds another layer of risk because curves, seams, crinkles, and shrink wrap can distort the shape of the code, making a small version especially vulnerable.
The fix is usually straightforward: use a larger printed size, export the code in a high-quality or vector format, maintain a clear quiet zone on all sides, use high contrast, and test actual production samples rather than relying on proofs alone. If a code must appear on challenging packaging or signage, it is wise to assume the printed version needs more margin for error than the digital version.
How do I fix a QR code that is too small without redesigning everything?
If a QR code is too small, the fastest fix is often to make the code itself physically larger and simplify the data it contains. Start by shortening the encoded content wherever possible. Replacing a long URL with a short redirect link can dramatically reduce code density, which makes each module larger and easier to scan even if the overall footprint changes only slightly. This is one of the most effective solutions because it improves readability without requiring a complete layout overhaul.
Next, check whether the QR code has enough quiet zone around it. A code does not always need a massive increase in size to perform better; sometimes it simply needs clean space around the edges. Remove decorative frames, move nearby text away, and eliminate background clutter. If the code is sitting on a patterned image or colored block, place it on a solid high-contrast background. These adjustments can improve scanner recognition immediately.
You should also review the file quality and scaling method. If the code was copied from a screenshot, exported at low resolution, or resized inconsistently, regenerate it from the source using a vector or high-resolution file. Never stretch it non-proportionally, and avoid compressing it inside design software in ways that introduce blur. If you are working with print, confirm that the final production size matches the approved design size, because unexpected downscaling during prepress is a common cause of scanning problems.
If space is extremely limited, consider repositioning the code rather than forcing it into an undersized slot. On packaging, that may mean moving it to a larger panel. On menus or event signage, it may mean isolating it in a dedicated callout area instead of squeezing it into a crowded footer. The key is to protect function first. A QR code that fits the design but does not scan is not saving space; it is wasting it.
What is the best way to test whether a QR code size is actually correct?
The best way to test QR code size is to evaluate it under the same conditions your audience will experience, not just on your own phone at your desk. That means testing the real output size, on the real material, at the real viewing distance, under realistic lighting. A code that scans once in perfect conditions is not necessarily ready for production. You want repeated, consistent scans across different devices and user scenarios.
Begin by testing with multiple smartphones, both iPhone and Android if possible, using native camera apps as well as common scanning apps. Try scanning from the intended distance and angle rather than moving unrealistically close. For packaging, test flat samples and assembled versions, since curves and folds can affect readability. For menus and countertop displays, test under restaurant-style lighting. For event signage, test from the expected approach distance and under both bright and dim conditions. If people will be scanning while standing, walking, or reaching, take that behavior into account.
It is also important to test edge cases. Check older phones with less capable cameras. Test under glare, shadows, or slightly off-angle viewing. Print several versions at slightly different sizes if you are unsure, then compare performance side by side. In many cases, increasing the code by even a small amount can create a major improvement in first-try scan rates. That is especially useful when you are working on menus, event signs, or product packaging where user patience is limited.
A reliable QR code should scan quickly, consistently, and without forcing the user to adjust distance repeatedly. If people have to hunt for the right angle or