QR code error correction levels determine how much damage, dirt, distortion, or printing loss a code can tolerate while still scanning correctly. In practice, these levels are one of the most important design and engineering decisions in QR code technology because they directly affect reliability, data capacity, print flexibility, and user experience. The four standard levels are L, M, Q, and H, each representing a different percentage of recoverable data based on Reed-Solomon error correction, the mathematical method built into the QR Code specification. If you generate codes for packaging, menus, labels, tickets, industrial parts, or marketing campaigns, understanding these levels helps you avoid the two common failures I see most often: codes that look attractive but scan poorly, and codes that are technically valid but unnecessarily dense. This article explains what each level means, how the percentages work, when to use each option, and how to choose the right balance between resilience and symbol size. It also serves as a central guide for the broader topic of QR code error correction, so you can confidently evaluate scan environments, printing methods, and payload requirements before publishing any code.
What QR code error correction actually does
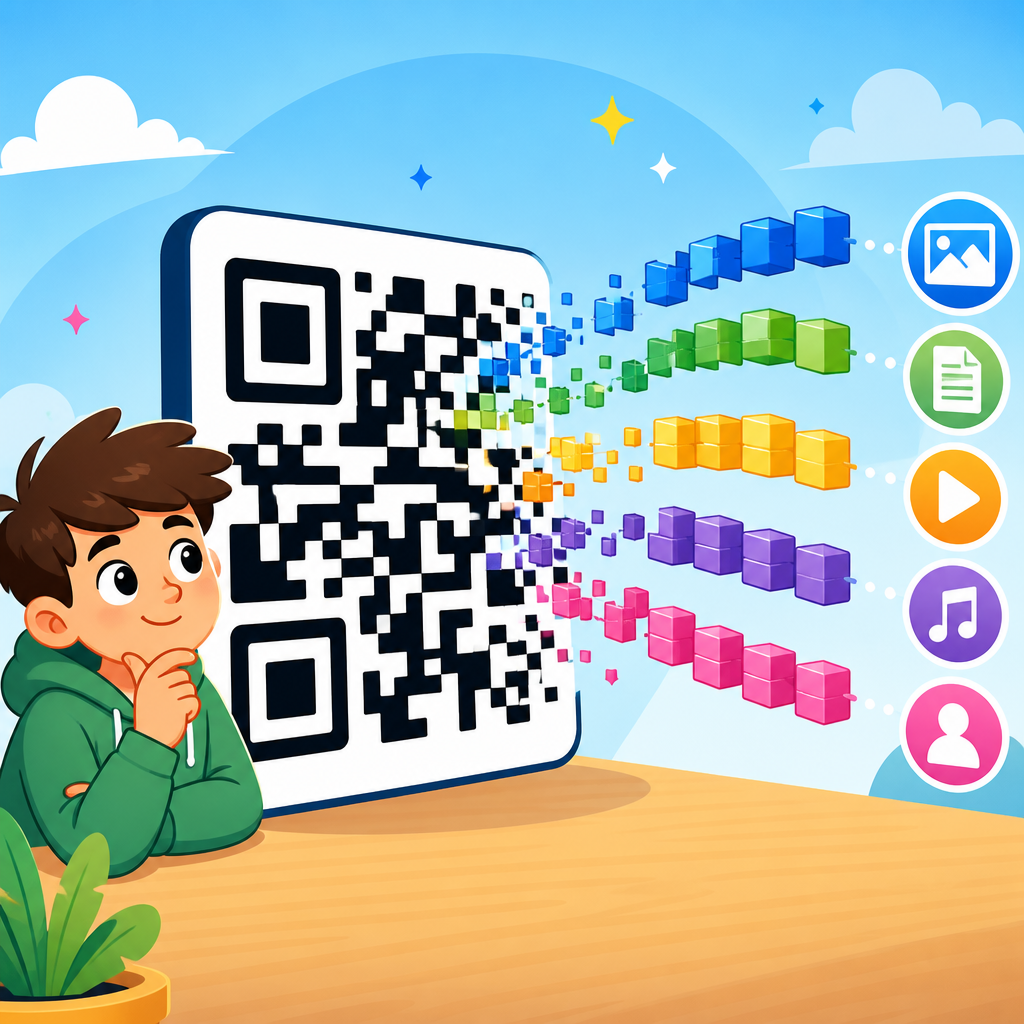
Error correction in QR codes allows a scanner to reconstruct missing or corrupted portions of the symbol. A QR code is not just a grid of black and white squares holding raw data; it also includes redundant codewords calculated from the payload. Those extra codewords are generated with Reed-Solomon error correction, a well-established coding method used in storage media, telecommunications, and two-dimensional barcodes. When part of the symbol is damaged, obscured, faded, or warped, the scanner uses the redundant information to recover the original data, provided the damage stays within the limit of the selected correction level.
The four levels are standardized. Level L can recover about 7 percent of codewords, M about 15 percent, Q about 25 percent, and H about 30 percent. These percentages are often misunderstood. They do not mean a QR code can lose exactly that percentage of visible area in any random pattern. Recovery depends on where the damage occurs, how it is distributed, whether finder patterns remain readable, and whether the image has enough contrast for the scanner to identify modules cleanly. A small scratch across a critical timing pattern may cause more trouble than a larger cosmetic mark elsewhere.
In real deployments, error correction works alongside other factors: module size, quiet zone, print resolution, substrate, lighting, camera quality, and encoding mode. I have seen a low-density code at level M outperform a dense code at level H simply because the first had better contrast and a proper margin. Error correction is powerful, but it is not a substitute for sound QR code design.
The four levels: L, M, Q, and H compared
The practical difference between L, M, Q, and H is the amount of redundancy added to the symbol. More redundancy increases resilience but reduces data capacity or forces the QR code to use a larger version. Larger versions contain more modules, which makes the symbol physically denser at a given print size and can reduce scan reliability if the modules become too small for the camera or printer. That tradeoff is the core decision behind error correction selection.
| Level | Approximate recovery | Best use cases | Main tradeoff |
|---|---|---|---|
| L | 7% | Clean digital display, short-lived uses, controlled environments | Lowest resilience |
| M | 15% | General-purpose print and web use | Moderate capacity reduction |
| Q | 25% | Packaging, light wear, partial obstruction, branded treatments | Larger or denser symbols |
| H | 30% | Harsh environments, small logos, industrial labels, long-term exposure | Greatest capacity penalty |
Level L is the least redundant and most space-efficient option. It is suitable when the code is displayed digitally on bright screens, printed in high quality, or used in conditions where physical damage is unlikely. For example, an event registration page showing a QR code on a mobile app can often use level L successfully because there is no abrasion, no lamination glare, and the content is usually a short URL. The advantage is a simpler symbol with fewer modules for the same payload.
Level M is the default I recommend for many everyday uses. It gives a meaningful jump in resilience without making the code much harder to produce. Restaurant table tents, posters, flyers, business cards, and ecommerce inserts generally perform well at M. Many generators choose M as their default because it is a balanced setting for common conditions.
Level Q is a better fit when the code may face wear, curvature, uneven surfaces, or modest visual customization. Product packaging is a classic example. Folding cartons scuff, plastic pouches wrinkle, and labels can be applied slightly crooked. In those cases, Q provides a cushion that often prevents support issues later. It is also a sensible minimum when a designer wants to place a small brand mark in the center, assuming the mark is conservative and testing confirms readability.
Level H provides the highest standardized resilience and is commonly used in industrial and high-risk settings. Asset tags, manufacturing labels, equipment parts, outdoor signs, and healthcare workflows often benefit from H because the code may encounter dirt, chemicals, scratches, or long service life. H is also the level most often selected for artistic or logo-bearing QR codes, though that does not guarantee success. The code still needs sufficient quiet zone, contrast, and scanner-friendly styling.
How error correction affects data capacity and QR code version
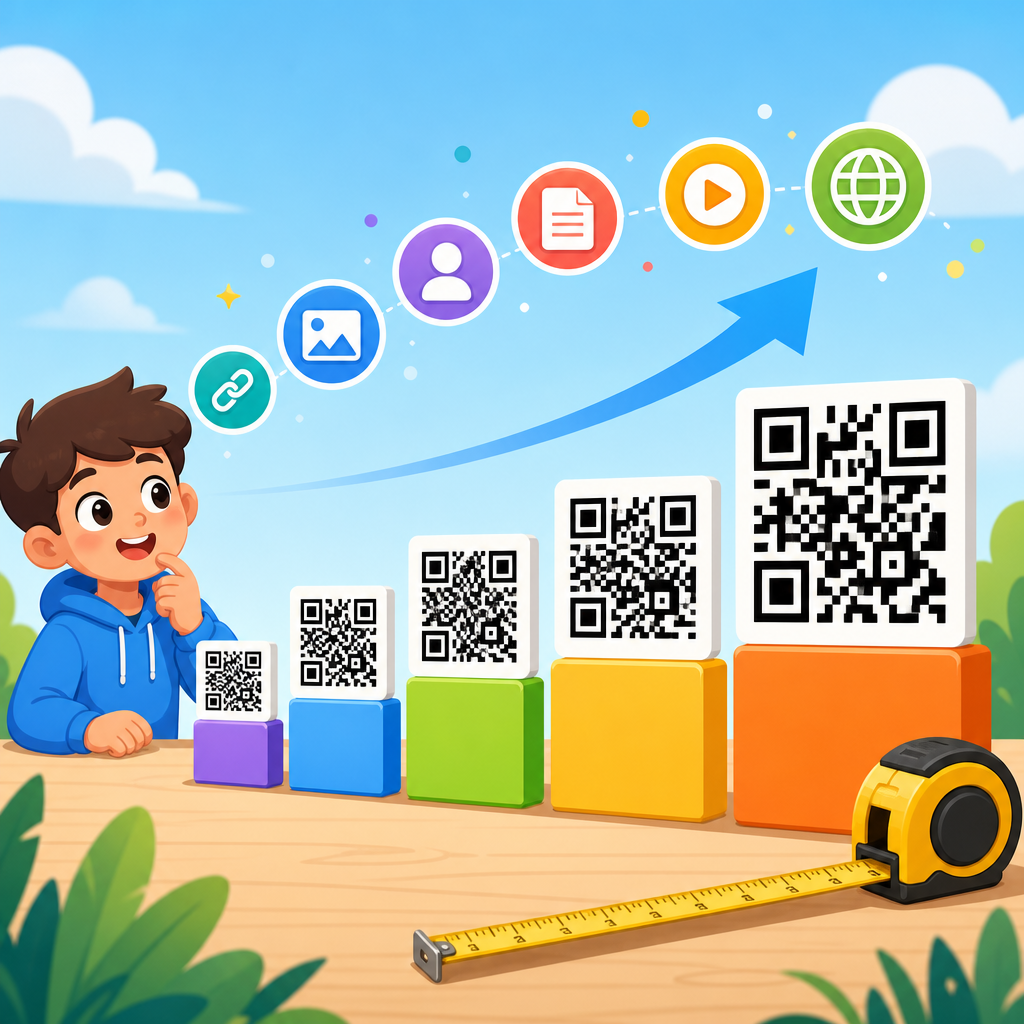
Every increase in error correction consumes space that could otherwise hold user data. That means the same text, URL, or binary payload may fit into a smaller QR code version at level L than at H. QR code versions range from Version 1, a 21 by 21 module symbol, up to Version 40, which is 177 by 177 modules. As payload grows or correction level rises, the generator selects a higher version to fit the data.
This matters because scan performance depends heavily on module size. Suppose you need to encode a long tracking URL with UTM parameters, a product identifier, and campaign metadata. At level H, the code may jump to a larger version, creating smaller individual modules when printed on a small label. If those modules approach the printer’s resolution limit or the camera’s resolving power, scans become slower or inconsistent. In that case, shortening the URL, using a redirect, or storing less data inside the symbol can be more effective than simply increasing error correction.
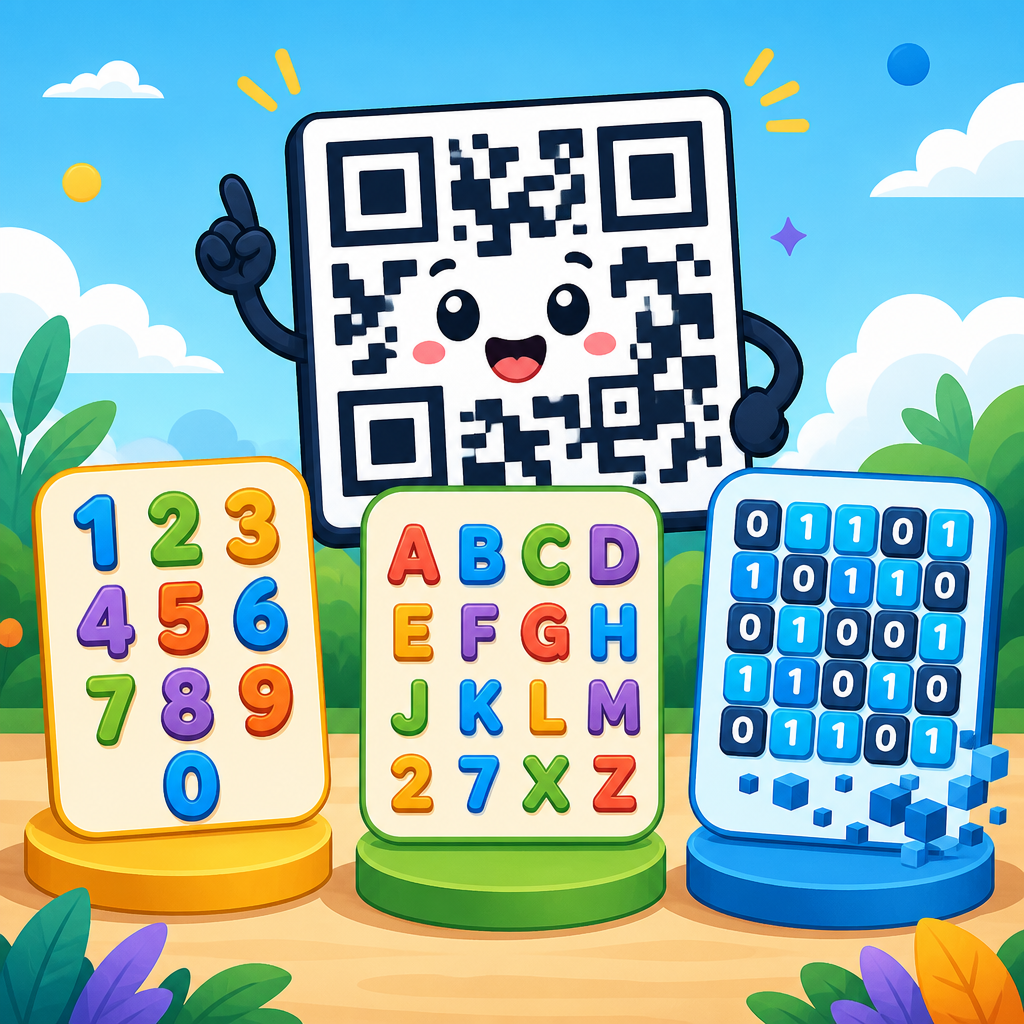
Encoding mode also changes the equation. Numeric mode is most efficient, alphanumeric is next, then byte mode, and kanji mode has its own optimization. A URL with mixed lowercase letters, punctuation, and query strings usually ends up in byte mode, which uses capacity less efficiently. One practical lesson from production work is that payload discipline often delivers better reliability than aggressive correction. Shorten what you encode first, then choose the correction level based on actual environmental risk.
When to choose each level in real projects
Choosing the correct level starts with the scan environment, not the generator default. Ask four questions: Will the code be printed or digital? Can it be scratched, creased, or stained? How small will it be reproduced? Will branding or design effects alter the symbol? These questions usually point to the right choice faster than any abstract rule.
Choose L when the environment is controlled and the priority is keeping the symbol compact. Examples include onboarding screens inside apps, temporary access codes on kiosks, or internal documents printed by office laser printers and used immediately. L is also useful when payload is large and physical size is tightly constrained, but only if the code remains clean and high contrast.
Choose M for general-purpose deployment where ordinary handling is expected but abuse is limited. This is the safest broad default for brochures, invoices, shelf talkers, email signatures rendered as images, and storefront posters behind glass. If a team has no test data yet, M is usually where to start.
Choose Q when the code may be bent, exposed to minor damage, or partially covered by unavoidable production variation. I often use Q for consumer goods packaging, bottle neck tags, direct mail pieces, and laminated badges. Q is also appropriate when a designer wants slightly rounded modules or a small centered icon, provided contrast stays strong and extensive testing is done across Android and iPhone devices.
Choose H for the roughest conditions or the highest recovery requirement. Industrial maintenance labels, warehouse bin markers, medical specimen workflows, rental equipment, and outdoor decals are common examples. H is worth the capacity cost when replacing a failed code later would be expensive or operationally disruptive. It is also the right choice when surface contamination is likely, such as grease in manufacturing or abrasion on reusable containers.
Limits, misconceptions, and testing best practices
The biggest misconception is that high error correction can compensate for poor design. It cannot. If the quiet zone is missing, the contrast is weak, the code is inverted in a way the scanner dislikes, or the logo covers critical structures, the symbol may fail regardless of level. Finder patterns, alignment patterns, and timing patterns are essential to decoding. Damage in those areas can defeat the recovery process even when much of the rest of the symbol is intact.
Another mistake is assuming a percentage recovery figure maps neatly to logo size. A central logo does not remove random codewords evenly; it wipes out a concentrated area. Some generators allow large logos because they render a valid image, but valid generation is not the same as robust scanning. In production, keep logos modest, preserve clear contrast around them, and test on low-end cameras, older phones, and different scanning apps.
Printing variables matter just as much. Dot gain on uncoated stock can blur modules together. Thermal transfer labels can produce streaking if the ribbon or printhead is worn. Glossy lamination can create specular glare under retail lighting. Curved containers distort module geometry near edges. For those reasons, QR code testing should include the final material, final size, final lighting, and realistic user distance. ISO/IEC 18004 defines the QR Code standard, and verifier-based quality checks, often aligned with ISO/IEC 15415 for two-dimensional symbols, provide a more objective assessment than a quick smartphone scan alone.
A disciplined workflow is straightforward. Generate the shortest practical payload, select a provisional correction level based on environment, print or display the code at actual size, test across multiple devices, then adjust size, contrast, or payload before changing the correction level. In many cases, enlarging the code slightly produces a larger reliability gain than moving from M to H. That is why error correction should be treated as one control among several, not the only safeguard.
Building a reliable QR code strategy around error correction
For teams managing many QR codes, consistency beats one-off decisions. Establish a policy by use case. For example, digital-only codes can default to L or M, printed marketing collateral to M, retail packaging to Q, and industrial labels to H. Pair that with standards for minimum physical size, mandatory quiet zone, contrast ratio, and URL shortening. This turns error correction from a guess into an operational rule set.
Dynamic QR codes also improve outcomes because they let you keep the encoded payload short while updating the destination later. A short redirect domain can reduce symbol complexity significantly compared with embedding long campaign URLs directly. The result is a cleaner code that scans more reliably at the same correction level. In enterprise settings, this also supports analytics, destination changes, and campaign maintenance without reprinting the symbol.
Documented testing should be part of launch approval. I recommend recording device types, operating systems, lighting conditions, scan distance, and failure cases. Over time, those logs show patterns: maybe metallic pouches need Q instead of M, or maybe outdoor decals need a matte finish more than H-level correction. Reliable QR programs are built from those practical observations, not assumptions.
QR code error correction levels L, M, Q, and H exist to balance resilience against symbol efficiency. L maximizes capacity and suits controlled environments. M is the strongest general default for everyday use. Q adds valuable protection for packaging, minor wear, and modest design customization. H is the best choice for harsh conditions, long service life, and situations where scan failure carries real cost. The percentages attached to each level are useful guidelines, but they do not replace fundamentals such as adequate size, clear contrast, proper quiet zone, and realistic testing.
If there is one principle to apply across every QR code project, it is this: choose the lowest correction level that safely matches the environment after you have minimized payload and validated the final design. That approach produces codes that are easier to scan, easier to print, and less likely to fail in the field. Use this page as your hub for error correction decisions, then evaluate each deployment by material, size, payload, and expected wear before publishing the code.
Frequently Asked Questions
What do QR code error correction levels L, M, Q, and H actually mean?
QR code error correction levels define how much damage or data loss a QR code can tolerate and still be scanned successfully. The four standard levels are L, M, Q, and H, and each one represents a different amount of recoverable data made possible through Reed-Solomon error correction. In general terms, Level L can recover about 7% of damaged data, Level M about 15%, Level Q about 25%, and Level H about 30%. That means a QR code printed at Level H can survive more dirt, scratches, distortion, or missing areas than one created at Level L.
These levels are not simply “better” or “worse” versions of the same code. Instead, they are trade-offs. Higher error correction improves scan reliability in rough real-world conditions, but it also reduces available data capacity and often increases the visual density of the code. Lower error correction allows more space for data and can keep the symbol simpler, but it leaves less room for damage or design variation. That is why choosing the right level matters so much in packaging, signage, product labels, tickets, menus, industrial marking, and branded QR campaigns.
In practice, these levels help engineers, designers, and marketers balance durability against efficiency. If a code may be exposed to wear, low-quality printing, curved surfaces, or partial obstruction, a higher level is usually safer. If the code will be displayed clearly in a controlled setting and contains a lot of data, a lower level may be more practical. The key point is that L, M, Q, and H are reliability settings that directly influence how forgiving a QR code will be once it is used in the real world.
How does error correction affect QR code size, data capacity, and scan performance?
Error correction has a direct impact on how much information a QR code can hold and how large or dense the final symbol becomes. When you choose a higher correction level, more of the code’s internal capacity is dedicated to recovery data rather than your actual content. As a result, the code may need to move to a larger version or use more modules to hold the same message. This can make the QR code look busier and require higher print precision, especially when the code contains long URLs, tracking parameters, contact data, or other large payloads.
That trade-off matters because scan performance is influenced by both resilience and readability. A denser code may survive more damage, but if it is printed too small or rendered poorly, the tiny modules can become difficult for cameras to distinguish. On the other hand, a lower-density code with less correction may scan very quickly when printed cleanly, but it can fail sooner if part of the symbol is smudged, folded, or covered. In other words, scan performance is not determined by error correction alone. It depends on the interaction between correction level, payload size, print quality, physical dimensions, contrast, and lighting conditions.
This is why many best-practice workflows start by minimizing the data encoded whenever possible. For example, using a short URL or dynamic QR code often reduces symbol complexity, which gives you more flexibility to choose a higher correction level without creating an oversized code. A well-optimized code at Level M or Q frequently delivers a strong balance between capacity and reliability. Ultimately, the right choice is the one that keeps the QR code easy to print, easy to scan, and durable enough for its intended environment.
Which QR code error correction level should I choose for real-world use?
The best error correction level depends on where the QR code will appear, how it will be printed, and what kinds of stress it may experience during its life cycle. Level L is often suitable when the code is displayed in a clean digital environment or printed with high quality on flat, protected surfaces. It offers the most data capacity, so it can be useful when you need to encode more information and expect minimal physical damage. Level M is commonly used as a practical default because it offers a good middle ground between capacity and resilience for general business use.
Level Q is a strong option when the code may face moderate wear, slight distortion, or partial obstruction. It is often chosen for consumer packaging, labels, promotional materials, or placements where branding elements may slightly interfere with the code area. Level H is usually preferred when durability is critical, such as on industrial components, outdoor materials, long-term signage, or heavily stylized QR codes that include logos or visual customization. Because Level H allows the highest recovery tolerance, it gives more protection against real-world imperfections, though at the cost of lower capacity and potentially larger symbol size.
A useful way to choose is to think in terms of risk. If a failed scan would be inconvenient but not serious, a moderate level may be enough. If the code is tied to customer experience, payments, access control, manufacturing workflows, or critical asset tracking, it often makes sense to prioritize robustness. Testing should always be part of the decision. Print the code at the actual size, on the actual material, with the actual design treatment, and scan it using multiple phones under realistic conditions. That hands-on validation matters more than selecting a level based on theory alone.
Does higher error correction make it easier to add a logo or customize the QR code design?
Yes, higher error correction generally makes QR code customization safer because it gives the symbol more ability to recover from missing or altered areas. When a logo is placed in the center of a QR code, or when colors, gradients, decorative shapes, or branded overlays are introduced, some of the original data pattern can become less readable. A higher correction level, especially Q or H, helps compensate for that by preserving scanability even when part of the symbol is visually disrupted.
That said, higher error correction is not a license to overdesign. A QR code still depends on fundamental structural elements such as contrast, quiet zone, finder patterns, alignment, and module clarity. If a logo is too large, if the colors have poor contrast, or if the decorative treatment distorts the grid too aggressively, the code may fail regardless of correction level. Many scanning problems blamed on “bad phones” or “bad apps” are actually caused by design choices that push the symbol beyond what error correction can realistically recover.
The best approach is to combine a higher correction level with disciplined design rules. Keep the logo proportionate, maintain strong dark-to-light contrast, preserve the quiet zone around the code, and avoid placing important design elements over key functional patterns. It is also smart to test customized codes across different devices, camera qualities, and lighting conditions. In branding applications, Level H is often preferred because it creates more tolerance for artistic treatment, but the design still needs to respect the underlying mechanics of how QR scanners interpret the symbol.
Why is Reed-Solomon error correction important in QR code technology?
Reed-Solomon error correction is the mathematical system that makes QR codes resilient rather than fragile. Without it, even minor scratches, printing defects, glare-related read issues, or missing sections could make a code unusable. Reed-Solomon works by adding redundant codewords to the QR symbol so that a scanner can reconstruct missing or corrupted information when part of the code cannot be read accurately. This is what allows a damaged QR code to remain functional even when it is not visually perfect.
Its importance goes far beyond theory. In real use, QR codes encounter all kinds of imperfections: labels wrinkle, ink spreads, corners peel, surfaces curve, cameras shake, and lighting varies. Reed-Solomon correction gives the format the robustness needed for mass adoption across retail, manufacturing, logistics, healthcare, advertising, and consumer mobile experiences. The standard levels L, M, Q, and H are essentially different implementations of how much redundancy is built into the symbol. More redundancy means better recovery potential, but also less room for payload data.
This is why error correction is one of the most significant engineering choices in QR code generation. It determines whether the code is optimized for compactness, capacity, or resilience. It also explains why two QR codes containing similar information can behave very differently once they are printed or deployed. Reed-Solomon is the foundation that enables that flexibility. By understanding how it supports the four correction levels, you gain a much clearer view of why QR code performance depends on more than appearance alone.