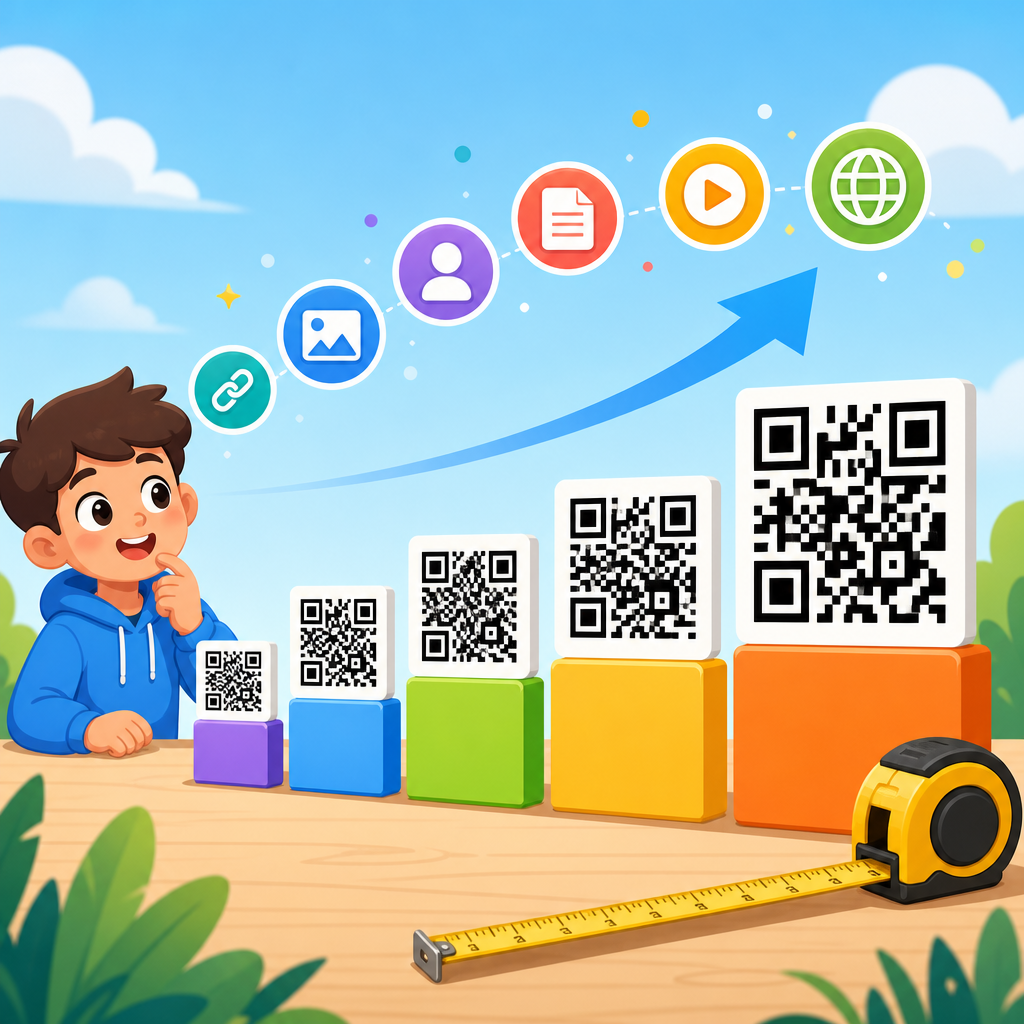
QR codes look simple on the surface, yet one design choice quietly determines how dense, scannable, and flexible they become: error correction. In practical terms, error correction is the mathematical redundancy built into a QR symbol so a scanner can still recover the original data after part of the code is dirty, scratched, covered, distorted, or printed poorly. When teams ask me why one QR code looks compact while another becomes blocky and oversized, the answer is usually the same. The selected error correction level changed how much backup data had to fit inside the symbol.
Understanding how error correction affects QR code size matters for developers, marketers, packaging teams, and print vendors because QR performance depends on a tradeoff. More redundancy improves damage tolerance, but it also increases symbol complexity and often pushes the code into a larger version with more modules. Fewer modules generally mean easier placement and cleaner aesthetics, yet less redundancy leaves less room for logo overlays, abrasion, or low-quality printing. This article explains the relationship in detail, defines the standard error correction levels, and shows how to choose the right balance for real deployment conditions.
What QR Error Correction Levels Mean
QR codes use Reed-Solomon error correction, a well-established method for reconstructing missing or corrupted data by adding extra codewords to the payload. The standard defines four error correction levels: L, M, Q, and H. In broad terms, Level L can recover about 7 percent of damaged codewords, M about 15 percent, Q about 25 percent, and H about 30 percent. Those percentages are commonly cited because they communicate the idea clearly, but they should not be interpreted as a guarantee that a logo can cover exactly that much visible area. Real scannability also depends on where the damage occurs, module contrast, quiet zone integrity, camera quality, perspective distortion, and print sharpness.
The core rule is direct: as error correction level rises, data redundancy rises too. That redundancy consumes capacity. If the same amount of content no longer fits comfortably inside a given QR version, the generator must move to a larger version. In QR terminology, a version is the matrix size, ranging from Version 1 at 21 by 21 modules up to Version 40 at 177 by 177 modules. Each step adds four modules per side. In my own implementation work, this is where many size surprises happen. A short URL at Level L may fit in a small symbol, while the same URL at Level H can force a jump to the next version, making the printed code noticeably larger.
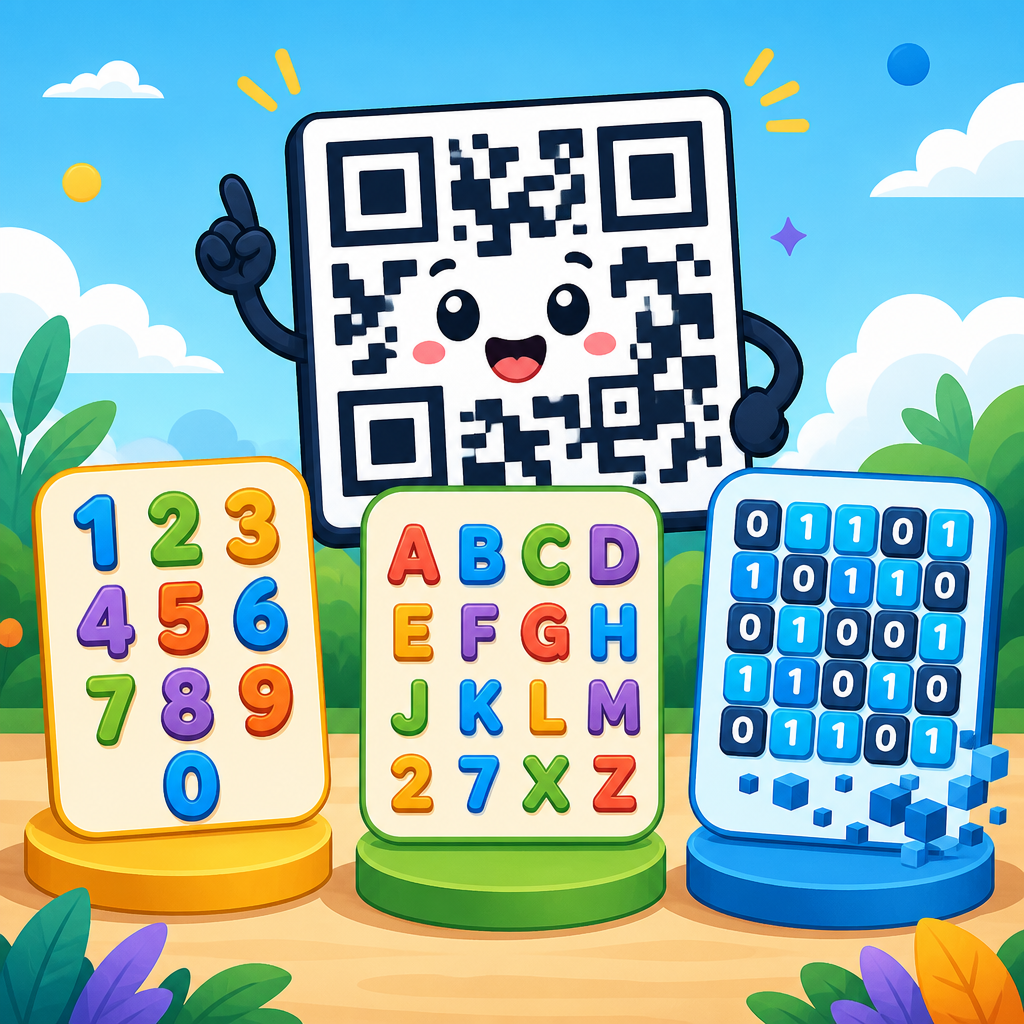
Character mode also influences the effect. Numeric mode is most efficient, alphanumeric is next, then byte mode, and Kanji mode follows its own encoding rules. Because capacity varies by mode, the size penalty of stronger error correction depends on what you are encoding. A ten-digit serial number and a long UTF-8 tracking URL do not experience the same growth curve. This is why serious QR planning starts with exact payload analysis rather than generic assumptions.
Why Higher Error Correction Increases QR Code Size
To understand size growth, think of a QR code as a grid with fixed structural elements and variable payload space. Finder patterns, timing patterns, alignment patterns, format information, and in some versions version information take up known areas. The remaining modules are allocated to data and error correction codewords. When you increase the error correction level, more of those available codewords must be reserved for redundancy. If the current version cannot hold both the payload and the additional parity data, the symbol upgrades to a larger version.
That version jump is what most people perceive as a bigger QR code. The physical printed dimensions may stay the same, but if the matrix contains more modules in the same area, each module becomes smaller and harder to scan. To preserve reliable scanning, printers often enlarge the total physical size so each module maintains adequate dimensions. On packaging lines, menus, posters, and labels, that is where design teams feel the consequence. Stronger error correction rarely stays an abstract technical setting; it affects layout, print real estate, and minimum module size.
There is another nuance. Size does not always increase gradually. Sometimes moving from M to Q makes no visible change because the data still fits within the same version. Then one extra character, a UTM parameter, or a switch to H causes a sudden step up. In testing generators for campaign landing pages, I have seen a URL fit into Version 4 at Level M, remain Version 4 at Q, then jump to Version 5 at H. That single version change can alter readability when the code is reproduced on small product labels or business cards.
Capacity Tradeoffs by Error Correction Level
The table below summarizes the practical tradeoff between resilience and capacity. Exact limits vary by encoding mode and QR version, but the pattern remains constant across compliant generators.
| Error Correction Level | Approximate Recovery Capacity | Capacity Impact | Best Use Cases |
|---|---|---|---|
| L | ~7% | Highest data capacity, smallest symbols for the same payload | Clean indoor use, controlled printing, short-lived campaigns |
| M | ~15% | Moderate capacity reduction | General business use, menus, flyers, standard packaging |
| Q | ~25% | Significant reduction in usable payload space | Codes with light styling, moderate wear, mixed environments |
| H | ~30% | Lowest capacity, often triggers larger versions | Logo overlays, harsh handling, industrial or public-facing surfaces |
For hub-level planning, the most important lesson is that higher error correction does not make a QR code universally better. It makes the code more fault tolerant at the cost of efficiency. If your payload is already near a version boundary, moving upward in error correction can produce a disproportionate size increase. If your payload is tiny, the increase may be negligible. That is why testing actual content is essential.
How Payload Length and Data Type Magnify the Effect
Error correction never operates in isolation. Payload length is the multiplier. The longer the content, the more redundancy the symbol needs at higher levels, and the more likely it is to outgrow a smaller version. This is why raw URLs often create oversized codes. A long destination with campaign parameters, session IDs, or tracking tokens can consume capacity quickly, especially in byte mode. Replacing that URL with a short redirect domain can reduce the required version even before you change error correction.
In production environments, I usually recommend optimizing the payload before lowering resilience. Use a dynamic QR platform or your own short-link service so the encoded string stays compact. Strip unnecessary parameters. Choose the right character set. If the use case permits, numeric identifiers tied to a backend database are much more space-efficient than verbose text. These changes preserve scan reliability while controlling size better than simply dropping from H to L.
Mode selection is equally important for developers. Numeric mode packs data far more efficiently than byte mode. Alphanumeric mode supports a restricted character set but provides better density than arbitrary bytes. Libraries such as ZXing, Nayuki QR Code generator, Segno, and qrcode.js usually handle mode decisions automatically, but developers should still understand the consequence of forcing UTF-8 byte mode unnecessarily. Poor encoding choices can create a larger symbol than the error correction level itself would suggest.
Real-World Examples: Packaging, Menus, Labels, and Branded Codes
Consider a food package printed on flexible film. The QR code may experience curvature, ink spread, abrasion during shipping, and glare under store lighting. Here, Level M or Q often provides a sensible balance. Level L can work when the payload is short and print quality is excellent, but it leaves less tolerance for packaging wear. If the design team also wants a small center logo, Q becomes the safer baseline because the logo removes readable modules and effectively consumes some of the available recovery margin.
Restaurant menus are a different case. Many menu QR codes point to short URLs and are printed relatively large on stable materials such as laminated cards or table tents. Level M is often ideal. It offers more resilience than L without forcing unnecessary growth. During the pandemic, many operators generated H-level codes by default, but that was not always beneficial. In some cases the resulting denser matrix reduced smartphone scan speed under dim lighting because the modules became too fine for the available print size.
Industrial asset labels raise the bar again. A QR code on equipment may face chemicals, scratches, sun exposure, and years of use. Higher error correction is justified, but only if the physical label is sized correctly and printed with durable materials. I have seen teams select H yet print the symbol too small on polyester labels, which erased the theoretical advantage. Error correction cannot compensate for modules that are physically indistinct. Good substrate choice, thermal transfer ribbon quality, contrast, and quiet zone protection still matter.
Branded QR codes create perhaps the most misunderstood scenario. Adding a logo, changing colors, rounding modules, or altering the eye patterns all consume scan margin. Designers often treat H as permission to stylize aggressively. In reality, every visual modification should be tested across iPhone and Android devices, multiple camera apps, and different lighting conditions. Higher redundancy helps, but it is not a license to break core structure. Strong branding succeeds when payload, version, contrast, and error correction are planned together.
Choosing the Right Error Correction Level
The best choice starts with environment, not preference. Ask four questions. How long is the payload? How rough is the scanning environment? Will the code include branding or partial obstruction? What is the minimum printable size? If the payload is short and conditions are controlled, M is usually the best default. It is the most broadly useful setting because it balances size and resilience without overcommitting either way. That is why many production systems use it as a starting point.
Choose L when space is severely constrained and the code will remain clean, flat, and high contrast. Choose Q when moderate styling, wear, or outdoor variability is expected. Choose H when physical damage or logo treatment is likely and you can afford the larger symbol. For mission-critical scans, do not rely on theory alone. Print prototypes at final size, test them with common devices, and include edge cases such as low light, glare, and angled scans.
Standards-based verification helps. ISO/IEC 18004 defines the QR Code symbology, while print quality grading is commonly assessed with ISO/IEC 15415 for two-dimensional symbols. Dedicated verifiers from vendors such as Cognex, Zebra, and REA measure parameters including symbol contrast, modulation, axial nonuniformity, and unused error correction. Those measurements reveal whether a code that appears acceptable to the eye has enough real scanning margin for field use.
Best Practices for Keeping QR Codes Small Without Losing Reliability
If you need a smaller QR code, first shorten the payload, then review the error correction level, then reconsider styling. That sequence produces the best results. Use a short domain or dynamic redirect. Remove redundant tracking parameters. Encode IDs instead of full text where possible. Keep the quiet zone at four modules minimum, because violating the border can destroy readability even when error correction is high. Maintain dark foreground on a light background, and avoid glossy placements that create reflections.
Also remember that physical size and matrix size are different variables. A Version 6 code printed at 24 millimeters may scan worse than a Version 8 code printed at 32 millimeters, even if the larger version uses stronger error correction. What matters is module clarity in the real world. In my experience, teams get better results by specifying minimum module dimensions for each print process than by debating error correction in isolation.
For anyone building under the broader QR Code Technology and Development topic, error correction is the central lever that connects capacity, durability, branding, and deployment cost. Master it, and you can predict why a code grows, when that growth is worth it, and how to keep symbols efficient without sacrificing performance. Start with Level M, optimize the payload, test at final size, and raise the level only when the environment or design truly demands it. That approach produces QR codes that are smaller, more reliable, and easier to deploy at scale.
Frequently Asked Questions
What does error correction mean in a QR code, and why does it affect size?
Error correction is the built-in redundancy that allows a QR code to remain readable even if part of it is damaged, obscured, smudged, warped, or printed imperfectly. Instead of storing only the raw data, a QR code also stores extra recovery information using mathematical error-correction methods. That backup information helps scanners reconstruct the original content when some modules, or small square dots, cannot be read correctly.
This matters for size because the QR code has a limited data capacity at each version. When you increase error correction, you devote more of the symbol’s capacity to redundancy and less to the actual payload, such as a URL, text string, or tracking parameters. If the same amount of content no longer fits comfortably, the QR code must move up to a larger version with more modules. That is why two codes containing similar information can look very different in density and overall dimensions. One may remain compact at a low correction level, while another becomes visibly larger because it includes more recovery data.
In simple terms, stronger error correction improves resilience, but resilience is not free. It consumes space. The practical result is a direct tradeoff between durability and compactness, and that tradeoff is one of the main reasons QR code size changes from one implementation to another.
Which error correction levels are available in QR codes, and how do they influence code density?
Standard QR codes use four common error correction levels: L, M, Q, and H. Level L provides the least redundancy and therefore allows the most room for actual data. Level M adds more protection, Q adds even more, and H provides the highest redundancy. As you move upward through those levels, the QR code gains more tolerance for damage or interference, but it also becomes denser or larger because more space is allocated to recovery data.
That increase in protection often shows up visually. If all other factors stay the same, a code generated at level H may require a larger symbol version than the same content generated at level L or M. If the symbol version does not increase, the data may be packed more tightly into available space, making the code appear busier and potentially harder to reproduce cleanly at small print sizes. Density is not just a cosmetic issue. Denser codes require more careful printing, stronger contrast, and adequate quiet zones around the symbol to scan reliably.
For most business uses, the right level depends on how and where the code will be used. A code on a clean digital screen may not need aggressive protection, while a code on outdoor signage, product packaging, labels, menus, or industrial surfaces may benefit from a higher level. The key point is that higher correction levels improve fault tolerance, but they do so by increasing the space the QR code needs.
Why do some QR codes become blocky or oversized even when they only link to a website?
A website link may look short to a human reader, but QR code size depends on the exact amount of encoded data, not just the fact that it is “only a URL.” Long URLs, added campaign parameters, uppercase and lowercase variation, redirects, and extra path elements all increase the number of characters the code must store. Once you combine that larger payload with a higher error correction level, the QR code can quickly jump to a larger version and appear blockier than expected.
Design choices also contribute. If a team wants to place a logo in the center, use a stylized shape, print on textured material, or apply the code in a setting where glare, dirt, folds, or wear are likely, they often raise the error correction level to preserve scan reliability. That is a sensible choice, but it adds redundancy, which increases the symbol’s size or density. In other words, the code is not oversized by accident. It is often compensating for either more data, more visual customization, more environmental risk, or all three.
Another overlooked factor is the difference between static and dynamic QR codes. A static QR code may store the full destination URL directly, including every parameter. A dynamic QR code usually stores a shorter redirect URL instead, which can significantly reduce the amount of encoded data. When people compare two website QR codes and wonder why one is much larger, the answer often comes down to the total character count combined with the selected error correction level.
How can you choose the right error correction level without making a QR code unnecessarily large?
The best approach is to match the correction level to real-world conditions rather than automatically choosing the highest setting. Start by asking where the code will appear, how large it can be printed, how far away it will be scanned from, and whether it is likely to suffer from damage, glare, wrinkles, low-quality printing, or partial obstruction. A QR code on a shipping carton or outdoor poster faces very different risks than one shown inside a mobile app or on a clean product insert.
If the environment is controlled and the code will be printed or displayed clearly, a moderate level such as M is often a practical balance between resilience and efficiency. If the code is likely to be exposed to wear or if it will include design elements that interfere with the pattern, Q or H may be justified. The important point is to avoid treating high error correction as universally better. If it forces the code to become too dense for the available print area, scan performance can actually suffer because the modules become too small or crowded to reproduce accurately.
It also helps to reduce the payload before increasing redundancy. Shorten URLs where possible, remove unnecessary parameters, and consider using a dynamic QR code if flexibility and analytics are needed. Then test the output on the actual surface, at the actual size, under realistic lighting and scanning conditions. In practice, good QR code performance comes from balancing data length, error correction, print quality, contrast, and size together rather than maximizing only one variable.
Does higher error correction always make a QR code easier to scan?
No. Higher error correction improves a QR code’s ability to survive partial damage or obstruction, but it does not guarantee better scanning in every situation. In fact, if increasing the correction level makes the code too dense for its print size, the modules can become so small that scanners struggle to distinguish them cleanly. That problem is especially common on small labels, business cards, packaging with limited space, or low-resolution print jobs.
Scan reliability depends on several factors working together. Error correction is only one of them. A code also needs sufficient physical size, strong contrast between dark and light areas, a clear quiet zone around the symbol, accurate printing, and sensible design treatment. If any of those fundamentals are compromised, simply raising the correction level may not help and can sometimes make matters worse by increasing complexity inside the symbol.
The most reliable QR code is not the one with the maximum possible redundancy. It is the one that fits the use case. For example, a clean, high-contrast code with moderate error correction and a short payload may outperform a tiny, highly redundant code crammed into a small area. That is why experienced teams evaluate error correction as part of a full scanning strategy rather than as a standalone setting. The goal is dependable readability, and that comes from balance, not excess.