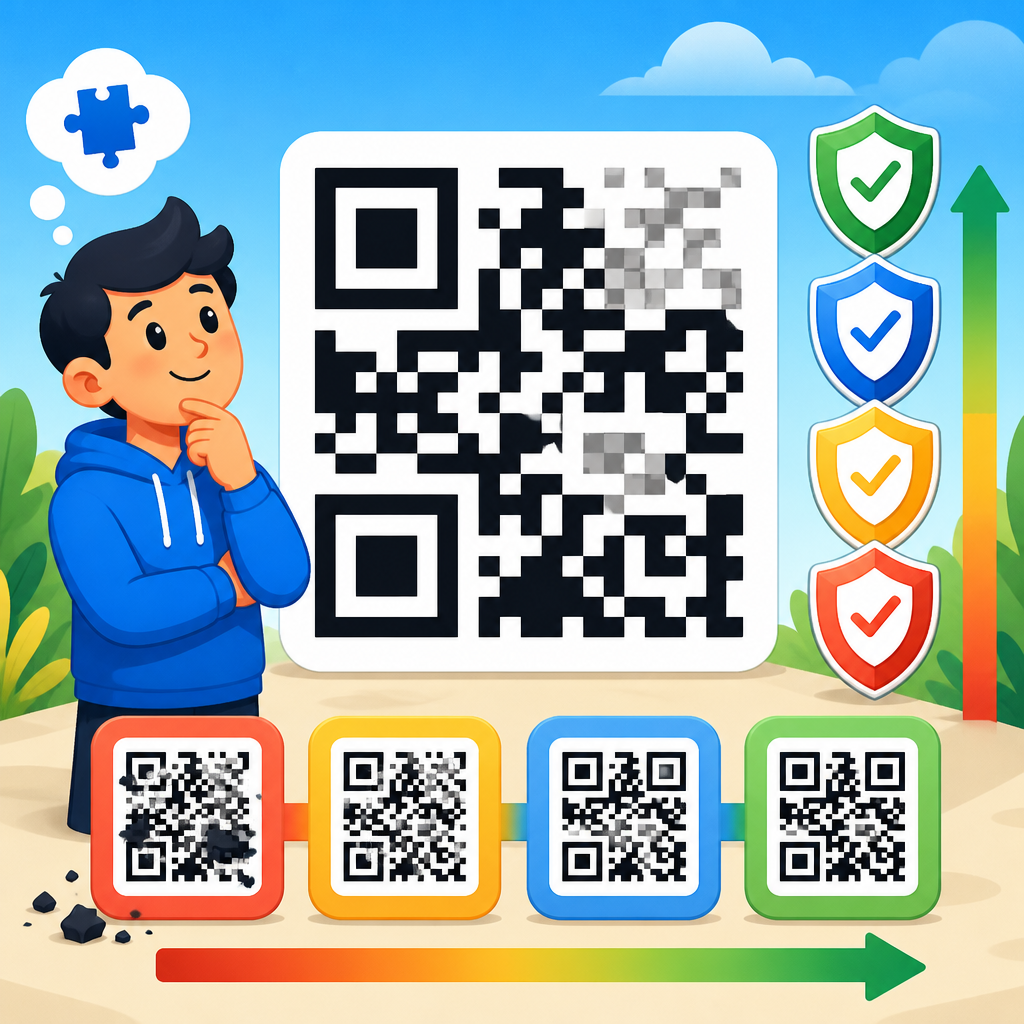
Choosing the right error correction level for QR codes affects scan reliability, print flexibility, branding options, and overall project cost more than most teams expect. In QR code technology, error correction is the built-in ability of a symbol to remain readable even when part of it is damaged, obscured, distorted, or poorly printed. QR codes use Reed-Solomon error correction, a mathematical method that adds redundant data so scanners can reconstruct missing information. The four standard levels are L, M, Q, and H, typically described as restoring about 7 percent, 15 percent, 25 percent, and 30 percent of damaged codewords respectively. Those percentages are useful shorthand, but they do not mean any random 30 percent of a code can disappear and still scan perfectly.
This topic matters because error correction level influences nearly every practical QR code decision: how dense the modules become, how small the code can print, whether a center logo is realistic, how forgiving the code will be on curved packaging, and how reliably low-end smartphone cameras will read it in poor light. I have seen campaigns fail because a beautifully branded code used H correction without increasing physical size, producing modules too small for the intended print process. I have also seen industrial labels overengineered with H when M would have scanned faster and allowed larger quiet zones. For teams working across packaging, marketing, ticketing, operations, and product development, understanding error correction levels is not optional. It is the foundation for choosing a QR code that survives real-world use.
What QR Code Error Correction Levels Actually Mean
Error correction levels define how much redundant information is embedded in a QR code to help scanners recover data when modules are unreadable. The four levels are standardized in ISO/IEC 18004, the core specification for QR Code symbology. Level L provides the least redundancy and the highest raw data capacity. Level H provides the most redundancy and the lowest capacity. In practical terms, moving from L to H makes the symbol more resilient, but also denser if the encoded content stays the same.
The key nuance is that error correction is applied to codewords, not simply visible black squares. Recovery depends on the location and pattern of damage, mask pattern, symbol version, print quality, contrast, and the scanner’s decoding software. A scratch through a finder pattern may cause failure even if the total damaged area is small, while a logo placed carefully in the center may scan despite covering more visual area than the nominal percentage suggests. That is why published percentages should guide decisions, not replace testing.
For a quick rule of thumb, L is best when maximizing data capacity and the code will be printed clearly in controlled conditions. M is the common default for general-purpose uses because it balances resilience and size. Q is appropriate when the code may face moderate wear, slight distortion, or partial visual obstruction. H is chosen when durability or branding demands are high, such as product packaging with center logos, outdoor displays, or labels likely to scuff during handling.
How Error Correction Changes QR Code Size, Density, and Scan Performance
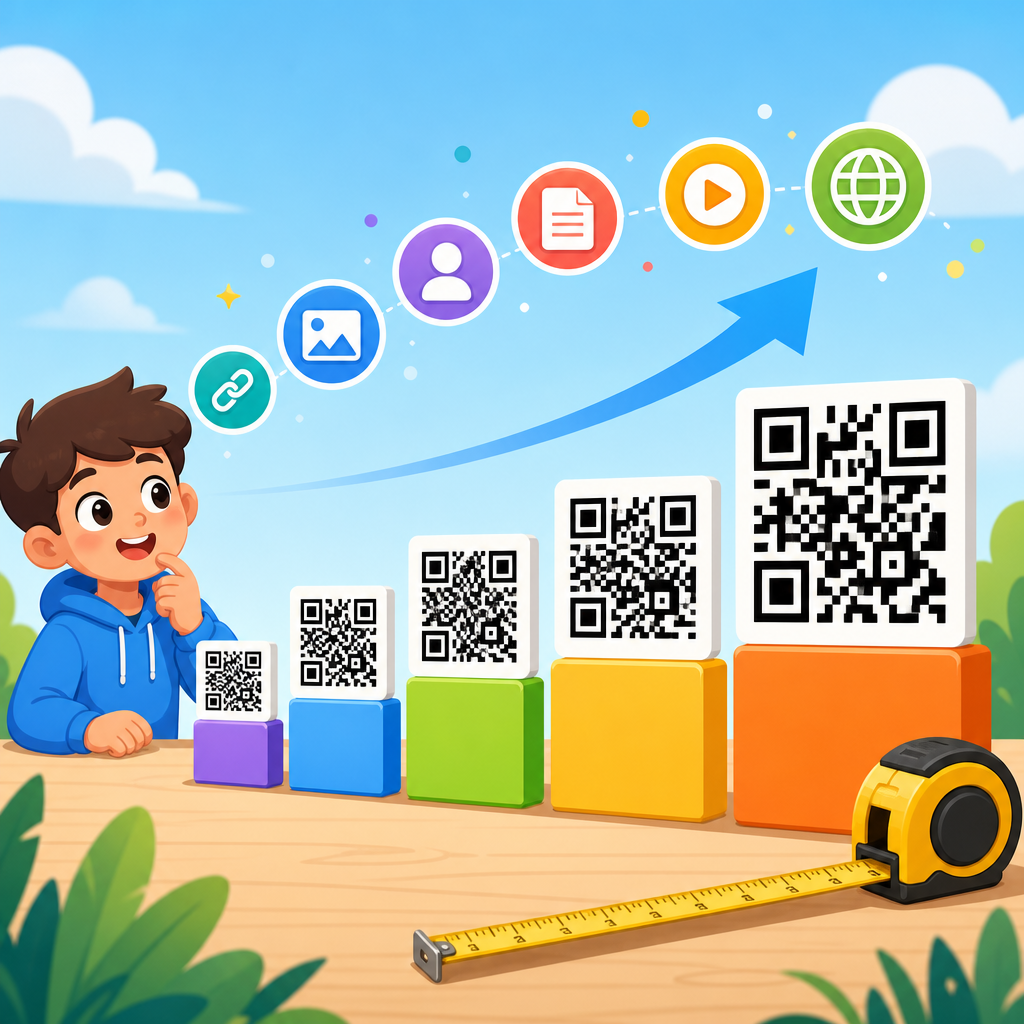
Every QR code is built from modules arranged in a square grid. As error correction increases, more modules are allocated to recovery data. If the encoded content remains the same, the generator may need a higher symbol version to fit everything. That means a larger grid, smaller modules at the same print size, or a physically bigger code to preserve readability. This tradeoff is where many implementations go wrong.
Suppose you are encoding a short URL. At level M, the code may fit into a lower version and print clearly at 20 millimeters square on a carton. Raise the same content to H and the generator may increase the version. If the physical dimensions stay fixed, each module shrinks. On offset print or thermal transfer labels, reduced module size can introduce dot gain, edge ragging, or fill-in. The result is a code that is theoretically more fault tolerant but practically harder to scan because the print process cannot resolve the finer structure cleanly.
Scan performance also depends on distance and camera quality. A dense code with tiny modules may scan well at close range on a recent flagship phone but fail on older devices, warehouse scanners, or customer phones under glare. In field testing, I prioritize module size and contrast before simply selecting the highest correction level. Larger, cleaner modules usually outperform denser symbols with maximum redundancy when environmental conditions are mixed.
| Error Correction Level | Typical Recovery Capacity | Best Fit | Main Tradeoff |
|---|---|---|---|
| L | About 7% | Clean printing, short-lived materials, maximum data capacity | Least tolerant of damage and obstruction |
| M | About 15% | General marketing, packaging, everyday operational use | Moderate capacity reduction versus L |
| Q | About 25% | Moderate wear, curved surfaces, some design interference | Higher density and larger required print area |
| H | About 30% | Logos, harsh handling, outdoor or long-life applications | Lowest capacity and greatest density |
When to Use Level L or M
Level L is appropriate when environmental risk is low and symbol efficiency matters most. Good examples include boarding pass PDFs displayed on high-resolution screens, instruction manuals printed on coated paper, or internal process labels scanned in controlled indoor settings. If the content is long, such as vCard data or equipment metadata, L can keep the version manageable. The mistake is assuming low correction equals poor quality. In many controlled cases, L scans extremely well because the code remains simpler and less dense.
Level M is the practical baseline for most business uses. If a team asks me for a default setting without specialized constraints, I usually start at M. It provides meaningful recovery without driving density up too quickly. Retail shelf talkers, restaurant table tents, direct mail inserts, software onboarding cards, and standard product packaging often perform best at M, especially when the encoded content is a short dynamic URL.
A common scenario is a marketing team wanting a code on a flyer that may be folded, handled, and photographed under mixed indoor lighting. M is usually sufficient if the quiet zone is preserved, the contrast is high, and the code is not downsized excessively. For digital-only use, such as presentation slides or app screens, M also remains a strong choice because display defects are uncommon and data density should stay moderate for rapid camera acquisition.
When to Use Level Q or H
Level Q becomes valuable when some damage or distortion is expected but maximum resilience is not necessary. I use Q for flexible pouches, bottle neck tags, cosmetic packaging with varnish effects near the code, and signs that may accumulate light wear. It is also helpful when the code sits on a curved surface, because perspective distortion and specular highlights effectively reduce usable symbol area. Q gives the scanner more room to recover without imposing the extreme capacity penalty of H.
Level H is the right choice when the code must tolerate substantial interference or deliberate design modification. Center logos are the clearest example. Many branded QR codes depend on H because the logo obscures modules in the least disruptive area of the symbol. H is also common on industrial labels exposed to abrasion, chemical splashes, or long service lives. Outdoor placards, event badges worn all day, and returnable transit packaging can justify H if testing confirms the final printed size remains scanner friendly.
However, H should not be used reflexively. If a code already struggles because it is too small, changing from M to H without enlarging the print area often worsens results. High correction is not a substitute for good engineering. You still need sufficient module size, a four-module quiet zone, strong luminance contrast, and print process control. The best H implementation is one where the physical symbol is enlarged enough that the added redundancy improves resilience without compromising module clarity.
Design, Logos, and Print Production Considerations
Error correction level is central to QR code design because visual customization always consumes scanning margin. A logo in the center, rounded modules, nonblack colors, gradients, embossing, foil, or patterned backgrounds all increase decoding difficulty. Designers often focus on whether a code scans once in a studio, while production teams care whether ten thousand copies scan after trimming, varnishing, shipping, and customer handling. The correction level must be chosen with that production reality in mind.
If branding is the goal, start by minimizing encoded content. Use a short dynamic URL from a trusted QR code platform rather than a long static link with tracking parameters. That alone can reduce symbol version and create headroom for Q or H correction. Then preserve functional essentials: finder patterns should remain high contrast, the quiet zone should stay clear, and decorative elements should not interfere with timing patterns or alignment patterns. In packaging workflows, I also recommend printed proofs under final substrate and finishing conditions, not just digital previews.
Print method matters. Inkjet can bleed on porous materials, thermal printing can soften edges at small sizes, flexographic plates can distort module geometry, and screen glare can lower perceived contrast on glossy laminates. On corrugate, even H may not save a code with crushed flute texture and inadequate size. On stainless asset tags, laser-etched marks may require larger modules because reflectivity changes how scanners segment the image. Error correction helps, but manufacturing constraints set the real boundary.
How to Choose the Right Error Correction Level in Practice
The best selection process begins with use conditions, not aesthetics. Ask five questions. First, where will the code appear: screen, label, carton, flexible packaging, sign, or metal part? Second, what damage or obstruction is likely during its life? Third, how much data must it hold, and can that content be shortened? Fourth, what scan devices will users have? Fifth, what is the minimum physical size available after respecting a quiet zone? Those answers usually narrow the correct level quickly.
For most hub-and-spoke QR programs, my decision path is simple. Use M for standard short-URL use cases. Move to Q when surface distortion, moderate wear, or mild design treatment is expected. Move to H only when heavy wear or logo integration genuinely demands it and the code can be printed larger. Drop to L when content length is high and the environment is tightly controlled. Then validate with structured testing: multiple phones, different distances, low light, slight tilt, and samples from the actual production run.
The main benefit of choosing the right error correction level is reliability without unnecessary symbol bloat. Teams that match L, M, Q, or H to real-world conditions get faster scans, cleaner designs, better print outcomes, and fewer failures in the field. As you build out a broader QR code technology strategy, treat error correction as a design variable that connects data, materials, devices, and user behavior. Start with environment and content, test before launch, and standardize your selection criteria across projects. That disciplined approach produces QR codes that work consistently, not just attractively.
Frequently Asked Questions
What are the four QR code error correction levels, and how do they differ?
QR codes use four standard error correction levels: L, M, Q, and H. These levels determine how much damage, obstruction, or distortion a code can tolerate while still remaining scannable. Level L provides the least redundancy and can typically recover data when about 7% of the code is compromised. Level M increases that protection to roughly 15%, Level Q to about 25%, and Level H to about 30%. In practical terms, the higher the level, the more backup data is built into the symbol so a scanner has a better chance of reconstructing the missing information.
That added protection comes with tradeoffs. As error correction increases, the QR code usually becomes denser because more of its total capacity is devoted to redundancy instead of the actual payload. A denser code may require a larger print size, more precise printing, or shorter encoded content to scan reliably. This is why choosing a level is not simply about selecting the “strongest” option. It is about balancing resilience against size, data capacity, print conditions, and how the code will be used in the real world.
How do I choose the right error correction level for my QR code project?
The right choice depends on where the QR code will appear, how much content it needs to store, and what kinds of wear or modification it may experience. For clean digital displays, controlled packaging runs, or environments where the code is unlikely to be damaged, Level L or M is often sufficient. These levels keep the pattern simpler and can improve scanning when space is limited. They are commonly used when the priority is compact size, lower visual density, and efficient encoding of longer URLs or other data.
If the code will be printed on materials exposed to scratches, folds, weather, dirt, or frequent handling, Level Q or H often makes more sense. These higher levels are also useful when part of the code may be covered by design elements, such as a logo placed in the center. A good rule is to start with the actual use case rather than defaulting to the highest setting. Consider viewing distance, print quality, expected damage, available space, and whether branding will obscure any modules. Then test the code under realistic conditions with multiple phone models and scanning apps before finalizing production.
Does higher error correction always make a QR code better?
No. Higher error correction improves fault tolerance, but it does not automatically improve overall performance. In many cases, raising the level creates a denser symbol with smaller individual modules, and that can make scanning harder if the code is printed too small, reproduced on low-quality materials, or viewed in poor lighting. A highly protected code that is too compact or visually crowded may perform worse than a simpler code with a lower correction level and a cleaner layout.
This is why “better” should be defined by the actual application. If a QR code is displayed on a website, app screen, or indoor sign with minimal risk of damage, a moderate level may deliver the best result. If the code is placed on machinery, product labels, event badges, or outdoor surfaces, the extra redundancy of Q or H may be worth the added complexity. The strongest strategy is not to maximize the setting blindly, but to optimize the code for real scanning conditions, available space, and production constraints.
How does error correction affect QR code branding, logo placement, and design customization?
Error correction plays a major role in branded QR code design because it determines how much visual alteration the symbol can tolerate. When a logo is added to the center of a QR code, or when colors, shapes, and decorative styles are introduced, some of the code’s readability margin is reduced. Higher error correction levels, especially Q and H, give designers more room to work because the scanner can recover from a certain amount of missing or obscured data. This is one reason branded QR codes often use stronger correction settings.
However, higher correction is not a free pass for aggressive customization. A code can still fail if the logo is too large, contrast is too low, the quiet zone is reduced, or the modules are stylized so heavily that scanners cannot interpret them consistently. Effective branded QR design relies on both sufficient error correction and disciplined design choices. Maintain strong contrast, preserve finder patterns, keep the quiet zone clear, and test every variation across real devices. The safest approach is to treat error correction as a support mechanism for branding, not as a substitute for sound QR code design.
What are the cost and production implications of selecting the wrong error correction level?
Choosing the wrong level can affect much more than scanning reliability. If the level is too low, codes may fail in the field after minor damage, printing inconsistencies, or normal wear, leading to lost engagement, customer frustration, reprints, and campaign underperformance. A code on packaging, signage, direct mail, or industrial labels that becomes unreadable too easily can create hidden costs that far exceed the small effort required to choose and test the correct setting upfront.
If the level is too high, the QR code may need more physical space or a shorter data payload to remain practical. That can complicate packaging layouts, force design changes, increase print precision requirements, and in some cases lead to larger labels or signage. Overly dense codes may also create quality-control issues in high-volume printing environments. In other words, underestimating error correction creates risk, while overestimating it can create avoidable production and design costs. The most cost-effective decision usually comes from matching the level to the environment, the content length, and the visual treatment, then validating the result through testing before launch.