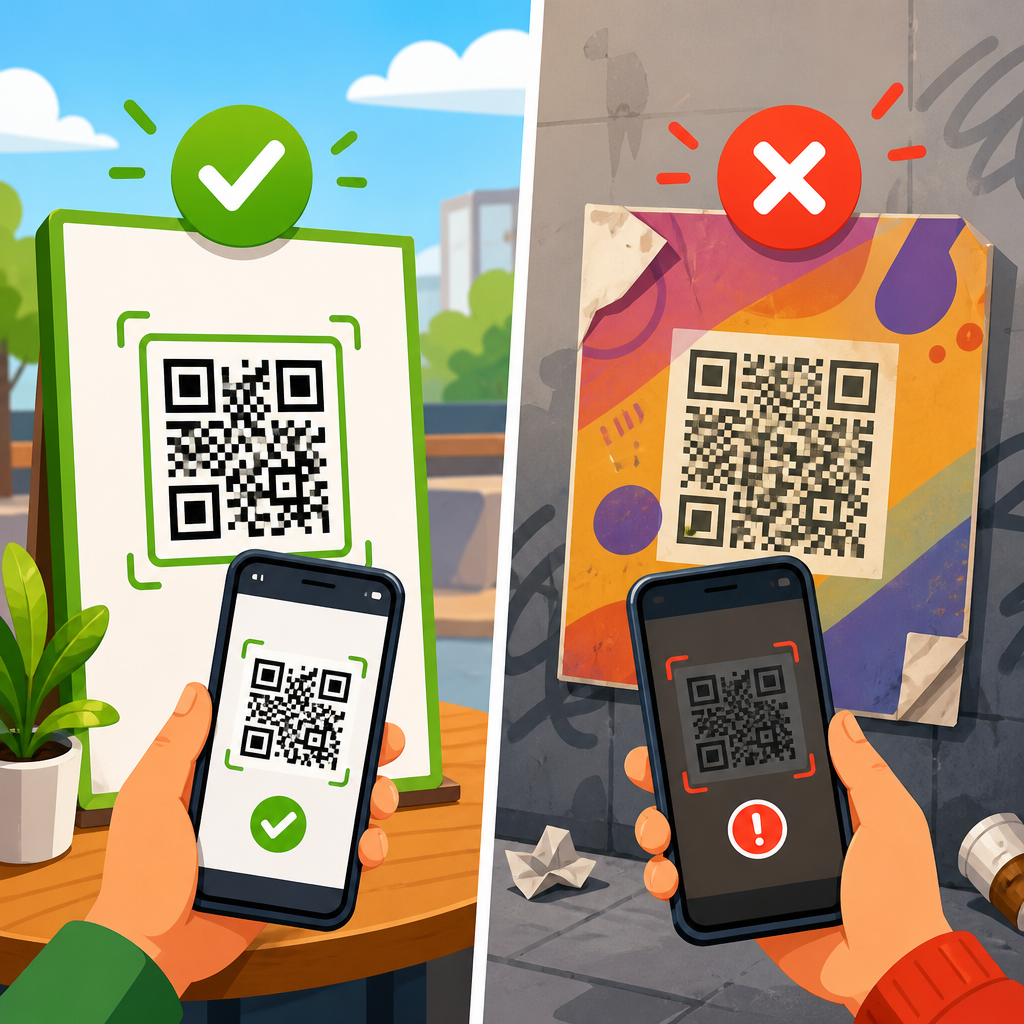
Low resolution can turn a perfectly generated QR code into a printing failure, which is why understanding image quality is essential for anyone producing labels, packaging, posters, menus, tickets, or direct mail. In QR code printing, resolution describes how much visual detail is available in the file before it is placed on paper or another surface. If that detail is too low, the square modules that store data blur together, edges soften, contrast drops, and scanners struggle to separate one cell from the next. I have seen this happen in production runs that looked acceptable on screen yet failed the moment they came off a thermal printer or offset press. The cost is rarely limited to aesthetics. A damaged print can break payments, interrupt sign-ins, reduce campaign response rates, and create support issues that are expensive to trace after distribution. This article explains how low resolution affects QR code printing, why the problem appears across common print methods, and what teams should check before approving a file. It also serves as a practical hub for printing mistakes within broader QR code troubleshooting, connecting file preparation, sizing, contrast, materials, and scan testing into one clear framework.
What low resolution does to a printed QR code
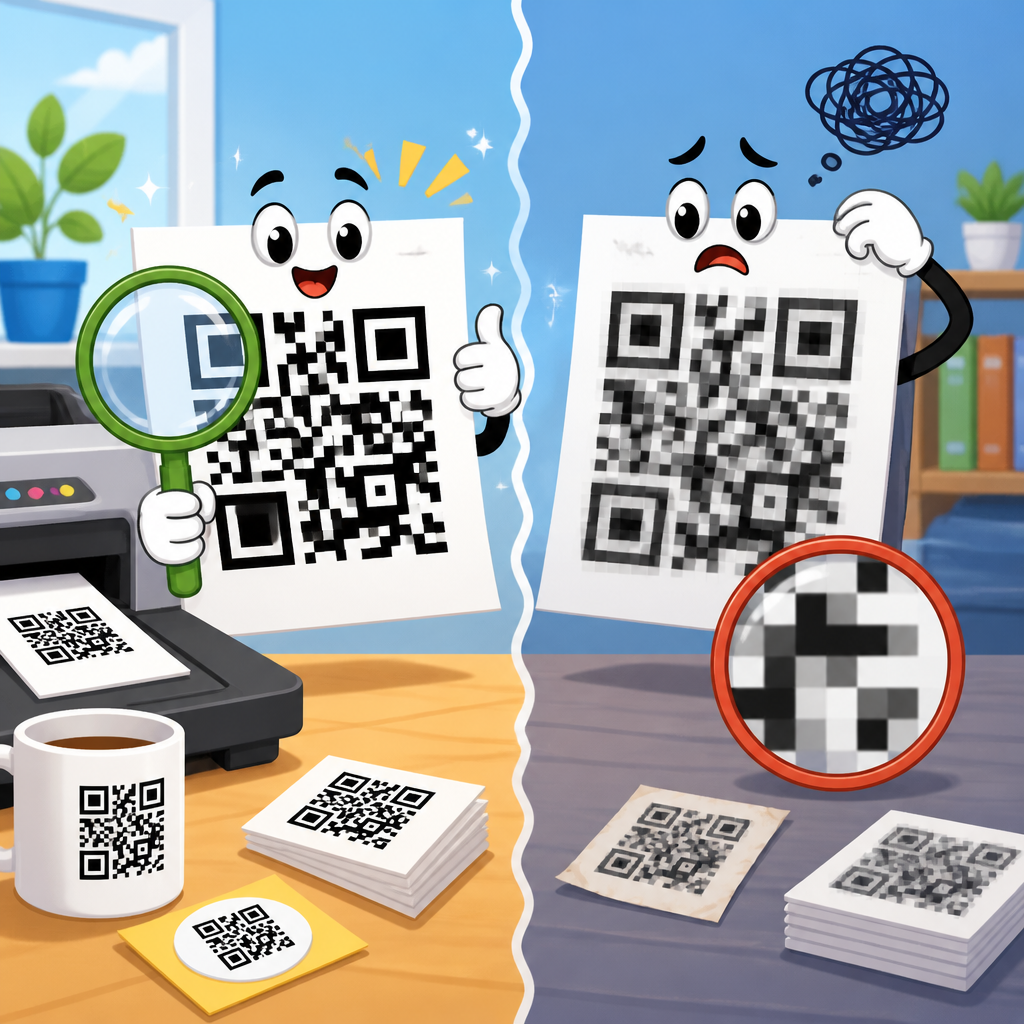
A QR code works because a camera can detect a grid of dark and light modules, find the position markers, correct perspective, and decode the stored data. Low resolution interferes with that process at the earliest stage: the camera cannot see a clean grid. Instead of crisp module boundaries, the print shows jagged edges, anti-aliased grays, or ink spread that fills narrow gaps. In practical terms, a code that should have distinct squares starts to look muddy. The smaller the printed code, the more severe the effect, because each module is already tiny and has less tolerance for blur.
The key concept is pixels per module. A QR code is not just an image; it is a matrix where every module matters. When I prepare artwork for print, I treat each module as a hard-edged shape, not as a photo element that can be softened or resampled. If the source image is too small and then enlarged in a layout program, the software invents intermediate pixels. That interpolation may look smoother to the eye, but it weakens scanner readability. A common failure example is a 200 pixel QR code placed on a flyer at 2.5 inches wide. Depending on the QR version, each module may be represented by only a few pixels, which is rarely enough for reliable print reproduction.
Low resolution also amplifies other weaknesses. If the code has low contrast, sits on textured stock, or is printed with slight misregistration, poor source quality leaves no margin for error. Error correction can help recover from physical damage or small defects, but it is not a substitute for print-ready artwork. In production, resolution problems often appear together with excessive styling, quiet zone violations, and low-grade output devices.
How printers translate image files into scan success or failure
Different printers reproduce detail in different ways, but all of them expose low-resolution source files. Office inkjet printers can feather ink into paper fibers. Laser printers may hold edges better, yet toner spread can still reduce fine separation in small modules. Thermal printers, especially direct thermal units used for shipping labels and wristbands, are limited by printhead density such as 203, 300, or 600 dots per inch. Offset and flexographic presses add their own variables, including plate quality, dot gain, substrate absorption, and registration. In every case, a weak raster file gives the device less structure to work with.
This is why vector artwork is the preferred starting point for printed QR codes. A vector PDF, SVG, or EPS preserves hard geometry at any output size, so the RIP or print driver can render the modules cleanly at the device’s native resolution. By contrast, a low-resolution PNG or JPEG has already baked in its limitations. JPEG is particularly risky because compression introduces artifacts around edges, exactly where QR symbols need precision. I have debugged failed retail shelf talkers where the only issue was that the final artwork exported the code as a compressed JPEG inside a larger layout.
Print workflows can also degrade files after they leave the designer. A marketing team may paste a high-quality code into presentation software, export to a low-resolution PDF, then send it to a local printer. An e-commerce staff member may upload a sharp label image to a marketplace platform that automatically compresses assets. A restaurant may screenshot a QR code from a web preview and print it from a phone. In each case, the original code was valid, but downstream handling reduced usable detail before ink ever hit the page.
Resolution standards, minimum sizing, and practical benchmarks
There is no single universal number that guarantees every QR code will scan in every context, because data density, viewing distance, surface, and print method all matter. Still, reliable benchmarks exist. For conventional commercial print, 300 DPI at final size is a baseline minimum for raster artwork, while 600 DPI is safer for small codes or demanding substrates. For thermal printing, match the code size to the printhead capability and avoid designs that create modules smaller than the device can render consistently. If the content encoded is long, the QR version increases, module count rises, and each module becomes smaller at the same physical size. That is why shortening URLs often improves print reliability more than simply enlarging the image slightly.
A practical rule I use is to start with intended scan distance and then work backward to module size. Many practitioners apply a 10 to 1 relationship, meaning the scanning distance should be about ten times the code width. A code viewed from 20 inches away should be around 2 inches wide. That rule is helpful, but it does not replace print math. A dense code printed at 1 inch wide may still fail if its individual modules are too small for the press and the camera. The quiet zone matters too: ISO/IEC 18004 recommends a margin of four modules around the symbol, and trimming into that space is one of the most common print mistakes.
| Print scenario | Recommended file approach | Common low-resolution failure | Practical fix |
|---|---|---|---|
| Business cards | Vector PDF or SVG; keep code at least 0.8 to 1 inch wide | Modules merge after downscaling a web PNG | Use a shorter URL and export the code as vector artwork |
| Posters and signage | Vector artwork sized for final output | Designer enlarges a small raster image, causing soft edges | Regenerate the code in vector format and test from actual viewing distance |
| Shipping labels | Native label printer output matched to printhead DPI | 203 DPI printer cannot hold tiny dense modules | Increase physical size or reduce encoded data length |
| Packaging and flexo print | Press-ready vector file with strong contrast | Dot gain fills narrow white gaps | Increase module size and verify on production substrate |
Common printing mistakes that make low resolution worse
Resolution problems rarely arrive alone. The first companion issue is resizing in the wrong direction. Shrinking an oversized code is usually safe if the source is vector, but enlarging a small raster file is one of the fastest ways to create scan failures. The second issue is exporting through the wrong software. Presentation apps, messaging tools, and basic office programs often downsample images. The third is poor contrast. Dark gray on light gray may be stylish, yet scanners need clear luminance separation, especially when source detail is already compromised.
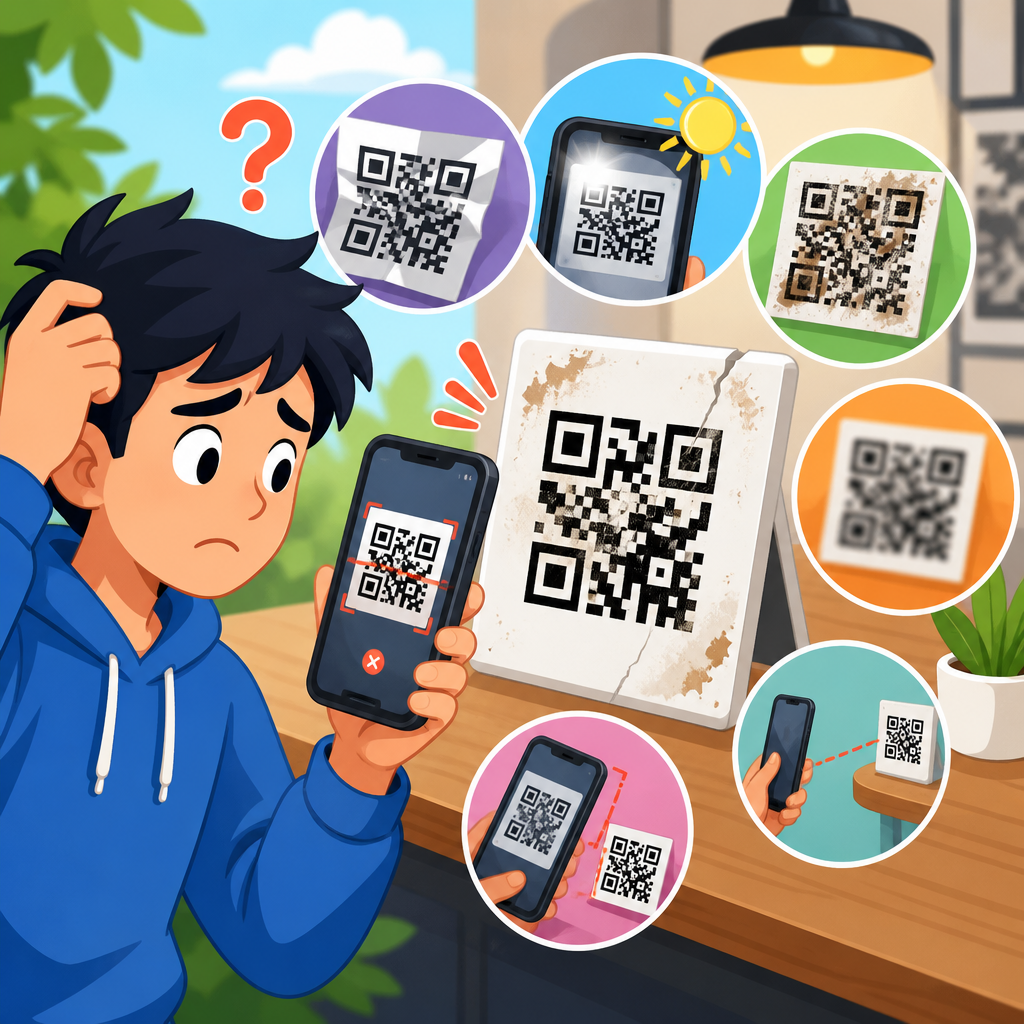
Another frequent problem is printing on textured, glossy, transparent, or reflective materials without adjusting the code. Textured paper breaks clean edges. Gloss produces glare hotspots that hide modules from smartphone cameras. Clear labels placed over dark containers can reduce contrast or create show-through. Curved surfaces distort module geometry, and low resolution leaves less tolerance for that distortion. I have also seen overdesigned codes fail because logos covered too much central area and decorative corners replaced the standard finder pattern shapes. High error correction does not rescue every branding decision.
Production settings matter as well. Excessive ink density can thicken dark areas until modules close up. Poor registration in multi-color jobs can create halos. Automatic sharpening can introduce ringing. Compression inside print portals can soften line art. Even the final trim matters; cutting into the quiet zone can make an otherwise sharp code unreadable. For teams managing recurring campaigns, these failures justify a standard preflight checklist: verify format, physical size, contrast, quiet zone, substrate, printer capability, and live scan tests from multiple devices.
How to diagnose whether low resolution is the real issue
When a QR code does not scan after printing, teams often assume the destination link is broken or the generator was faulty. In practice, print quality is a common root cause, and it can be isolated systematically. First, scan the original digital file on screen. If the digital version works instantly, the encoded data is probably fine. Next, inspect the printed piece at high magnification or with a phone camera zoom. Look for fuzzy edges, gray pixels, merged corners, filled white gaps, or visible JPEG blocks. These visual clues usually confirm that the artwork or output process reduced definition.
Then compare the printed size to the data density. A short dynamic URL may scan in a compact symbol, while a long static URL with tracking parameters creates a much denser matrix that needs more physical space. Testing with multiple phones is important because camera quality, autofocus behavior, and decoding software vary. Apple and Android devices generally read standard codes well, but older hardware exposes marginal prints quickly. I also recommend testing under realistic lighting. A code that scans under office light may fail in a dim restaurant, a warehouse aisle, or direct sun through glass.
If you suspect the printer, print the same code from a vector file and a raster file at the same size, then compare results. That single A/B test reveals a lot. If both fail, the issue may be size, contrast, substrate, or device limitations. If only the raster version fails, resolution is the likely culprit. For operational teams, verification tools such as ZXing-based scanners, native phone cameras, and print inspection loupes provide enough evidence to make a confident decision before reprinting a full run.
Best practices for preventing QR code printing failures
The most effective prevention strategy is simple: generate the QR code as vector artwork, keep the encoded content concise, and test the final printed piece at actual size on the actual material. In day-to-day production, that means using reputable QR platforms that export SVG, EPS, or print-ready PDF files; preserving the quiet zone; avoiding screenshots; and storing a master asset rather than copying from prior layouts. Dynamic QR codes are often useful because they can point to a short redirect URL, reducing symbol complexity while allowing destination changes later.
Design discipline matters as much as technical setup. Use black on white when possible, because it offers the highest practical contrast. If branding requires color, maintain strong luminance contrast and avoid metallic inks for critical areas. Keep logos small and centered only if the code has adequate error correction and has been tested in print. For labels and packaging, request a press proof or at least a production simulation on the real substrate. For thermal applications, choose label sizes that give the code breathing room instead of forcing a dense symbol into a tiny corner.
Teams should also document ownership. Someone must approve not just the landing page but the scannability of the print file. In well-run workflows, the designer checks format and quiet zone, the production specialist verifies output settings, and marketing or operations performs live scans before release. That process prevents the familiar scenario where thousands of pieces are printed, distributed, and only then discovered to be unreadable. If you manage multiple print channels, build internal guidance that links this hub topic to deeper pages on quiet zone errors, color contrast problems, material issues, and label printer limitations.
Low resolution affects QR code printing by stripping away the clean module definition that scanners need to decode the symbol quickly and accurately. Once edges blur, pixels soften, or ink closes small gaps, the code loses the structural clarity that made it valid in the first place. The risk grows when low-quality files are enlarged, dense data is packed into small symbols, or printing conditions add more stress through absorbent stock, thermal limits, glare, or poor contrast. That is why successful QR code printing depends on more than generating a code and placing it in a layout. It requires matching file format, physical size, substrate, printer capability, and real-world testing.
For most teams, the safest approach is consistent and repeatable: use vector files, preserve the quiet zone, keep URLs short, print with strong contrast, and test the final piece on multiple devices in realistic conditions. When a printed code fails, diagnose methodically by comparing the screen version with the print, examining edge quality, and checking whether module size is appropriate for the output method. These steps solve the majority of printing mistakes before they become expensive distribution problems. If you are building or auditing a QR workflow, use this hub as your starting point and review each related printing variable before your next press run.
Frequently Asked Questions
Why does low resolution make a printed QR code hard to scan?
Low resolution reduces the amount of clean visual detail available in the QR code image before it is printed. A QR code works because scanners can clearly detect the small square modules, their sharp edges, and the contrast between dark and light areas. When the source file is too low resolution, those modules begin to blur together. Instead of seeing distinct squares, a camera or scanner sees softened shapes, muddy edges, and less precise boundaries between data cells.
That loss of definition becomes even more noticeable once the code is printed. Ink spread, paper texture, scaling, and printer limitations can all make a weak file worse. What may still look acceptable on a screen can fail in the real world because scanners rely on precision, not just general appearance. If the scanner cannot accurately distinguish one module from the next, it may misread the code, take longer to focus, or fail completely. This is why low resolution is not a minor quality issue in QR code printing; it directly affects scan reliability and the user experience.
What are the visible signs that a QR code image is too low resolution for print?
There are several practical warning signs. One of the most common is pixelation, where the code looks blocky or jagged when viewed at the size it will be printed. Another is softness, where module edges appear fuzzy instead of crisp. You may also notice that small details in the code seem crowded together, especially after resizing. If the quiet zone, the blank margin around the QR code, appears inconsistent or too tight, that can also increase scanning problems, although that issue is related to layout as much as resolution.
In print proofs, low-resolution QR codes may show uneven dark areas, poor contrast, or slight bleeding that causes the square modules to lose their structure. Sometimes the file was generated correctly but then enlarged too much in a design program, which stretches the available pixels and weakens clarity. A useful rule is that a QR code should look sharp at 100% of its final print size before production. If it already looks rough on screen or in proof form, it usually becomes less reliable after printing. Visual softness is often an early indicator of scan failure.
Can increasing the size of a low-resolution QR code file fix the problem?
Usually, no. Enlarging a low-resolution QR code does not add missing detail; it only makes the existing pixels larger. That means the blurred edges, jagged modules, and weak contrast become more obvious rather than more accurate. This is a common mistake in packaging, posters, menus, and marketing materials, where a small web-ready image is scaled up for print. The result may look bigger, but it is not truly higher quality.
The better solution is to start with a properly generated high-resolution file or, ideally, a vector version such as SVG, EPS, or PDF when available. Vector files preserve clean edges because they are based on mathematical shapes rather than a fixed grid of pixels. If a raster format such as PNG is being used, it should be exported at a resolution appropriate for the final physical size and printing method. In other words, quality must be built into the file from the beginning. Once a QR code has been saved too small or too compressed, resizing alone cannot restore the precision that scanners need.
What file formats and image quality settings are best for printing QR codes?
For print, vector formats are generally the safest choice because they keep the module edges sharp at any size. SVG, EPS, and print-ready PDF files are often ideal for labels, packaging, posters, signage, and other materials where the code may need to be resized during layout. Since QR codes depend on exact geometry, vector artwork helps maintain that structure throughout the design and printing process.
If you need to use a raster format, PNG is usually preferred over JPG. PNG handles the hard edges of QR codes much better because it uses lossless compression. JPG, by contrast, can introduce compression artifacts and edge distortion, which are especially harmful to codes made of small, high-contrast squares. In addition to format choice, the export settings matter. The image should be created at a high enough resolution for its final print size, with strong contrast and no unnecessary visual effects. Avoid blurring, transparency issues, drop shadows, gradients, or color combinations that reduce readability. A simple, sharp black-on-white code with ample quiet space remains the most dependable option for consistent scanning.
How can I make sure a QR code will print and scan reliably before final production?
The most effective approach is to test the QR code in conditions that match real use. Start by generating the code from a reliable source file, preferably vector, and place it at its actual print size in the design. Do not assume that if it scans on a computer screen it will scan in print. Produce a physical proof using the same printer, material, and size if possible. Then test it with multiple devices, including both iPhone and Android cameras, under different lighting conditions and at typical scanning distances.
It is also important to review the surrounding design choices. Make sure the QR code has sufficient contrast, enough quiet zone around all sides, and no background textures or graphics interfering with detection. Verify that the code has not been stretched disproportionately and that it remains sharp in the exported artwork. If the item will be printed on curved packaging, textured stock, glossy labels, or small surfaces, test on those materials specifically because they can introduce additional scanning challenges. A final prepress check and real-world scan test can prevent costly reprints, failed campaigns, and poor customer interactions. In QR code printing, reliability is built through file quality, production discipline, and testing before the job goes live.