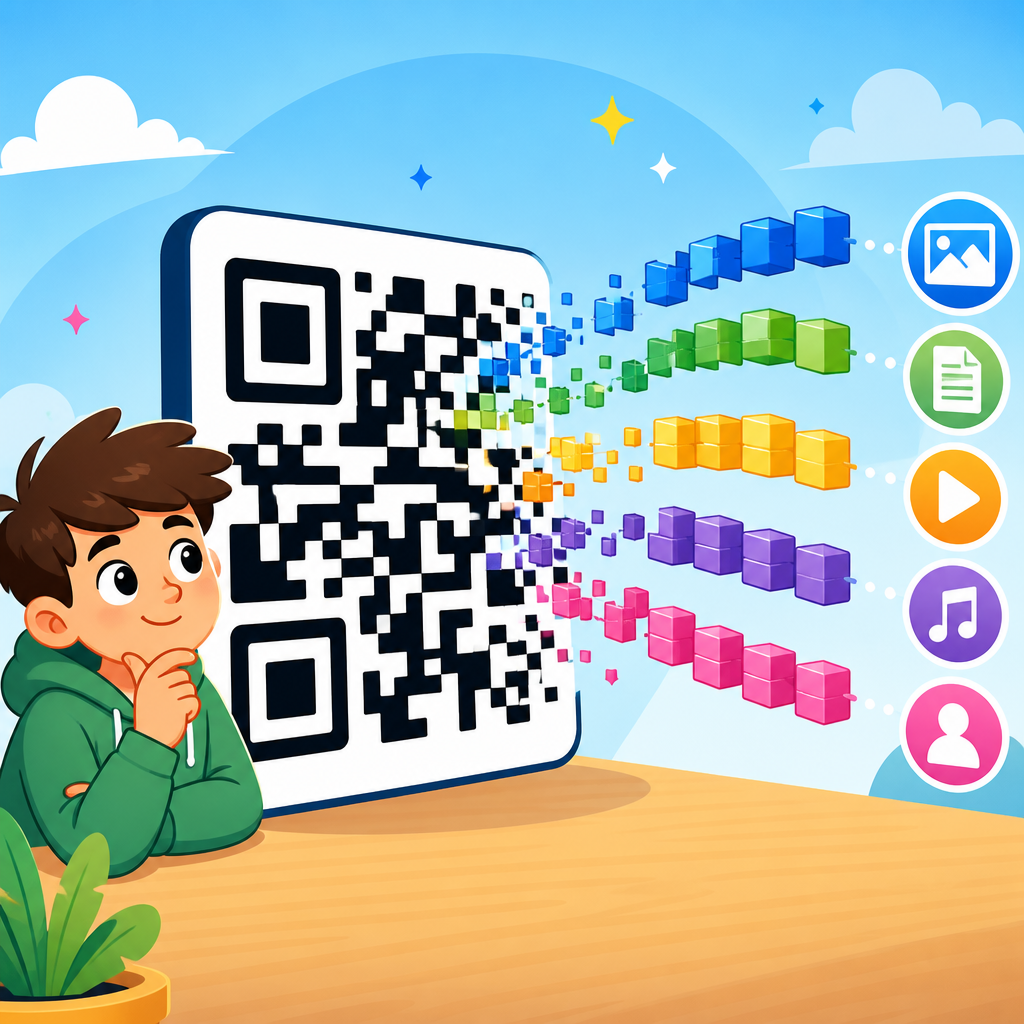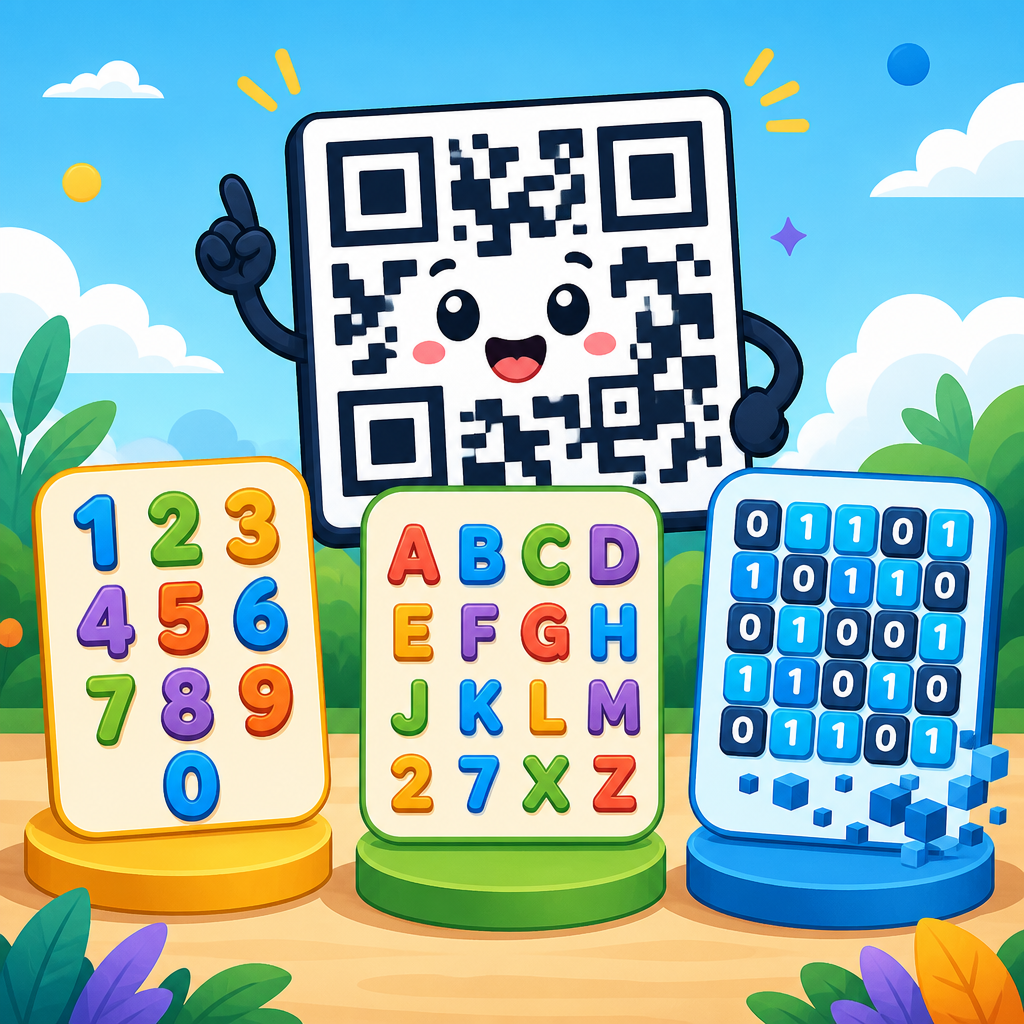
Advanced error correction techniques in QR codes determine whether a symbol survives scratches, poor printing, glare, compression, and partial obstruction while still decoding instantly on a phone or industrial scanner. In QR code technology, error correction means adding redundant codewords that let the decoder reconstruct damaged data; the standard implementation is Reed–Solomon coding defined in ISO/IEC 18004. Error correction levels are the practical settings exposed to creators: Level L restores roughly 7 percent of codewords, Level M about 15 percent, Level Q about 25 percent, and Level H about 30 percent. Those percentages are approximations, not guarantees, because recoverability depends on where damage occurs, how modules are sampled, masking quality, version size, and whether finder, timing, or format patterns remain readable. I have tested production QR codes on packaging, warehouse labels, and retail displays, and the same payload can scan perfectly at one size and fail at another simply because an aggressive error correction setting forced a denser symbol. That tradeoff is why this topic matters. If you design, print, encode, test, or audit QR codes, understanding advanced error correction techniques in QR codes helps you choose resilient symbols without making them unnecessarily large, slow, or visually fragile.
How QR code error correction actually works
QR codes protect data by dividing it into blocks, generating parity codewords with Reed–Solomon mathematics over finite fields, interleaving those blocks, and storing the result across the matrix. Reed–Solomon is especially effective against burst damage, such as a crease or smudge crossing adjacent modules, because the interleaving spreads neighboring data across different blocks. In practice, a decoder first locates the three finder patterns, estimates perspective, reads format information, applies the correct mask, and then performs error detection and correction on the recovered codewords. If too many codewords in a block are unreadable, the symbol fails even when much of the image looks intact to a human observer.
That decoder workflow explains an important point: QR error correction is not a magic percentage of missing image area. Damage to structural patterns can break detection before Reed–Solomon even starts. A logo placed in the center may be safer than one intruding into timing patterns near the edges, yet both can fail if the quiet zone is crowded by background graphics. Advanced error correction techniques in QR codes therefore involve more than selecting L, M, Q, or H. They include preserving the mandatory quiet zone, choosing a version with adequate module size, controlling print contrast, and validating masks that avoid large repeating dark or light areas, which can confuse thresholding and sampling under low light.
Understanding the four error correction levels
The four standard error correction levels represent a balancing act among capacity, size, and resilience. Level L offers the highest data capacity and the smallest possible symbol for a given payload, making it suitable for clean digital displays, short-lived event tickets, or internal workflows with controlled scanning conditions. Level M is the common default because it adds meaningful redundancy without a severe capacity penalty. Level Q is useful when packaging may crease, labels may abrade, or artistic styling introduces some risk. Level H gives the strongest built-in redundancy and is typically chosen for demanding physical environments, long service life, or designs that intentionally reserve central space for a logo.
However, higher correction does not automatically create a better QR code. Because stronger protection increases codeword count, the symbol either grows to a higher version or packs more modules into the same footprint. Both outcomes can hurt scan reliability. A denser symbol printed too small can produce modules below the printer’s practical resolution or below the camera’s sampling ability at normal distance. I have seen marketing teams choose Level H for safety, only to discover that their compact business-card code became less readable than a Level M version enlarged by a few millimeters. The correct question is not “What is the highest level?” but “What level produces the most robust symbol under real scanning conditions?”
Choosing the right level for real-world use cases
Selecting error correction starts with the environment, not the generator’s default setting. For on-screen QR codes in mobile apps, kiosk screens, and emailed boarding passes, Level L or M is often enough because there is no ink spread, abrasion, or weathering. For consumer packaging, I generally start with Level M for simple black-on-white designs and move to Q when the code will be printed on curved surfaces, flexible film, or cartons likely to scuff in transit. Warehouse and manufacturing labels often justify Q or H when codes must survive handling, dirt, and long asset life, but only after confirming that label size supports adequate module dimensions.
Use case also shapes payload strategy. If resilience is a priority, shorten the encoded content before raising the correction level. A dynamic short URL can cut the symbol size dramatically compared with embedding a long parameterized link. Numeric and alphanumeric modes are more space-efficient than byte mode, and Kanji mode can be efficient for eligible characters. In one product launch, replacing a 120-character URL with a branded short domain reduced the required version enough that we could move from Level M to Level Q while keeping the same printed area. The result scanned faster across older Android devices and low-cost retail scanners because the modules became larger and cleaner.
Capacity, version, and density tradeoffs
Every QR code version adds four modules per side, from Version 1 at 21 by 21 modules to Version 40 at 177 by 177. Capacity tables published in the standard and implemented in libraries such as ZXing, ZBar, and Nayuki’s QR Code generator show how payload shrinks as error correction rises. That reduction is substantial, especially in byte mode. For example, a payload that fits comfortably in one version at Level L may require the next version at Level H, increasing print area or reducing module size if dimensions stay fixed. This is the central engineering tradeoff in advanced error correction techniques in QR codes.
The practical implication is simple: evaluate density before approving artwork. A code with tiny modules may pass laboratory decoding from a high-resolution image yet fail in stores where customers scan from arm’s length under mixed lighting. Good production teams measure X-dimension, the width of a single module, and match it to output method. Thermal printers, flexographic presses, offset lithography, laser marking, and direct part marking all behave differently. Dot gain, substrate texture, and contrast can erase the theoretical benefit of higher error correction if module edges blur. When scanning distance increases, module size must increase too. Strong redundancy cannot compensate for modules the camera never resolves.
Comparison of error correction levels
| Level | Approximate recovery | Best fit | Main tradeoff |
|---|---|---|---|
| L | 7% | Clean digital displays, short URLs, controlled environments | Least tolerant of print damage and obstruction |
| M | 15% | General marketing, standard packaging, everyday scanning | Moderate capacity loss compared with L |
| Q | 25% | Rough handling, curved packaging, mild styling risk | Higher version or denser modules may be required |
| H | 30% | Harsh environments, long life labels, logo use with testing | Greatest capacity penalty and highest density pressure |
Advanced techniques beyond the setting itself
Experienced QR developers treat error correction level as one control among many. Mask pattern selection matters because poor masks create visual artifacts such as long runs, large same-color blocks, or patterns that resemble finder structures. The encoder should score all masks according to the standard penalty rules and choose the lowest-penalty result. Segmentation matters too: mixing numeric, alphanumeric, and byte segments efficiently can lower the version while preserving the same correction level. Structured append exists for splitting data across multiple symbols, though it is rarely ideal for consumer use because scanning multiple codes adds friction.
Another advanced technique is intentional redundancy outside the symbol. Instead of pushing one code to Level H with a long payload, teams can place two smaller codes in separate locations on equipment or packaging, each linking to the same destination. This approach reduces single-point failure from scratches or folds. For branded designs, reserve space conservatively and test with real devices rather than relying on template claims that a certain logo percentage is always safe. There is no universal safe logo size. Decoder quality varies across iOS, Android OEM camera apps, enterprise imagers, and browser-based scanners using libraries such as ZXing-JS. Reliable results come from empirical test matrices, not assumptions.
Print, display, and environmental factors that change outcomes
Print quality often determines whether theoretical correction headroom becomes real resilience. High contrast remains essential: dark modules on a light background decode best because most consumer scanners are optimized for that polarity and contrast ratio. Inverted codes can work, but they narrow the compatibility margin. Quiet zone violations are one of the most common field failures I encounter. The standard requires a clear border four modules wide, yet packaging designers frequently crowd text or borders too close. Once the quiet zone is compromised, a code may fail before error correction has any chance to help.
Environmental exposure introduces failure modes that percentages do not capture. Gloss coatings create specular highlights, curved bottles distort module geometry, and fabric or corrugated board disrupt edge definition. Screens add their own issues: moiré, refresh artifacts, low brightness, and cracked glass. In industrial settings, solvents, UV fading, and abrasion gradually reduce contrast. Direct part marked codes on metal or plastic involve different grading methods under ISO/IEC 15415 and AIM DPM guidance, and they can require specialized lighting for reliable decoding. In all these cases, advanced error correction techniques in QR codes work best when paired with appropriate substrate choice, rendering controls, and verification rather than used as a substitute for them.
Testing, verification, and common mistakes
Robust QR deployment requires verification before release and monitoring afterward. A proper workflow includes generating candidate symbols at different levels, printing or displaying them at target size, and testing across representative devices, distances, and lighting conditions. Verification tools that grade symbol quality under ISO/IEC 15415 can reveal issues invisible in ad hoc phone tests, including modulation, axial non-uniformity, and grid defects. For dynamic campaigns, analytics from the redirect layer help detect scan friction by geography, device type, or asset version. If one print run underperforms, compare substrate, finish, and trim tolerances before assuming the destination URL is the problem.
The most common mistakes are predictable. Teams choose Level H, then shrink the code to fit a layout. They embed long URLs rather than using a short redirect. They approve pastel color combinations with weak luminance contrast. They place codes over seams, folds, or bottle shoulders. They trust a single successful scan on one flagship phone as proof of production readiness. Better practice is straightforward: keep payloads short, preserve the quiet zone, size modules for the weakest expected scanner, and select the lowest version that survives realistic abuse at an appropriate correction level. If you are building out a broader QR Code Technology & Development resource center, make this page your decision hub, then branch into dedicated guides for symbol sizing, masking, verification, dynamic URLs, and logo-safe design. Master these principles, test them in context, and your QR codes will scan more reliably where it counts: in the real world.
Frequently Asked Questions
What does advanced error correction mean in QR codes?
Advanced error correction in QR codes refers to the methods that allow a code to remain readable even when part of the symbol is damaged, obscured, poorly printed, or captured under less-than-ideal scanning conditions. In practical terms, it means the QR code includes extra redundant data, called error correction codewords, in addition to the original payload. When a scanner reads the symbol, the decoder uses those extra codewords to detect inconsistencies and reconstruct missing or corrupted portions of the data stream. This is why a QR code can often still scan successfully after exposure to scratches, dirt, glare, image compression, folding, or a logo overlay.
The core technology behind standard QR error correction is Reed–Solomon coding, as defined in ISO/IEC 18004. Reed–Solomon is especially well suited to QR codes because it works effectively against burst errors, where groups of adjacent modules are damaged rather than just a few isolated points. That matters in real-world use, because QR damage is often localized: a smudge, a torn corner, a reflective hotspot, or a sticker placed over one section. Advanced error correction is therefore not a vague enhancement but a mathematically structured recovery system built into the symbol design itself.
It is also important to understand that “advanced” does not necessarily mean a different QR format. More often, it refers to how intelligently the code’s available error correction capacity is selected and used. This includes choosing the right error correction level, balancing payload size against recoverability, considering print and scan environments, and designing around likely sources of distortion. In high-reliability applications such as manufacturing, logistics, outdoor signage, or branded marketing pieces, these decisions can make the difference between instant decoding and repeated scan failure.
How do QR code error correction levels work, and what are the differences between L, M, Q, and H?
QR codes offer four standard error correction levels: L, M, Q, and H. These levels determine how much redundant recovery data is added to the symbol. Broadly speaking, Level L can recover about 7% of damaged codewords, Level M about 15%, Level Q about 25%, and Level H about 30%. These percentages are commonly used as planning guidance, but they should not be interpreted too literally as “exactly this much visible area can be destroyed.” Real scan success depends on where the damage occurs, how clean the print is, the module size, camera quality, contrast, distortion, and whether critical patterns remain readable.
Level L is typically used when maximizing data capacity is the priority and the scanning environment is controlled. It works well for clean digital displays or high-quality printing where the code is unlikely to be obstructed. Level M is often a good general-purpose choice because it provides a better safety margin without imposing a major size penalty. Level Q is valuable when the code may face moderate wear, challenging lighting, curved packaging, or mild design interference. Level H is the highest standard protection level and is commonly chosen when a logo will be placed in the center, when the code may be partially blocked, or when durability matters more than compactness.
The tradeoff is straightforward: the higher the error correction level, the less room remains for actual data in a given symbol size. If you increase the redundancy, the QR code may need a larger version to hold the same content. That means denser symbols, smaller modules, or a physically larger printed mark if the data volume stays constant. For that reason, choosing a level is not simply about selecting the maximum possible protection. The best decision depends on content length, expected damage, branding requirements, scan distance, and the capabilities of the target scanners or phones.
In practice, advanced use means matching the level to the environment. A small product label printed on textured material may benefit from Q or H. A warehouse code scanned quickly from a fixed distance may prioritize module clarity and use M. A minimalist, high-contrast on-screen payment code may work perfectly at L or M. The strongest strategy is always contextual rather than automatic.
How does Reed–Solomon error correction help a QR code survive damage and still decode?
Reed–Solomon error correction works by representing the QR code’s data as structured blocks and generating additional parity codewords derived from that data through finite field mathematics. When the QR code is scanned, the decoder compares the received codewords against the expected algebraic relationships. If some codewords are missing or corrupted, the decoder can often identify the discrepancies, determine the locations of the errors, and reconstruct the original information, provided the damage stays within the correction capability of the symbol.
This is particularly effective for QR codes because physical damage rarely appears as neat, isolated mistakes. Instead, real-world problems tend to create clusters of bad modules: a scrape across the surface, a stain, a reflective patch, print dropout, image blur, or compression artifacts in a screenshot. Reed–Solomon coding is robust against these kinds of grouped disruptions. QR code structure further improves resilience by distributing data across the symbol rather than storing everything in one vulnerable contiguous region. As a result, localized damage often affects only part of several blocks rather than completely destroying one essential section of the message.
Another important point is that error correction does not operate alone. QR decoding also depends on finder patterns, timing patterns, alignment patterns, format information, masking rules, and proper sampling of the module grid. In other words, a decoder must first recognize and geometrically interpret the symbol before Reed–Solomon recovery can do its job. If the code is too blurred, too low contrast, too distorted, or missing key structural patterns, the scanner may fail before error correction even becomes relevant. That is why error correction is powerful, but not magical.
From a practical standpoint, Reed–Solomon enables reliable scanning in conditions that would otherwise make compact 2D codes unusable. It is the reason QR codes can function on worn labels, moving production lines, posters exposed to weather, and consumer packaging with moderate design treatments. Its value lies in turning physical imperfection into recoverable noise rather than total failure.
Does increasing error correction always make a QR code better?
No. Higher error correction improves resilience, but it does not automatically produce a better QR code in every situation. The main tradeoff is capacity and density. When you increase the error correction level, more of the symbol is devoted to redundancy and less to payload. If the encoded content stays the same, the QR code often has to move to a larger version or become more visually dense. Denser symbols mean smaller modules, and smaller modules are harder to print cleanly and harder for cameras to resolve, especially at a distance or on low-quality surfaces.
This creates an important design paradox: a code with very high error correction can actually perform worse if the added density makes the modules too small for the intended print size or scanning conditions. For example, a tiny package label with Level H and a long URL may produce a symbol so dense that ink spread, material texture, or camera blur causes decode problems. In that case, a shorter URL, a larger printed size, or a different level may be the better choice. Error correction should therefore be evaluated together with symbol version, physical dimensions, quiet zone, contrast, substrate, and expected scan distance.
There is also a misconception that high error correction grants unlimited freedom to place large logos or aggressive graphic modifications over the code. In reality, usable tolerance depends on the exact placement and shape of the obstruction. Covering a central area may be survivable, but interfering with finder patterns, timing patterns, or too many data modules can still break decoding. Similarly, decorative colors, gradients, embossing, glossy finishes, and low contrast can undermine a code long before theoretical error correction limits are reached.
The best approach is optimization, not maximization. Use enough error correction to match the risk profile of the application, then test the final code under realistic conditions. A well-sized Level M or Q code with strong contrast and proper spacing will often outperform a cramped Level H code that looks robust on paper but struggles in the field.
What are the best practices for choosing and testing advanced error correction in real-world QR code applications?
Start by evaluating the actual environment in which the QR code will live. Ask whether the code will be printed or displayed on-screen, viewed at close range or from several feet away, scanned by consumer phones or industrial imagers, and exposed to wear, glare, curvature, compression, or partial obstruction. These factors should drive the error correction choice more than generic rules. For many everyday uses, Level M is a sensible baseline. For branded packaging, harsh handling, or moderate obstruction risk, Q is often a strong choice. For designs that intentionally place a logo inside the symbol or for environments with high damage probability, H may be justified.
Next, control the variables that error correction cannot fully compensate for. Keep encoded content as short as possible so the symbol remains less dense. Use dynamic short links or compact payloads where appropriate. Maintain strong contrast, ideally dark modules on a light background. Preserve the quiet zone around the code. Avoid reflective laminates, extreme color combinations, and backgrounds that interfere with module boundaries. Ensure the physical print size supports the intended scanning distance and camera quality. Even a highly redundant QR code will struggle if it is undersized, low contrast, or visually crowded.