Error correction levels determine how much damage a QR code can tolerate while still scanning, and that single design choice shapes everything from symbol size to real-world durability. In QR code technology, error correction is the method that lets a scanner reconstruct missing or corrupted data when parts of the code are obscured, scratched, poorly printed, or distorted by lighting and perspective. The concept comes from Reed-Solomon error correction, a mathematical system built into the QR Code standard defined by ISO/IEC 18004. Four standard levels are available: Level L restores about 7 percent of codewords, Level M about 15 percent, Level Q about 25 percent, and Level H about 30 percent. Those percentages are not marketing labels; they represent a practical recovery budget within the symbol structure.
The trade-off is straightforward but often misunderstood. Higher error correction improves resilience, yet it also increases the number of modules required to store the same payload. More modules usually mean a larger printed code, a denser code at the same physical size, or both. In production work, I have seen teams choose Level H for every campaign assuming it was safer, then wonder why small labels scanned worse after downscaling. The extra redundancy made the pattern denser, and the printer could not reproduce the tiny squares cleanly. In another case, a warehouse operation used Level L for large carton labels that stayed indoors and gained faster, more reliable scans because the simpler symbol matched the environment.
That is why understanding QR code error correction levels matters. It affects packaging design, direct mail, industrial marking, menus, tickets, product labels, and digital displays. It also affects cost: a larger code can force a bigger label, while a denser code may demand better print resolution or stronger contrast controls. This hub article explains how the four levels work, when to use each one, what compromises they create, and how to decide intelligently for a specific use case. If you are building a QR code strategy under a broader QR Code Technology and Development program, this is the page that connects the technical fundamentals to design, printing, scanning, and lifecycle performance.
What QR Code Error Correction Levels Actually Do
QR codes are arranged in modules, the black and white squares that encode data, format information, timing patterns, alignment patterns, and error correction codewords. When part of the symbol is unreadable, the decoder does not simply guess. It uses the redundant codewords created during encoding to reconstruct damaged portions, provided the corruption stays within the correction capacity of the selected level. This is why a coffee stain over a restaurant menu code may still allow a scan, or why a scratched serialized asset label can remain usable after months of handling.
The four levels are standardized. Level L is the lowest redundancy and the most space efficient. Level M is the default choice in many generators because it balances compactness and resilience. Level Q is designed for harsher conditions or moderate branding overlays. Level H provides the highest redundancy and is often chosen for environments with abrasion, contamination, or intentional visual customization. Importantly, these levels do not mean a code can lose exactly 7, 15, 25, or 30 percent of visible area in any shape. Recovery depends on where the damage occurs, whether key function patterns remain legible, print quality, quiet zone integrity, and scanner capability.
Another common misconception is that higher error correction always improves scan performance. It improves damage tolerance, not necessarily baseline readability. If increasing correction pushes a symbol to a higher version, the code becomes more complex. On a low-resolution label printer, on corrugated packaging, or on a glossy curved surface, that complexity can make the code harder to capture. In practice, durability and scannability must be evaluated together. A technically stronger code can become operationally weaker if its module size falls below what the print process and target camera can support.
Understanding the Size Versus Durability Trade-Off
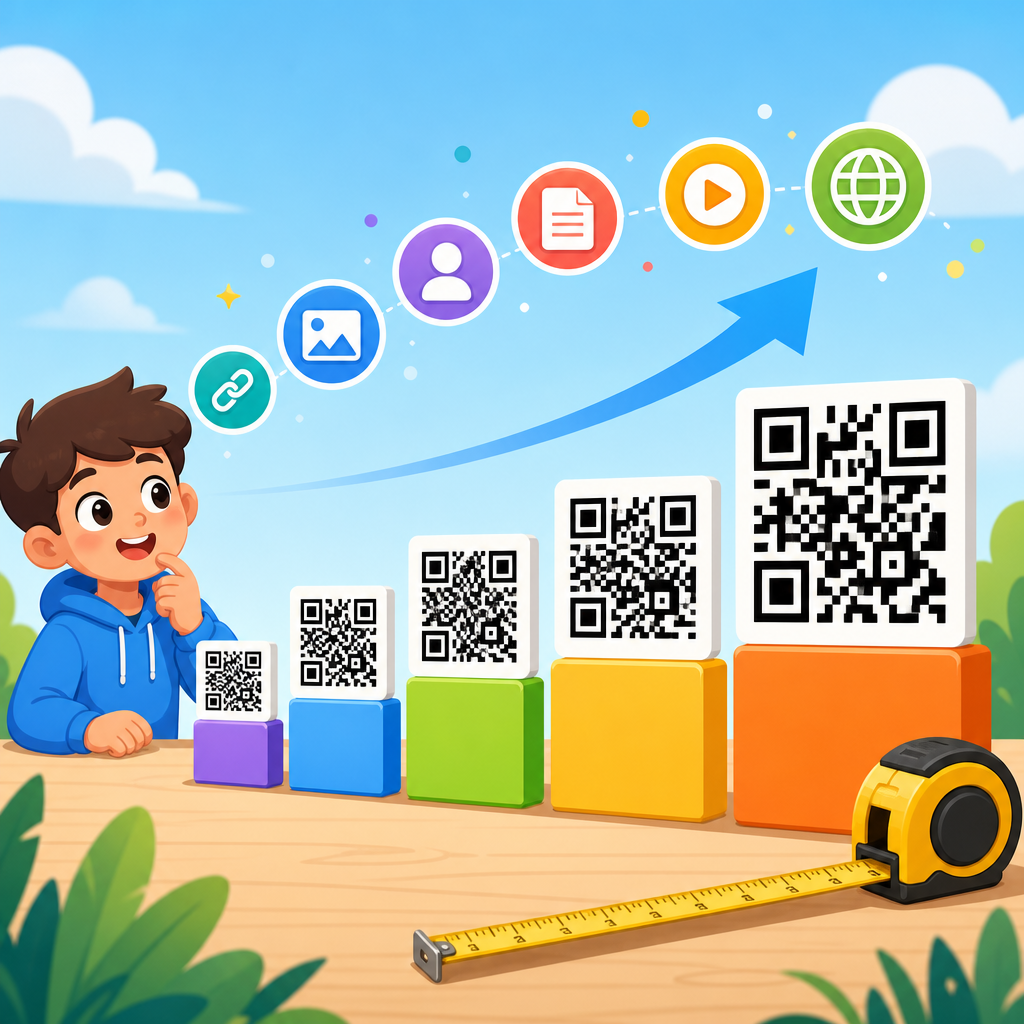
The central trade-off in QR code error correction levels is simple: redundancy consumes capacity. For any given payload, moving from L to M, Q, or H allocates more symbol space to recovery codewords and less to raw data. To compensate, the encoder may increase the QR version, adding more modules in each direction. A version 2 QR code is 25 by 25 modules, while version 10 is 57 by 57, and version 40 reaches 177 by 177. Those jumps matter because every additional module must still be printed with enough edge definition for a camera to distinguish black from white under imperfect conditions.
In field testing, I usually frame the decision around effective module size, not just overall dimensions. A 20 millimeter code with 29 modules across behaves differently from a 20 millimeter code with 57 modules across. The latter has much smaller squares, so ink spread, toner scatter, screen glare, or motion blur has a larger impact. That is why raising error correction can backfire when physical space is fixed. You gain redundancy against localized damage, but you lose margin against print and capture imperfections. The best level is the one that survives the dominant failure mode in the actual workflow.
| Error Correction Level | Approximate Recovery Capacity | Primary Advantage | Main Cost | Typical Use Case |
|---|---|---|---|---|
| L | 7% | Smallest symbol for a given payload | Lowest tolerance for damage | Clean indoor labels, large signs, controlled scanning |
| M | 15% | Balanced size and resilience | Moderate growth in density | General marketing, packaging, menus |
| Q | 25% | Stronger recovery for wear or light customization | Larger or denser code | Product labels, medium-risk environments, branded codes |
| H | 30% | Maximum standard durability | Highest symbol complexity | Industrial assets, harsh handling, logo overlays |
Think of the choice as a risk budget. If your code will be displayed on a large poster behind glass, the greater threat is often distance, glare, and user movement, not surface damage. Lower correction with larger modules may outperform Level H. If the code is printed on a reusable tool tag exposed to grease and scratches, higher correction is sensible because physical degradation is the primary risk. The correct decision is contextual, and that context should drive both the payload length and the selected error correction level.
How Payload Length Changes the Best Error Correction Choice
Error correction cannot be evaluated independently from content length. A short URL encoded in alphanumeric or byte mode may fit comfortably at Level Q or H without forcing a large version jump. A long tracking URL filled with campaign parameters, a vCard, or multilingual text can expand rapidly, especially in byte mode. Once the payload grows, every increase in correction has a bigger effect on final symbol size. This is why experienced teams shorten URLs, remove unnecessary parameters, and use dynamic QR systems when they need high durability in a compact footprint.
For example, consider retail packaging with only 18 millimeters of available space. A short redirect domain such as brand.co/go1 may work at Level H and still maintain a healthy module size. Replace it with a 120-character URL from an analytics platform, and the code may need a much higher version. The result can be a dense symbol that looks acceptable on a screen proof but degrades on flexographic print. The better solution is usually to cut payload first, then revisit correction level. Data efficiency is often a bigger lever than redundancy.
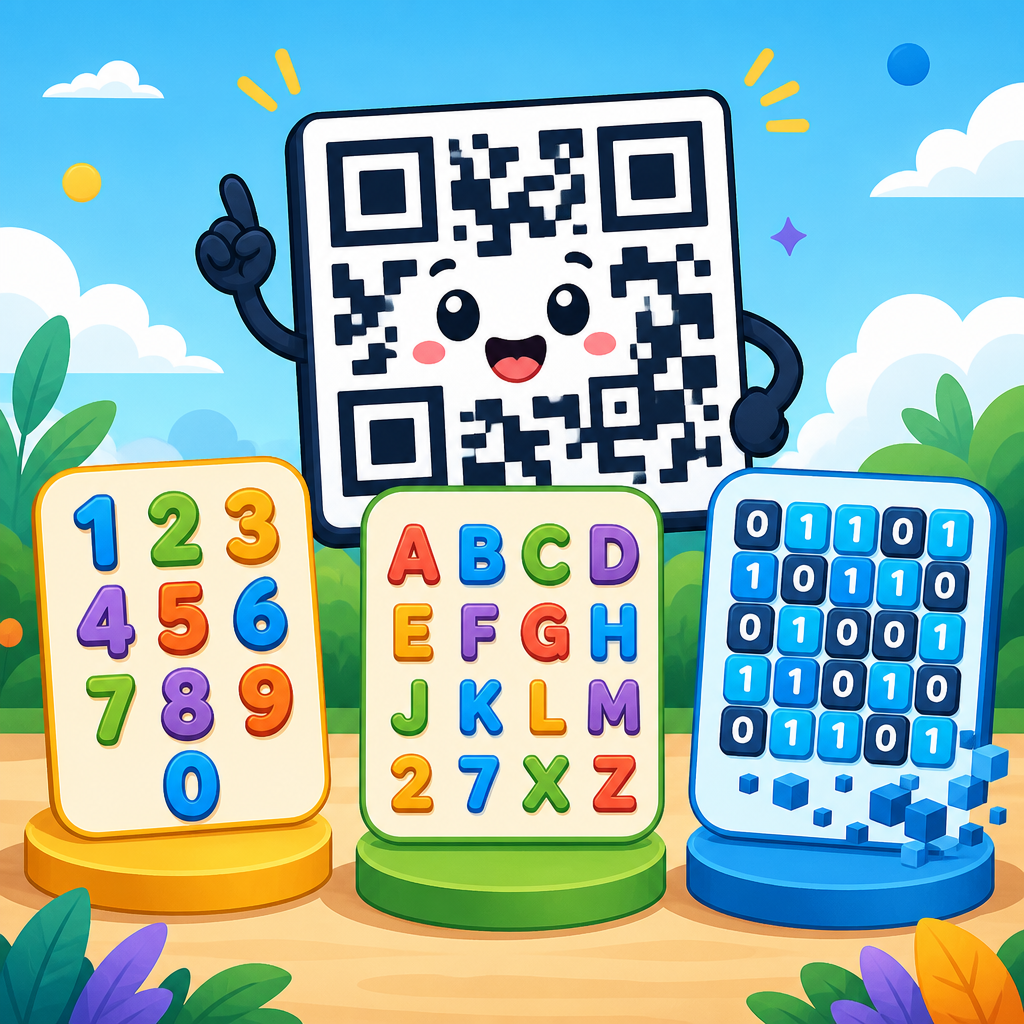
Encoding mode also matters. Numeric mode is the most efficient, alphanumeric is next, and byte mode is less compact but needed for broader character support. Kanji mode has its own efficiency profile. Because capacity varies by mode and correction level, two visually similar payloads can produce very different symbols. When I audit underperforming QR labels, one recurring problem is unnecessary byte-mode encoding caused by poor generator defaults. That hidden inefficiency forces a larger symbol before any environmental durability factor is even considered.
Choosing the Right Level for Real-World Environments
Use environment-first logic when selecting a QR code error correction level. In clean, controlled, short-lifecycle settings, Level L or M is often enough. Examples include conference badges used for a single event, indoor wayfinding posters, or checkout signs printed at generous sizes. These applications benefit from larger modules and quicker acquisition, while their exposure to abrasion and contamination is limited. Choosing Level H in these cases can solve a problem that does not exist and introduce unnecessary density.
Level M is the practical default for many business applications because it covers ordinary wear without bloating the symbol. Restaurant table tents, ecommerce box inserts, brochures, and product packaging commonly perform well at M when contrast is strong and the quiet zone is preserved. Level Q becomes attractive when moderate damage is predictable: labels on consumer goods handled repeatedly, instructional stickers on equipment, or QR codes that incorporate a small brand element. It offers meaningful resilience without the full complexity cost of H.
Level H should be reserved for justified cases, not used reflexively. Good candidates include asset tags on tools, medical device labels that may be cleaned aggressively, factory-floor signage exposed to dust, and branded designs with central logos that intentionally obscure modules. Even then, testing remains mandatory. Smartphone cameras, warehouse imagers, and fixed-mount scanners differ in decoding tolerance. Lighting angle, substrate reflectivity, and print technology can outweigh theoretical correction capacity. A QR code on anodized metal, for instance, may need laser marking adjustments and larger modules more than it needs a higher correction level.
Print Quality, Quiet Zones, and Scanner Behavior
Error correction levels work inside a larger system of scan reliability. Print quality is usually the first limiting factor. Thermal transfer printers, laser printers, offset presses, inkjet systems, and direct part marking processes all produce edges differently. Dot gain on paper can close white spaces, while low toner density can weaken dark modules. If the code becomes visually muddy, extra redundancy will not compensate for the scanner failing to separate modules in the first place. Minimum module size and contrast ratio are therefore foundational decisions.
The quiet zone, the blank margin around the QR code, is equally critical. The standard recommendation is four modules on all sides. In packaging and advertising, I often see this margin squeezed by text, borders, or background graphics. That harms detection because the scanner first needs to isolate the symbol before decoding it. Teams sometimes raise error correction to fix low scan rates caused by poor quiet zones, but the problem is not recoverable data loss; it is failed symbol localization. Restoring margin often solves more than increasing from M to Q or H.
Scanner behavior adds another layer. Modern smartphone software is excellent, but performance still varies by device generation, camera autofocus speed, low-light processing, and app implementation. Dedicated imagers used in logistics or manufacturing may decode faster at smaller module sizes but can struggle with reflective laminates or low-contrast direct marks. For screen-based QR codes, pixel rendering, refresh artifacts, and moire effects can matter. The practical lesson is clear: select an error correction level only after defining the print or display method and the expected scanning hardware.
Branding, Logos, and Design Customization Without Breaking Function
Customization is one reason many teams reach for higher correction. A logo placed in the center of a QR code removes or obscures modules, and rounded shapes, gradients, or decorative frames can reduce contrast or alter edge clarity. Level Q or H can provide the recovery headroom needed for tasteful branding, but only if the rest of the symbol is engineered carefully. Function patterns, alignment patterns, and timing patterns must remain untouched and clearly visible. The quiet zone must stay clean, and the logo should occupy only a conservative central area.
From experience, the safest branded QR codes begin with a short dynamic URL, strong black-on-white contrast, and a physical size that preserves module clarity after the logo is inserted. Many generator tools advertise heavily styled codes, but their previews can be misleading because they test under perfect digital conditions. A code that scans on a flagship phone in the studio may fail on a midrange device under retail lighting. Design teams should treat styling as a controlled exception layered on top of a sound technical base, not as a substitute for it.
There is also a point where customization stops being worth the risk. If the code is mission critical, such as for medication instructions, service documentation, or industrial traceability, plain high-contrast design usually beats decorative treatment. A recognizable callout near the code can support brand goals without sacrificing utility. Durability is not only about surviving damage; it is about sustaining reliable user interaction across the widest range of devices and conditions.
Testing and Governance for a Reliable QR Code Program
The strongest QR code programs use documented rules instead of one-off choices. Start by defining approved error correction levels by use case: perhaps M for standard marketing, Q for handled packaging, and H only for harsh environments or sanctioned logo applications. Pair those rules with minimum module sizes, quiet-zone requirements, contrast standards, and payload policies such as mandatory short links. Then validate with test prints at final production settings rather than desktop proofs.
A good test protocol includes multiple devices, multiple distances, different lighting conditions, and intentionally damaged samples. Measure first-scan success rate, time to scan, and failure patterns. If a code performs poorly, diagnose the cause before changing levels. In my work, low-performing symbols are more often fixed by shortening payloads, enlarging the code, improving substrate contrast, or protecting the quiet zone than by simply raising correction. Governance also means version control. If marketing teams can generate custom codes without standards, inconsistency spreads quickly across campaigns and packaging lines.
As a hub topic within QR Code Technology and Development, error correction levels connect to nearly every downstream decision. They influence data capacity planning, QR code sizing, print process selection, direct part marking strategy, accessibility, analytics link design, and branded code guidelines. Get this choice right, and the rest of the system becomes easier to optimize.
Error correction levels are not a checkbox; they are a strategic control that determines whether a QR code stays compact, survives damage, and scans reliably in the environment where people actually use it. Level L minimizes size, Level M balances everyday resilience, Level Q supports moderate wear and careful customization, and Level H delivers the strongest standard recovery for demanding conditions. The right choice depends on payload length, encoding mode, module size, print quality, quiet zone protection, and the scanners your audience will use.
The most important lesson is that higher correction is not automatically better. Redundancy improves tolerance for lost data, but it also increases symbol complexity. If space is limited or print quality is marginal, a denser code can become less readable even though it is theoretically more durable. That is why experienced QR teams optimize the whole system: they shorten payloads, preserve contrast, protect margins, match size to production method, and test under realistic conditions before standardizing a level.
If you are building or refining a QR code program, use this page as your decision framework for every related article in the error correction cluster. Review your current codes, identify the real failure modes, and set level-specific standards based on evidence rather than habit. A disciplined approach will give you smaller codes where space matters, tougher codes where damage is likely, and better scan performance across the entire lifecycle.
Frequently Asked Questions
What does error correction mean in a QR code, and why does it matter?
Error correction is the built-in recovery system that allows a QR code to remain readable even when part of the symbol is damaged, dirty, faded, covered, or visually distorted. In practical terms, it means a scanner can still reconstruct the encoded data if some modules in the code are missing or unreadable. QR codes do this using Reed-Solomon error correction, a mathematical method that adds redundancy to the original data so the scanner has enough information to recover what was lost.
This matters because QR codes do not live in perfect conditions. They are printed on labels that get scratched, menus that get spilled on, posters that fade in sunlight, packaging that bends in transit, and signs that are scanned from awkward angles under uneven lighting. Error correction is what gives QR technology much of its real-world resilience. Without it, even minor physical wear or print defects could make a code fail.
At the same time, error correction is not free. The more redundancy you add, the more space the QR code needs to store the same amount of actual content. That is why error correction is central to the size-versus-durability trade-off. A low error correction setting can keep the symbol smaller and simpler, but it leaves less room for recovery if the code is damaged. A higher setting makes the code more tolerant of real-world abuse, but it increases symbol density or requires a larger printed area. Choosing the right level is less about “maximum protection at all times” and more about matching durability to how and where the code will actually be used.
How do higher error correction levels affect QR code size?
Higher error correction levels increase the amount of redundant data stored in the QR code, and that usually makes the symbol larger, denser, or both. The QR standard commonly uses four levels: L, M, Q, and H. As you move upward through those levels, the code can recover from more damage, but it also has to devote more of its total capacity to error correction data instead of the original content. If the amount of encoded content stays the same, the QR code often needs additional modules to fit everything.
That increase can show up in two ways. First, the generator may move to a larger QR version, which means more modules across and down. Second, if the physical print size does not increase, those extra modules become smaller and more tightly packed. Smaller modules are harder for cameras to distinguish, especially on low-quality prints, reflective surfaces, curved packaging, or when scanned from a distance. So while higher error correction improves damage tolerance, it can also create scanning challenges if the code becomes too visually dense for its intended environment.
This is why size should never be evaluated only by overall dimensions in inches or millimeters. Module size, print sharpness, contrast, viewing distance, and scanner quality all matter. A code with high error correction may be technically more robust against scratches or obstruction, but if its modules are too fine for the print process or too small for reliable camera capture, scan performance can still suffer. In short, higher error correction can improve durability, but it often demands more space or better production quality to avoid trading one failure mode for another.
When should you choose a lower error correction level instead of a higher one?
A lower error correction level makes the most sense when space is limited, the print environment is controlled, and the QR code is unlikely to experience significant physical damage. For example, if a code is displayed digitally on a screen, printed clearly on clean indoor materials, or placed in a protected setting where scratches, smudges, and weather exposure are minimal, lower error correction can be an efficient choice. It allows the symbol to stay smaller and less dense, which can improve scanning ease when the available area is tight.
Lower error correction can also be useful when the encoded data is relatively long. Since redundancy consumes capacity, reducing the correction level may help keep the QR code from jumping to a larger version. That can matter on business cards, product labels, small packaging, medical devices, electronics, or any application where every millimeter counts. In these cases, a smaller and cleaner symbol may scan better than a highly protected but overly dense one.
That said, lower error correction should be chosen intentionally, not automatically. It is a good fit when the environment is predictable and quality control is strong. If there is any meaningful chance of abrasion, dirt, folding, poor print registration, glare, or partial obstruction, the savings in size may not be worth the reduction in resilience. The best approach is to think in terms of actual risk: how likely is damage, how hard will the code be to scan, and how costly is a failed scan? If the answer points to low exposure and limited available space, a lower level may be the smarter engineering choice.
Is the highest error correction level always the best option for durability?
No, the highest error correction level is not automatically the best choice, even when durability is important. It is true that a higher level allows a QR code to tolerate more damage, but durability in the real world is not determined by error correction alone. Print quality, contrast, quiet zone spacing, surface material, curvature, lighting conditions, scan distance, and camera performance all influence whether a code scans reliably. A heavily protected QR code that is too dense, too small, or poorly printed may perform worse than a simpler code with a lower correction setting.
There is also a practical law of diminishing returns. If a code is unlikely to suffer severe damage, pushing error correction to the maximum can add complexity without delivering meaningful real-world benefit. In some cases, that extra redundancy forces the code into a larger version or shrinks the modules to a point where they become harder to capture quickly. This is especially relevant for tiny labels, fast-moving retail scans, industrial marking, or long-distance smartphone scanning, where clarity and module size can matter as much as raw fault tolerance.
The strongest durability strategy is usually balanced rather than extreme. Choose an error correction level that matches the risk profile, then support it with sound design decisions: keep strong contrast, preserve the quiet zone, avoid over-stylizing the code, use high-resolution printing, and test the symbol on the actual material and in the actual environment. High error correction is valuable, but it is only one part of a reliable QR deployment. The best option is the one that produces the most dependable scan performance under real conditions, not the one with the highest theoretical damage tolerance.
How can you decide the right balance between QR code size and real-world durability?
The right balance starts with the use case. Ask where the QR code will appear, how large it can be, what kind of surface it will be printed on, how much data it needs to hold, and what hazards it will face over time. A warehouse label exposed to abrasion and dirt has very different requirements from a restaurant table tent, a retail product box, or a digital boarding pass. The ideal error correction level depends on the interaction between environmental stress and available space, not on a universal best practice.
A practical decision process is to evaluate four factors together: data length, physical size, environmental risk, and scanning conditions. Longer content pushes the code toward larger versions. Smaller print areas limit module size. Harsher environments increase the value of redundancy. More difficult scanning conditions, such as low light, angled capture, or lower-end phone cameras, raise the importance of both clarity and resilience. Once those factors are clear, you can choose a correction level that fits the whole system rather than optimizing a single variable in isolation.
Testing is the final and most important step. Generate the code at the intended error correction level, print or display it at actual size, place it on the real material, and scan it using the devices your audience is most likely to use. Test it under expected lighting, distance, and angle conditions. If relevant, simulate wear by smudging, scratching, bending, or partially covering the code. This kind of validation often reveals whether a slightly lower level gives better readability because of larger modules, or whether a higher level is necessary because the code will encounter frequent damage. In other words, the best balance is usually discovered through scenario-based testing, not guessed from a chart alone.