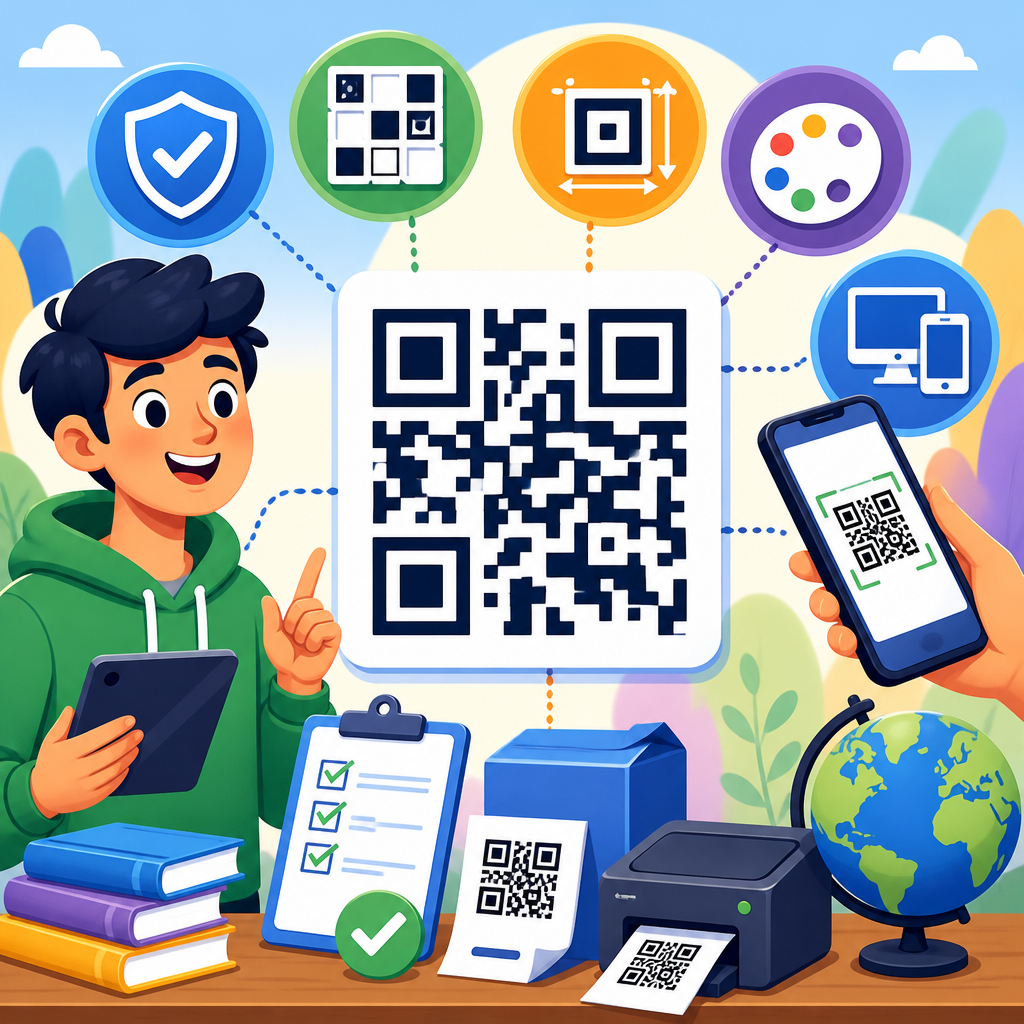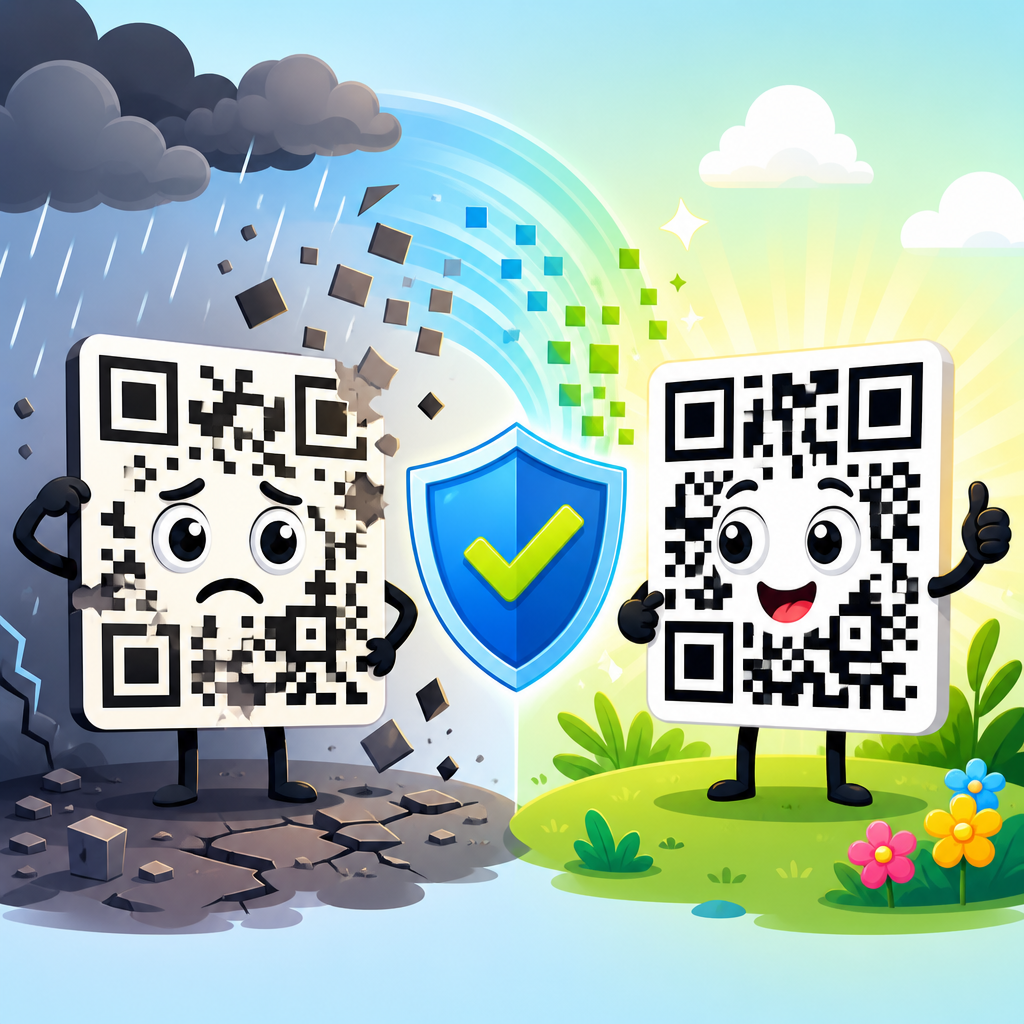
QR code error correction is the design system that allows a symbol to remain scannable after part of it has been damaged, obscured, distorted, or printed imperfectly. In practical terms, it is the reason a code on a scratched product label, a greasy restaurant menu, or a curved bottle can still open the intended URL. When people ask how error correction impacts QR code design, they are really asking how redundancy changes capacity, size, branding freedom, print reliability, and scanning performance across real-world conditions.
In QR Code Technology & Development, error correction levels are a foundational concept because they affect nearly every downstream decision. The four standard levels are L, M, Q, and H, each representing a different amount of recoverable damage through Reed-Solomon error correction. Level L restores about 7 percent of codewords, M about 15 percent, Q about 25 percent, and H about 30 percent. Those percentages are often repeated without context, but in production work they translate into visible tradeoffs: more protection means more redundant data, more modules, and less room for payload at a given symbol size.
I have seen teams treat error correction as a checkbox selected at the end of a campaign, then wonder why a branded QR code fails on packaging or why a tiny code on a medical device becomes too dense to scan. The better approach is to treat error correction as an early design constraint. It influences symbol version, quiet zone preservation, logo placement, contrast tolerance, and the minimum printed dimensions needed for target cameras. For a hub article on error correction levels, the central idea is simple: correction is not just about damage recovery; it shapes the entire visual and technical design of the code.
This matters because QR codes now live in more demanding environments than the early web-link use cases that made them popular. They appear on outdoor signage exposed to rain and ultraviolet fading, direct mail printed on textured stock, industrial parts marked by laser etching, and consumer packaging warped by seams and folds. At the same time, marketing teams increasingly want custom colors, embedded logos, decorative eyes, and shortened URLs with tracking parameters. Every one of those choices affects how much resilience a code needs, and every increase in resilience has a cost that designers and developers must account for before launch.
What error correction levels actually do
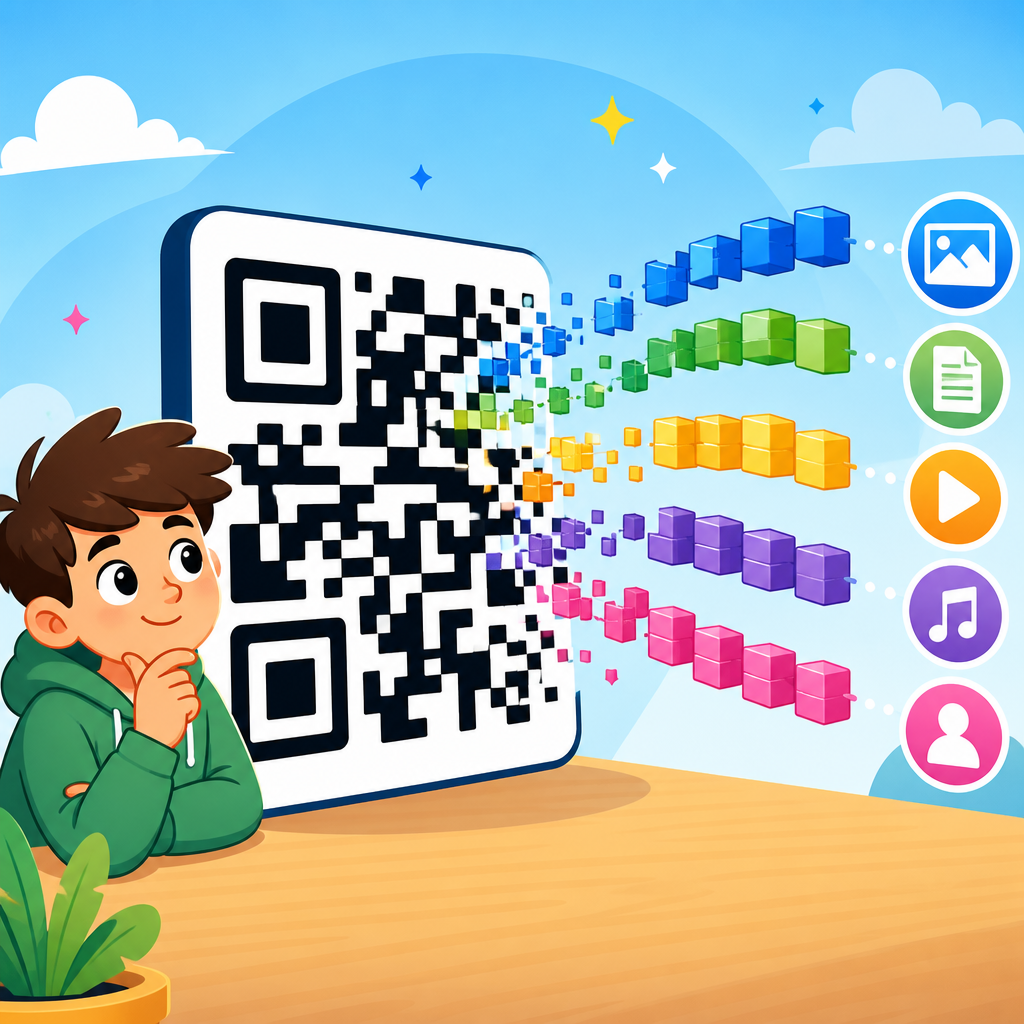
Error correction in QR codes is based on Reed-Solomon coding, a mathematical method that adds redundant codewords so scanners can reconstruct missing or corrupted information. A QR symbol stores data and correction data together. If some modules become unreadable because of damage, blur, glare, low ink density, or obstruction, the decoder uses the remaining valid codewords to infer the original message. This is why a code can survive partial loss and still scan accurately instead of returning a wrong result.
The four levels are standardized in ISO/IEC 18004. Level L offers the highest data efficiency and the least protection, making it suitable for clean digital display environments or controlled printing. Level M is the common default because it balances resilience and capacity well for general business use. Level Q is often chosen for packaging, labels, and modest branding treatments. Level H is the most forgiving when a logo overlays the center or when the code may suffer abrasion, but it also creates the biggest symbol for the same amount of data.
One important nuance is that the published percentages are not a license to cover exactly that portion of a code with artwork. Recovery depends on where damage occurs, how data and error correction codewords are interleaved, the mask pattern, the printing accuracy, and the scanner’s image quality. Finder patterns, timing patterns, alignment patterns, format information, and the quiet zone remain critical. Covering structurally important areas can break a code even when the hidden area is smaller than the nominal correction percentage.
How error correction changes symbol size and data capacity
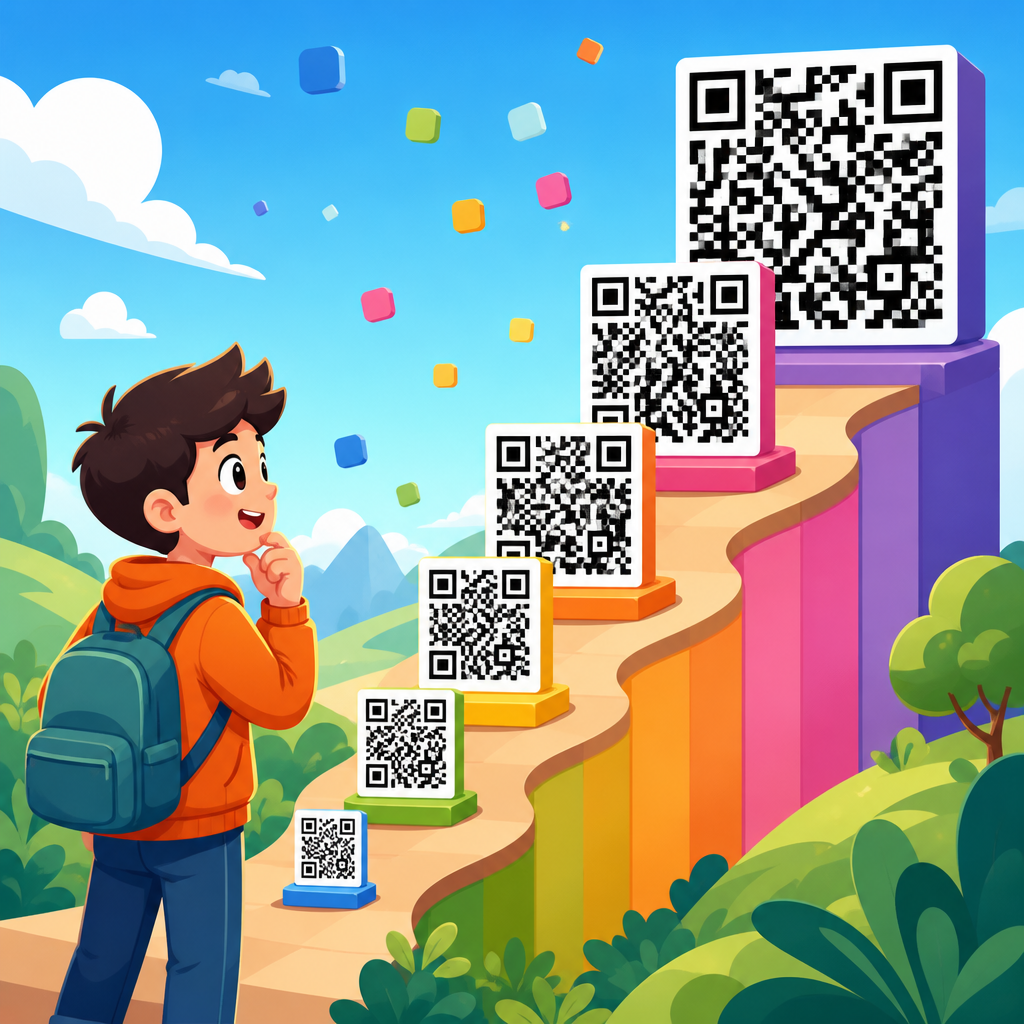
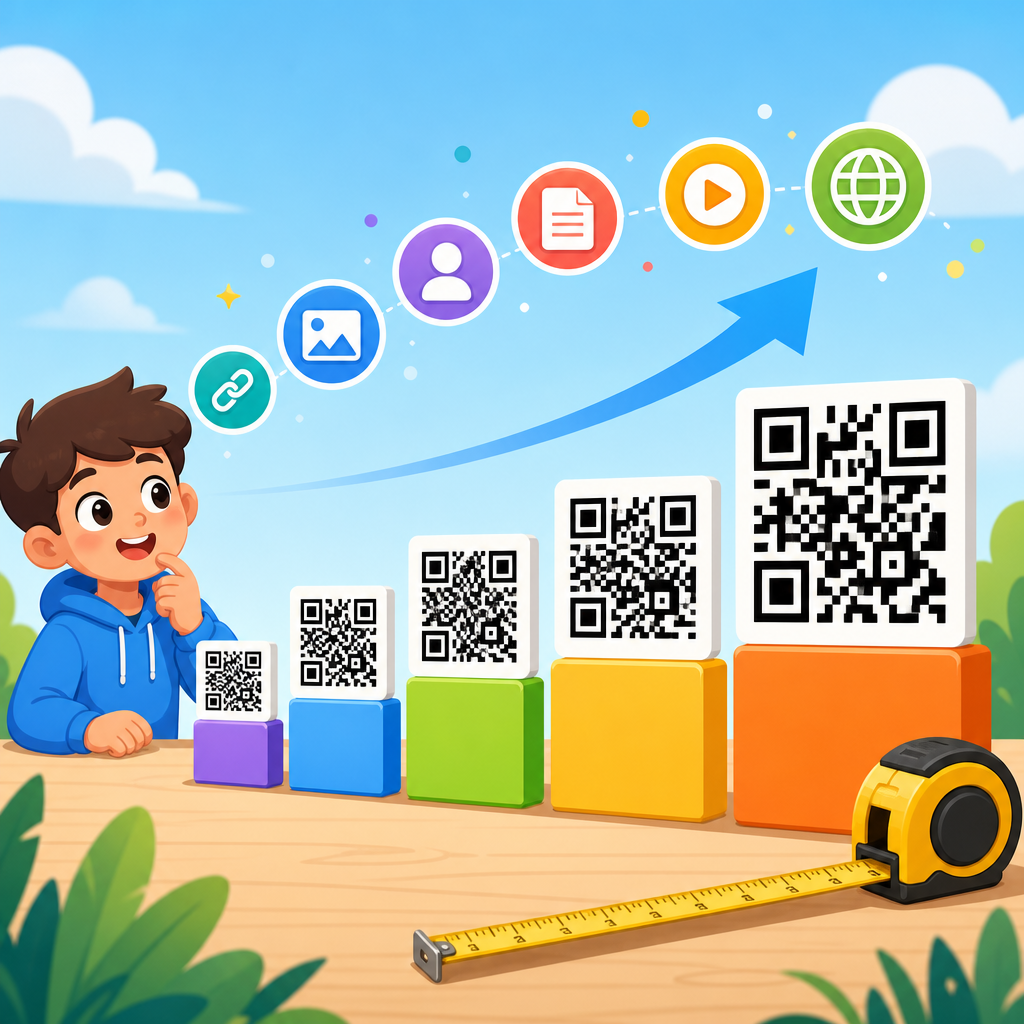
The most immediate design impact of a higher error correction level is a larger or denser symbol. QR codes are organized into versions, from Version 1 at 21 by 21 modules up to Version 40 at 177 by 177 modules. As payload grows or correction increases, the generator must move to a higher version unless the data is shortened. That means either more modules inside the same physical size, which reduces each module’s print size, or a larger printed mark, which may not fit the available layout.
In practice, capacity is affected by data mode as well. Numeric content packs most efficiently, alphanumeric is moderately efficient, and byte mode for full URLs or UTF-8 text consumes more space. If a team encodes a long marketing URL with UTM parameters at Level H, the result may jump several versions larger than a shortened URL at Level M. I routinely recommend reducing payload first because trimming unnecessary characters improves reliability more elegantly than forcing a tiny high-density symbol into a cramped space.
| Error correction level | Approximate recovery | Design effect | Common use case |
|---|---|---|---|
| L | 7% | Smallest symbols, highest capacity, least damage tolerance | On-screen codes, clean indoor printing |
| M | 15% | Balanced size and resilience | General marketing, brochures, business materials |
| Q | 25% | Larger symbol, supports moderate customization | Packaging, labels, light wear environments |
| H | 30% | Largest symbol, strongest tolerance for obstruction | Logo overlays, harsh handling, industrial surfaces |
A concrete example makes the tradeoff clear. A plain short URL encoded at Level M may fit comfortably in a mid-range version and print well at 20 millimeters square on a carton. Add a long redirect chain, force Level H, and place a center logo over the data area, and the symbol may require a larger version to remain valid. If the package panel cannot grow, module size shrinks, increasing the chance of dot gain, ink spread, or camera blur causing scan failures. The correction choice therefore affects not only theoretical capacity but manufacturability.
How error correction affects branding, logos, and visual styling
Branded QR codes are where many design mistakes start. A higher error correction level gives more room for nonfunctional elements such as center logos, custom shapes, or selective module removal, but it does not make unlimited styling safe. The scanner still needs strong contrast, intact finder patterns, a clean quiet zone, and sufficient module separation. If those basics are compromised, moving from M to H may not rescue the code. Error correction is a buffer, not a substitute for disciplined symbol design.
When I review custom QR artwork, the first issue is usually excessive logo area. Designers assume a centered graphic can occupy one quarter or one third of the symbol because H can recover around 30 percent. Real decoding does not work like a simple blank-space budget. Damage distribution matters, and logos often sit in the central region where many data modules cluster. The safer practice is to keep logo overlays modest, preserve ample white margin around the logo, and validate with multiple scanner apps and device cameras at intended distances.
Color choices also interact with correction level. Dark foreground on a light background remains the most reliable combination because camera pipelines and decoder algorithms are optimized for luminance contrast. Gradients, metallic inks, transparent substrates, and reversed light-on-dark treatments reduce legibility. In those cases, using Q or H can improve the safety margin, but only if the symbol still maintains clear reflectance difference. Standards bodies and printer guidance consistently support this: correction helps recover lost data, yet it cannot fix poor optical contrast created by a weak visual palette.
For teams wanting visual customization, the most effective hierarchy is straightforward. First, shorten the payload. Second, choose a correction level that matches the environment, usually M or Q before jumping to H. Third, preserve standard finder and alignment behavior. Fourth, test with print samples, not just screen previews. That process produces branded QR codes that look distinctive without sacrificing usability.
How to choose the right level for print, packaging, and digital use
There is no universal best error correction level. The right choice depends on the scanning environment, physical medium, expected wear, viewing distance, and data length. For digital display, especially on high-resolution screens in controlled lighting, Level L or M is often sufficient because there is little physical damage and contrast is strong. For posters in public spaces, direct mail, or product packaging that may crease or scuff, M or Q is usually a better starting point. For equipment labels, reusable bins, factory assets, or designs with a center logo, Q or H often makes sense.
Print process matters as much as environment. Flexographic printing on corrugated packaging behaves differently from offset on coated paper, thermal transfer on labels, or laser marking on metal. Each process changes edge sharpness, module fill, and consistency. In corrugated print, for example, flute pattern and absorbent substrate can distort small modules, so raising correction may help, but enlarging the code and simplifying content often helps more. In direct part marking, surface reflectivity and curvature can degrade captures; there, higher correction combined with robust contrast control is usually justified.
Testing should be scenario-based rather than theoretical. Use sample devices from both iPhone and Android ranges, scan under bright and dim lighting, and test at likely user distances. Include damaged samples if the code will live on packaging or equipment. Professional verification tools such as ISO-style print quality grading systems, along with software from barcode inspection vendors, can reveal modulation, axial nonuniformity, grid distortion, and contrast issues that ordinary phone checks miss. Those measurements often show that correction level alone is not the dominant problem.
Common mistakes and the practical rules that prevent failures
The most common mistake is using the highest error correction level by default without considering the payload. This creates dense symbols that look robust in a generator preview but become fragile when printed small. Another frequent error is embedding long URLs with campaign parameters directly in the code instead of using a short redirect. I have also seen teams remove the quiet zone to save space, round every module into decorative dots, and place the code over a patterned photograph. In all of these cases, the scan failure is blamed on the correction level when the true cause is poor system design.
A reliable rule set is simpler than many teams expect. Keep the payload as short as possible. Start with Level M for ordinary use, move to Q for packaging or moderate styling, and reserve H for real obstruction risk or carefully tested logo overlays. Maintain a four-module quiet zone. Protect finder patterns and timing patterns from decoration. Ensure strong contrast, preferably dark on light. Size the symbol for actual scanning distance and print conditions. Then test final artwork after export, after print, and on the real substrate. Those steps prevent most production failures.
The key takeaway is that error correction levels are not an isolated setting; they are a design lever that changes capacity, symbol size, visual freedom, and field reliability all at once. Choosing the right level means balancing redundancy against simplicity, then validating the result in the environment where people will actually scan it. If you are building out a QR Code Technology & Development program, use this hub as the starting point for every decision about logos, print specifications, payload strategy, and quality testing. Make error correction an early design choice, and your QR codes will be easier to scan, easier to produce, and far more dependable in the real world.
Frequently Asked Questions
1. What does error correction mean in a QR code, and why does it matter for design?
Error correction is the built-in recovery system that allows a QR code to remain readable even when part of the symbol is damaged, covered, distorted, dirty, or printed less than perfectly. QR codes use redundant data so scanners can reconstruct the original information when some modules are missing or unreadable. In design terms, this matters because a QR code is not just a graphic pattern; it is a machine-readable structure with a tolerance for visual disruption. That tolerance is what makes real-world uses possible, whether the code appears on product packaging, outdoor signage, menus, labels, mailers, or curved containers.
Error correction directly shapes how much design flexibility you have. A higher error correction level gives you more resilience, which can be useful if the code may be scratched, exposed to glare, printed on textured materials, or partially blocked by a logo. At the same time, that resilience comes at a cost: more redundancy means less room for actual data within the same symbol size. To compensate, the QR code may need to become denser or physically larger. That is why error correction is one of the first technical choices that influences the final look, size, and reliability of a QR code design.
2. How do different error correction levels affect QR code size and data capacity?
QR code error correction is commonly grouped into four standard levels: L, M, Q, and H. As you move upward through those levels, the symbol gains a greater ability to survive damage or obstruction, but it also sacrifices data efficiency. Put simply, the more redundancy you add, the less space remains for the content itself. If you keep the physical size the same while increasing error correction, the code often becomes more complex, with smaller modules packed into the grid. If those modules become too small for the printing method or scanning distance, performance can suffer.
This has major design implications for capacity and usability. For example, a short URL with medium or high error correction may still produce a compact, practical code. But if you encode a long URL, tracking parameters, or other dense data while also selecting a high correction level, the QR code can quickly grow in version and visual complexity. That may force you to enlarge the code on the page or package to keep it scannable. In other words, error correction is closely tied to the balance between content length, visual simplicity, and final print dimensions. Designers and marketers often get the best results by shortening the destination URL first, then choosing the lowest correction level that still fits the expected use conditions.
3. Does higher error correction make it easier to add logos, colors, and custom branding?
Yes, in many cases higher error correction gives you more room for branding treatments, because it provides a larger margin for visual disruption. When a logo is placed in the center of a QR code, some of the data modules are effectively hidden. Likewise, when designers stylize the shape, change colors, or soften corners, they may reduce the contrast or clarity that scanners rely on. A stronger error correction setting can help offset some of that risk by allowing the code to remain readable even when a portion of the symbol is altered or obscured.
That said, higher error correction is not a free pass for aggressive customization. Branding still has to respect core scanning requirements, including strong contrast, a clear quiet zone around the code, intact finder patterns, and sufficient module definition. If a logo is too large, if colors blend into the background, or if decorative effects interfere with the code’s geometry, the code can fail regardless of the correction level. The smartest approach is to treat error correction as a safety buffer rather than a design license. It supports customization, but it works best when paired with disciplined visual choices and real-world scan testing across multiple devices, lighting conditions, and print surfaces.
4. How does error correction influence print reliability on different materials and surfaces?
Error correction plays a major role in print reliability because QR codes rarely live in perfect conditions. A code may be printed on glossy packaging that reflects light, on corrugated boxes with uneven texture, on labels that wrinkle, on bottles that curve, or on menus that collect smudges and stains. In each of these cases, some portion of the pattern may become harder for a scanner to read accurately. Error correction helps compensate for these real-world imperfections by ensuring that small areas of data loss do not immediately make the entire code unusable.
However, print reliability is never determined by error correction alone. A poorly printed QR code with low contrast, inadequate size, ink spread, or a missing quiet zone may still scan badly even if it uses a high correction level. Think of error correction as one layer in a larger design-for-reliability strategy. It is especially valuable when the code may face wear and tear after printing, but it cannot fully overcome bad production decisions. For best results, the correction level should match the environment: a code on a disposable flyer may not need the same tolerance as one on industrial equipment or consumer packaging. The more exposure the code has to damage, distortion, or imperfect handling, the more important it becomes to pair appropriate error correction with solid print specifications.
5. What is the best error correction level to choose for strong scanning performance?
The best error correction level depends on how and where the QR code will be used, because scanning performance is about overall fit, not just maximum redundancy. Many people assume the highest level is always best, but that is not necessarily true. Higher correction levels add robustness, yet they also increase symbol density or size. If that added complexity makes the modules too small for the intended print method, viewing distance, or camera quality, scanning can actually become less reliable. A well-sized code with moderate correction often performs better than a tiny, overly dense code with maximum correction.
In practice, the ideal choice comes from balancing environment, branding, data length, and output size. If the code will appear in a clean, controlled setting with little risk of damage, a lower or medium level may be completely appropriate. If it will be customized with a centered logo, exposed to frequent handling, printed on challenging surfaces, or likely to suffer wear, a higher level may be worth the tradeoff. The key is to evaluate scanning performance as a system: content length, correction level, physical dimensions, contrast, substrate, and user distance all work together. The most effective QR code designs are not simply built for theoretical durability; they are optimized for the exact conditions in which people will actually scan them.