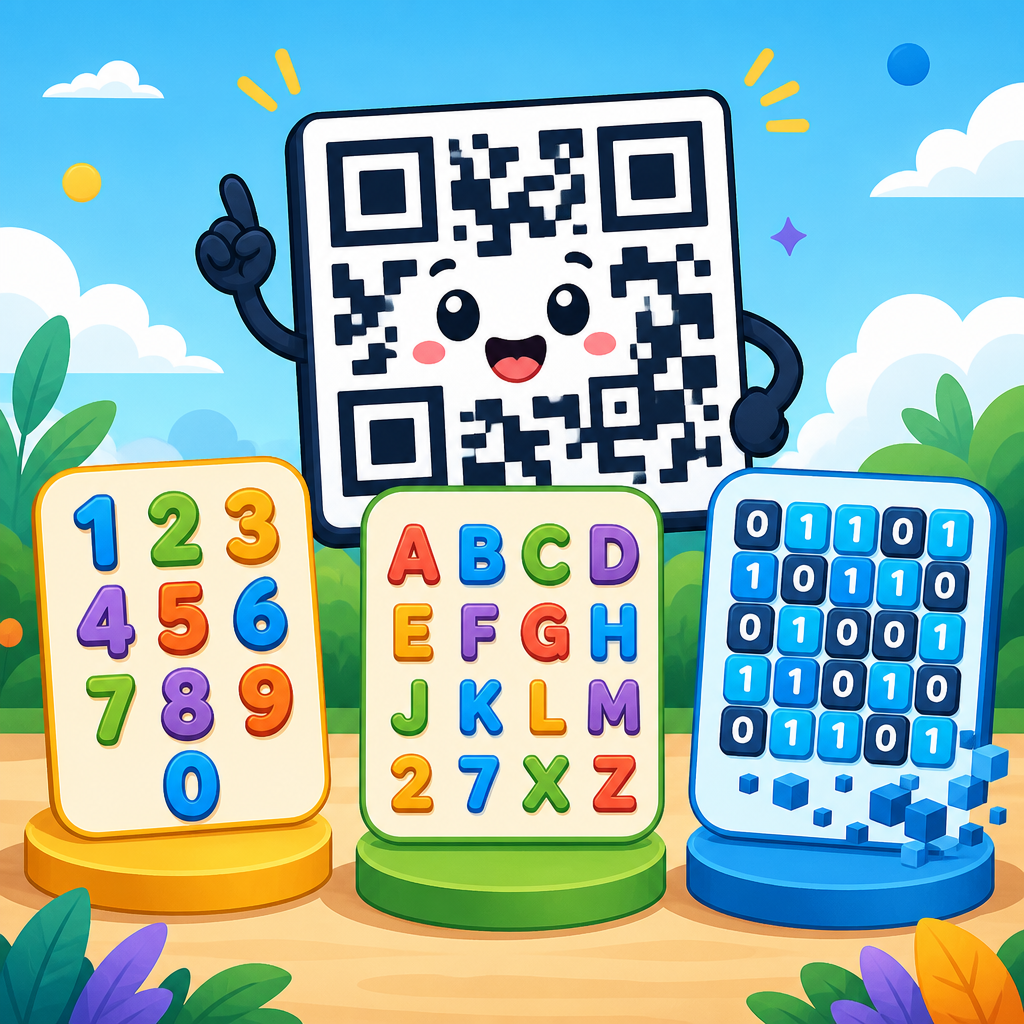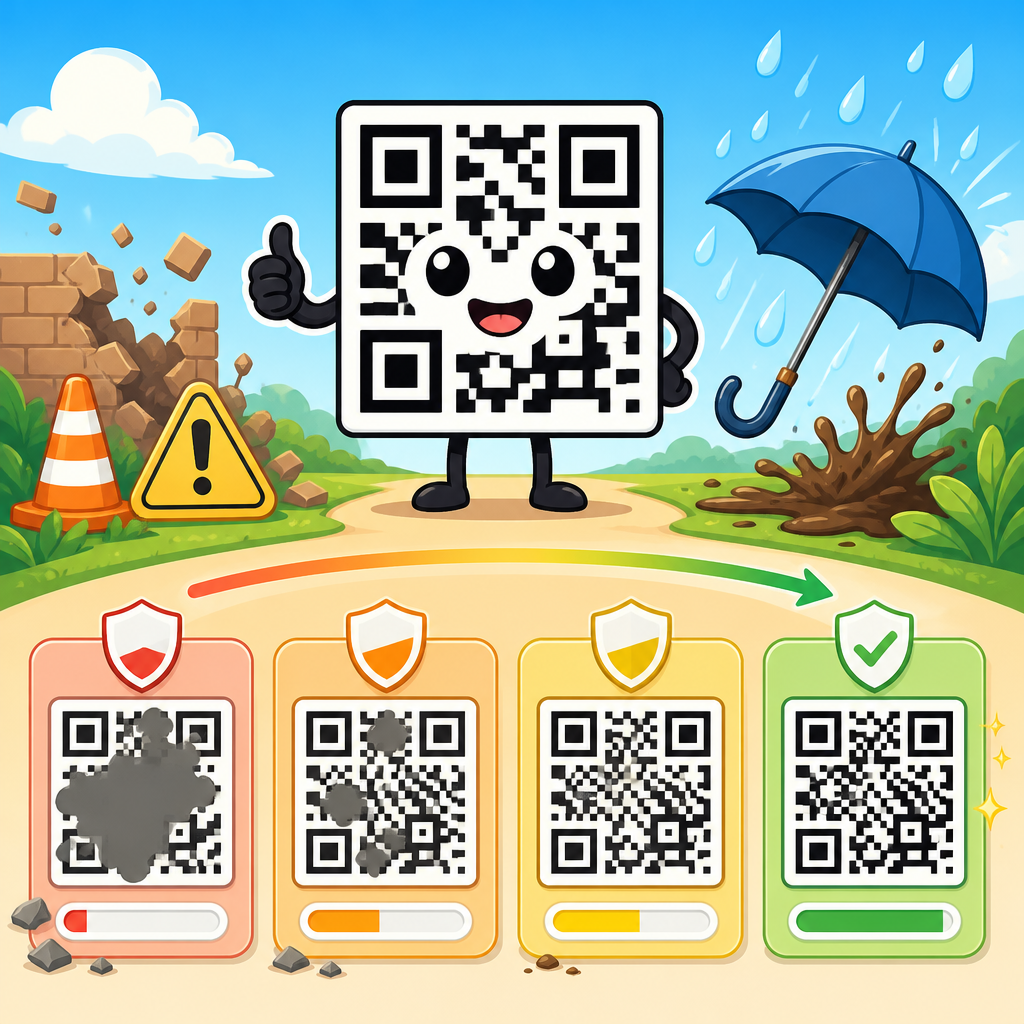
QR code error correction levels determine how much damaged, dirty, or partially hidden data a QR code can recover while still scanning correctly. In practice, they are one of the most important technical settings in QR code generation because they directly affect reliability, size, print tolerance, and design flexibility. If you create QR codes for packaging, tickets, menus, labels, industrial parts, or marketing campaigns, understanding error correction levels helps you prevent scan failures before they reach customers. The four levels used in standard QR codes are L, M, Q, and H, and each level reserves a different amount of code capacity for redundant data that allows the scanner to reconstruct missing information. Higher correction means more resilience, but it also means less room for payload data or a denser symbol for the same amount of content. That tradeoff shapes nearly every real deployment decision. I have had to adjust this setting repeatedly when codes looked perfect on screen but failed after shrink-wrapping, curved bottle application, low-contrast printing, or aggressive logo placement. For teams building a broader QR code technology strategy, error correction is not a minor checkbox. It is a foundational concept that connects encoding, version size, print production, scanner behavior, and end-user experience.
To understand the topic clearly, start with a simple definition. Error correction in QR codes is a mathematical method that adds redundancy so the original message can still be decoded even when part of the symbol is unreadable. Standard QR codes use Reed-Solomon error correction, a widely adopted coding method also used in storage media and telecommunications because it is strong against burst errors, where damage affects groups of adjacent modules instead of isolated dots. The four levels correspond to approximate recovery capacities: L restores around 7 percent of codewords, M around 15 percent, Q around 25 percent, and H around 30 percent. These figures are commonly cited as practical guidance, not a promise that any randomly damaged area of that size will always scan. Real-world scan success also depends on where the damage occurs, whether finder patterns remain intact, the quality of the print, camera focus, lighting, and how much data the code contains. Because this page serves as a hub for the broader error correction topic, it covers the core mechanics, compares the four levels, explains when to use each one, and shows how correction choices affect design, capacity, and production decisions across the entire QR code lifecycle.
How QR code error correction works
A QR code is not just a picture made of black and white squares. It is a structured symbol with functional patterns and encoded data arranged according to the QR Code Model 2 specification defined in ISO/IEC 18004. Some regions perform special roles, including finder patterns in three corners, timing patterns, alignment patterns in larger versions, format information, and version information in higher versions. The remaining modules carry data and error correction codewords. When you choose an error correction level, the encoder calculates extra codewords using Reed-Solomon algorithms over finite fields. Those codewords are interleaved with the data blocks so a scanner can reconstruct missing or corrupted parts when enough of the symbol remains readable.
The key point is that error correction does not make a QR code indestructible. It creates a recovery budget. If a coffee splash obscures a menu code, a warehouse label gets scuffed, or a cosmetic brand places a small centered logo over a code, the decoder may still recover the message because redundancy covers the loss. But if the payload is too large, the version too small, the print contrast too weak, or the damage covers critical functional patterns, a high correction level alone will not save it. In production testing, I have seen level H compensate for moderate abrasion on poly mailers, yet fail on glossy black packaging because the true problem was reflection and low luminance contrast, not insufficient redundancy. Error correction must therefore be treated as one variable inside a complete scannability system.
The four QR code error correction levels explained
The standard levels are straightforward once you frame them around resilience versus capacity. Level L offers the least redundancy and the highest data capacity for a given symbol size. It is best when the code will be displayed cleanly, at adequate size, and with little risk of damage. Level M is the common middle ground and often works well for general marketing, digital display, and office print use. Level Q adds significantly more redundancy and is useful when environmental wear, modest branding overlays, or uneven print surfaces are likely. Level H provides the highest standard resilience and is usually selected for branded designs, harsh handling, or applications where a failed scan creates operational friction.
| Level | Approximate recovery capacity | Best fit | Main tradeoff |
|---|---|---|---|
| L | About 7% | Clean digital screens, controlled print environments, short payloads needing maximum capacity | Least tolerant of damage or overlays |
| M | About 15% | General-purpose business use, flyers, menus, posters, standard packaging | Moderate capacity reduction |
| Q | About 25% | Light wear, curved surfaces, small logos, mixed print conditions | Denser symbols or larger required size |
| H | About 30% | Industrial labels, heavy handling, decorative designs, premium packaging | Lowest capacity and often largest symbol for same data |
Those percentages are often misunderstood. They do not mean you can safely cover exactly 30 percent of any code using level H. Recovery depends on the arrangement of the damage, block structure, masking pattern, and whether critical reference patterns remain readable. A centered logo may work well because many generators reserve space in a visually balanced way, but an equivalent amount of damage slicing through timing patterns or multiple block regions can break decoding. The practical lesson is to treat the percentages as directional engineering guidance, then validate with real devices under real conditions.
How error correction levels affect size, capacity, and performance
Every increase in correction consumes space that could otherwise hold payload data. If the content stays the same and you raise the correction level, the generator may need to move to a larger QR version with more modules per side. That increases density if the printed size does not change, and denser codes are harder to scan at distance, on low-resolution printers, or with lower-end cameras. This is why long URLs, vCard data, Wi-Fi credentials, or serialized product information often force difficult choices. The answer is not always to lower correction. Frequently, the smarter move is to shorten the payload using a redirect URL, dynamic QR platform, or compact data schema.
For example, a short dynamic URL at level Q may scan more reliably on corrugated packaging than a long static URL at level L, even though the lower correction level appears more spacious in theory. The shorter payload reduces version size and preserves larger module dimensions, which matter enormously in print. In label engineering, module size and quiet zone integrity usually predict scan performance better than abstract capacity numbers. As a rule, if you expect physical wear, prioritize keeping the encoded content compact so you can maintain higher correction without producing an overly dense symbol.
Performance also involves scanner behavior. Modern smartphone decoders from Apple and Google are forgiving, but dedicated handheld scanners in logistics, healthcare, or manufacturing may have different optics, decode libraries, and contrast thresholds. A code that scans instantly on a flagship phone may struggle on an older enterprise scanner if the module size is too fine. When teams ask which error correction level is best, the correct answer is: the one that preserves scan margin on the actual devices and materials in use. There is no universal best setting outside context.
When to choose L, M, Q, or H
Choose level L when data capacity is tight and the environment is controlled. Examples include on-screen authentication flows, internal dashboards, kiosk displays behind clean glass, and temporary codes used in predictable indoor settings. Choose level M for most ordinary campaigns where the code appears on menus, brochures, posters, email signatures, and packaging with standard print quality. It gives a useful safety margin without aggressively increasing density.
Choose level Q when the code may face moderate wear, variable lighting, curved application, or light graphic customization. I often recommend Q for retail packaging, direct mail pieces, laminated cards, and product inserts because these assets are touched, transported, and sometimes creased before scanning. Choose level H when visual branding is important or the environment is rough. This includes codes with logos, etched metal plates, reusable warehouse bins, medical asset labels, and outdoor stickers exposed to abrasion. In these cases, the cost of one failed scan can exceed the small savings from squeezing more data into a lower level.
A useful decision framework is to score four factors: payload length, surface quality, expected damage, and scanner quality. Long payload plus rough surface usually signals that you should shorten the data first, then select Q or H. Short payload plus pristine digital display may justify L or M. This page serves as the hub because every deeper topic in error correction branches from that basic balancing act.
Design implications: logos, colors, and print production
Error correction levels matter most when design teams start modifying the default black-and-white square. Adding a logo, changing module shapes, using brand colors, printing on textured stock, or reversing colors all consume scan margin. Higher correction can support tasteful customization, but it should never be used to excuse poor contrast or excessive decoration. The safest practice is dark modules on a light background with a clear quiet zone at least four modules wide. Contrast remains more important than aesthetics.
Logo insertion is the most common use case tied to higher correction. A small centered mark often works at level H because the surrounding redundancy helps recovery, but the logo should not invade finder patterns, alignment patterns, timing lines, or the quiet zone. Many online generators allow oversized overlays that look attractive in previews but fail after print scaling. In commercial packaging reviews, I routinely cap logos conservatively and run tests across both iPhone and Android devices, plus at least one lower-end camera. Good design decisions are validated, not guessed.
Print production adds another layer. Dot gain on porous paper can thicken modules, thermal transfer printers can soften edges, UV coatings can introduce glare, and flexographic presses may distort fine detail on film. If a code will be printed very small, increasing correction may push the version up and shrink each module below the process capability of the press. In that case, simplifying the payload is more effective than forcing H. Production realities often decide the right error correction level more than abstract theory does.
Testing, standards, and common mistakes
The most reliable way to choose an error correction level is structured testing. Print the code at final size, on final material, with final artwork, then scan it under expected lighting and viewing angles. Test with multiple devices and after likely wear events such as folding, scuffing, condensation, or shrink-wrap application. If the code is business critical, use verifier tools aligned with ISO/IEC 15415 print quality grading to measure symbol contrast, modulation, axial non-uniformity, grid non-uniformity, and damage. Verification does not replace user testing, but it reveals failure risks early.
The most common mistakes are predictable. Teams overestimate how much a high correction level can compensate for low contrast. They encode long static URLs instead of using shorter redirects. They shrink codes to fit layout constraints without recalculating module size. They place artwork too close to the quiet zone. They test only on one premium phone in ideal office lighting. And they assume a code that scans once is production ready. A robust QR deployment requires margin, not mere success in a single trial.
Another mistake is treating level H as the default for everything. It is not harmful in principle, but it can create unnecessarily dense symbols, especially when the payload is large. In warehouse and manufacturing environments, I have seen simpler level M codes outperform ornate level H versions because the M codes preserved larger modules and cleaner edges. The right choice is empirical and application-specific.
QR code error correction levels are the control point that balances resilience, data capacity, symbol density, and design freedom. L, M, Q, and H each exist for a reason, and the best choice depends on how much data you need to encode, how the code will be printed or displayed, how much wear it will face, and which devices will scan it. The underlying Reed-Solomon method is proven, but practical success comes from matching the level to the environment rather than chasing the highest number. In most real deployments, compact payloads, strong contrast, adequate quiet zones, and realistic testing matter as much as the correction setting itself.
As the hub page for this subtopic, the main takeaway is simple: choose error correction deliberately, not by default. Use L or M in clean, controlled conditions when capacity matters. Move to Q or H when physical wear, branding overlays, or variable surfaces increase risk. If a higher level makes the code too dense, reduce the payload before sacrificing scan reliability. That approach consistently produces better outcomes across packaging, signage, industrial labels, and mobile experiences.
If you are building or auditing QR codes, review your current generator settings, shorten unnecessary data, and test each code on the actual material and devices your audience uses. That single process will do more to improve scan performance than any cosmetic tweak, and it will help every QR code in your wider technology stack work as intended.
Frequently Asked Questions
What are QR code error correction levels?
QR code error correction levels are built-in settings that determine how much missing or damaged data a QR code can recover during scanning. In simple terms, they act like a safety buffer. If part of the code is scratched, smudged, covered by a label seam, printed on a curved surface, or slightly obscured by a design element, the error correction system helps the scanner reconstruct the original data and still decode the symbol successfully.
Standard QR codes use four error correction levels: L, M, Q, and H. Level L offers the least recovery capacity, while Level H offers the most. These levels are based on Reed-Solomon error correction, which is the mathematical method that lets a QR code remain readable even when some of its modules are unreadable. In real-world use, that matters because QR codes are rarely scanned under perfect conditions. Lighting, print quality, wear, surface texture, and camera angle all affect performance.
For businesses and creators, error correction is one of the most important settings in QR code generation because it directly affects reliability, symbol density, and design freedom. A low error correction level can keep the code smaller and simpler, but it leaves less room for damage. A higher level adds resilience, but it also increases the amount of data that must be encoded, which can make the code more complex and harder to print at very small sizes. Choosing the right level is not just a technical detail; it is a practical decision that influences whether people can actually scan the code when and where it matters.
What do the four QR code error correction levels mean?
The four QR code error correction levels are L, M, Q, and H, and each one represents a different balance between data recovery and code complexity. Level L can typically recover about 7% of damaged codewords, Level M about 15%, Level Q about 25%, and Level H about 30%. These percentages are often quoted as a quick reference, but they should be understood as general recovery capacity rather than a guarantee that exactly that much visible damage will always scan successfully in every condition.
Level L is best when the environment is controlled and you want to keep the QR code as compact as possible. It is often suitable for clean digital displays, high-quality printing, or situations where the code is unlikely to be scratched or obstructed. Level M is commonly used as a practical middle ground because it adds more protection without increasing complexity too aggressively. For many general-purpose uses, M is a solid default.
Level Q is useful when the QR code may face more challenging handling or placement conditions, such as on packaging, product labels, event materials, or lightly stylized designs. Level H provides the strongest recovery capability and is often chosen when reliability is critical or when part of the QR code may be intentionally covered, such as when placing a logo in the center. However, the tradeoff is that higher error correction requires more modules, which can make the pattern denser and more demanding to print and scan. Understanding these levels helps you match the QR code to its real-world environment instead of relying on guesswork.
How does error correction affect QR code size, readability, and scan reliability?
Error correction has a direct impact on how dense a QR code becomes. As the correction level increases, more of the symbol’s capacity is devoted to recovery data instead of the main content. That means the QR code may need to move to a higher version with more modules, creating a larger or more detailed pattern. If you are encoding a short URL, this may not create a major issue. But if you are encoding long text, tracking parameters, or other large amounts of data, high error correction can noticeably increase the code’s complexity.
That complexity affects readability in practical ways. A denser code generally requires better printing, more contrast, sufficient quiet space, and a reasonable physical size to remain easy to scan. If the code is printed too small, placed on a textured surface, or reproduced with low resolution, a high-density QR code may become harder to read even though it technically contains more error protection. This is why higher error correction is not automatically better in every case. A code that is too dense for its print conditions can fail more often than a simpler code with a slightly lower correction level.
At the same time, scan reliability often improves with higher error correction when the environment introduces damage or obstruction. Codes on shipping boxes, outdoor signage, factory parts, reusable containers, menus, and frequently handled items may benefit from the extra redundancy. The key is balance. Reliability comes not from maximizing one setting, but from aligning the correction level with the content length, output size, material, and expected wear. In other words, the best QR code is not the one with the highest possible correction level; it is the one designed for the way people will actually use it.
Which QR code error correction level should I choose for packaging, tickets, menus, labels, or marketing materials?
The right error correction level depends on where the QR code will appear, how much abuse it may experience, how large it can be printed, and whether the design includes customization. For clean, controlled applications such as on-screen display, email signatures, or high-quality brochures with plenty of space, Level L or M is often enough. These levels keep the symbol simpler and can be a good fit when the code is unlikely to be damaged.
For packaging, product labels, menus, and tickets, Level M or Q is often a smart choice because these items are handled, exposed to fingerprints, bent, or printed on less-than-perfect surfaces. Menus in restaurants can become worn or smudged. Packaging can crease around edges or reflect light from glossy coatings. Tickets may be folded or partially scuffed. In these cases, a moderate to higher level of error correction can improve the odds of successful scanning without pushing the symbol into unnecessary complexity.
For industrial parts, outdoor applications, or heavily branded marketing campaigns with logos or design overlays, Level Q or H is frequently preferred. If a code may face dirt, abrasion, partial obstruction, or long-term wear, higher correction offers valuable resilience. Likewise, if you plan to place a logo over the center of the QR code, use rounded modules, or otherwise customize the design, you typically need more error tolerance to offset the visual disruption. Even so, selection should always be validated through testing. Print prototypes at the actual size, apply them to the intended surface, and scan them under realistic lighting and distance conditions. That testing step is what turns a technically correct setting into a dependable real-world result.
Can higher error correction make a QR code more flexible for branding and design?
Yes, higher error correction can give you more flexibility for branding, but it should be used carefully. Because a higher level allows the QR code to recover from a greater amount of missing or altered data, designers often use Level Q or H when adding a central logo, changing colors, shaping modules, or integrating the code into visual layouts. This extra redundancy can help preserve scanability even when the symbol is no longer presented in its plain black-and-white form.
That said, error correction is not a free pass to overdesign a QR code. Many scan failures happen not because the selected error correction level is too low, but because the design breaks other essential rules. Poor contrast, missing quiet zone, overly small print size, reflective materials, low-resolution artwork, or excessive obstruction can all make a code unreadable. A stylish QR code still needs strong contrast, adequate clear space around the edges, and a shape that remains recognizable to scanning software.
The best approach is to treat higher error correction as design insurance, not design permission. It helps support thoughtful customization, especially when a logo covers part of the code or when the symbol appears in less predictable scanning environments. But branding should always be balanced against usability. If a branded QR code looks impressive but fails to scan quickly, it has not done its job. In practice, the most effective custom QR codes use moderate visual enhancements, choose an appropriate correction level, and undergo real-device testing before launch. That combination protects both brand presentation and scanning performance.